Soulmask beginner guide: here is a clear route to build a safe base, unlock the bonfire and start a useful tribe. This guide focuses on the first hours after the tutorial. The goal is simple: fewer wasted trips, cleaner storage and production that keeps running while you explore.
Key points
- Soulmask is available on PC via Steam and is developed by CampFire Studio and published by Qooland Games.
- Steam highlights tribe recruitment, unique talents, mask possession and automated production.
- The bonfire unlocks at Awareness Strength 5 according to the Soulmask wiki and prevents building decay while lit.
- The Knowledge and Technology menu unlocks recipes and blueprints through progression tiers.
Key Takeaways for This Soulmask Beginner Guide
- Practical base: build near water, wood, stone and open space.
- Bonfire first: reach Awareness Strength 5 quickly to stabilize the camp.
- Useful recruits: choose workers before fighters.
- Clear workshops: keep resources close to crafting stations.
- Prepared trips: keep food, healing, tools and capture gear ready.

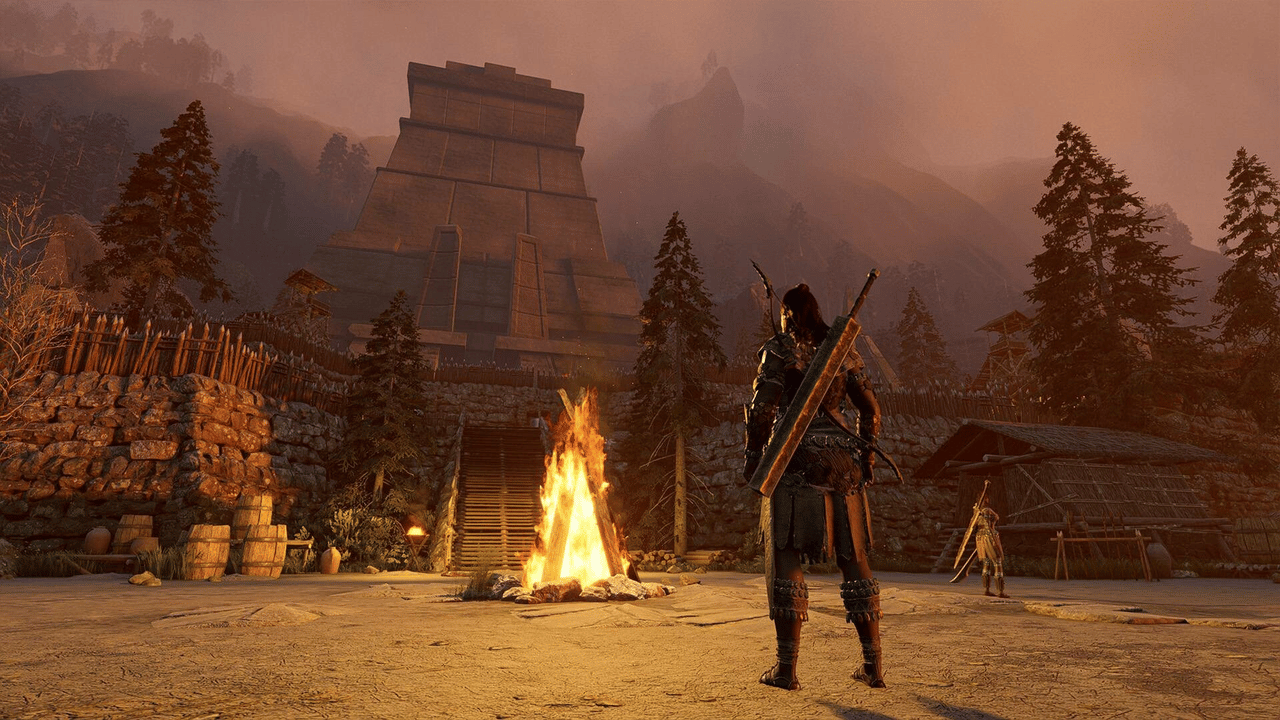
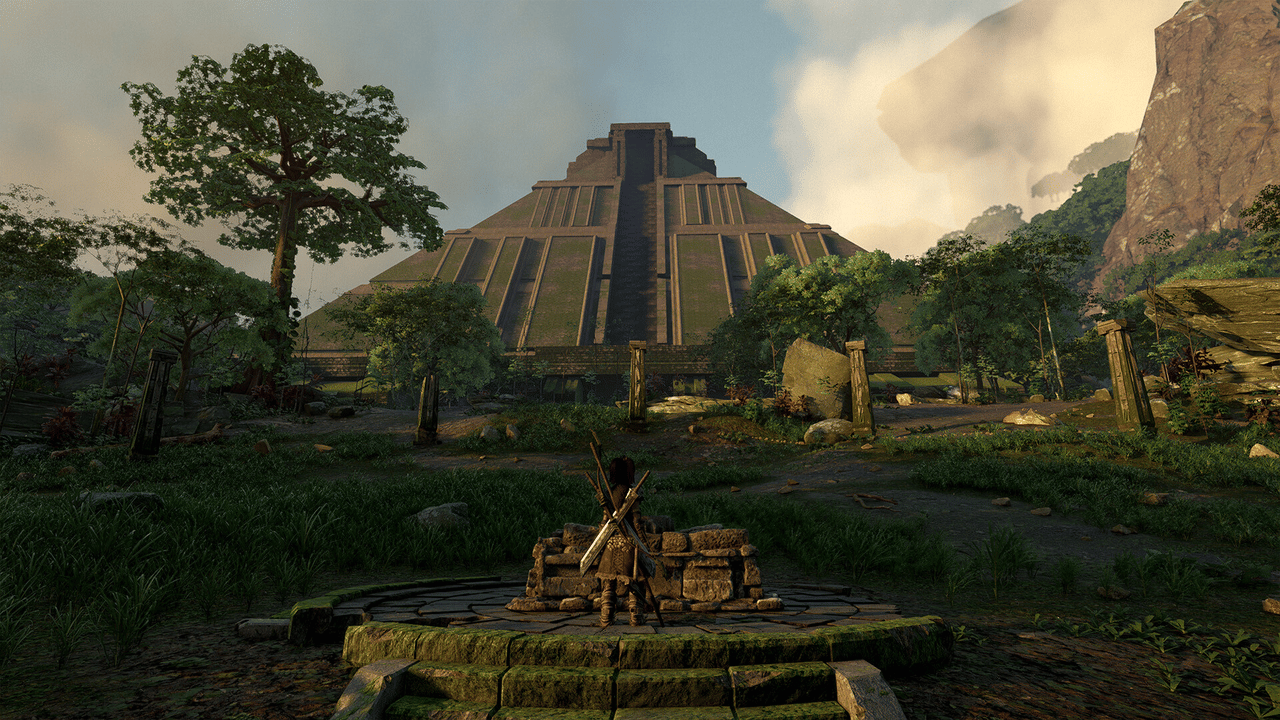
Soulmask Beginner Guide: Choose the First Base Location
Do not build on the first flat spot you find. Scout for a few minutes first. Your first base should reduce travel time. It does not need to be permanent.
Look for a river or a lake. Check for trees, bushes, rocks and open ground. Avoid enemy camp entrances, nearby ruins and narrow paths.
- Run around the area for two minutes.
- Spot water, wood, stone and fiber.
- Check that enemies do not patrol through the site.
- Place a hut, a fire and two chests.
- Keep one side open for future workshops.
For wider editorial coverage, follow the latest jeu.video updates, our feature articles and the news section.
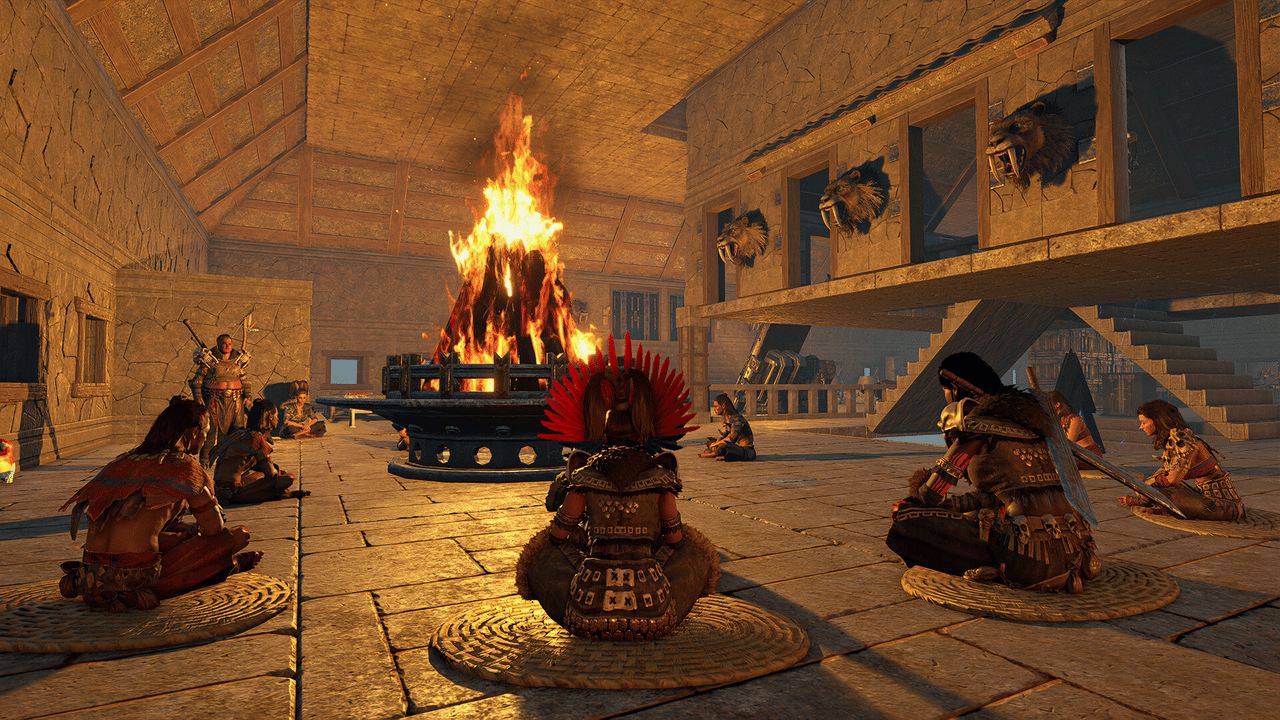
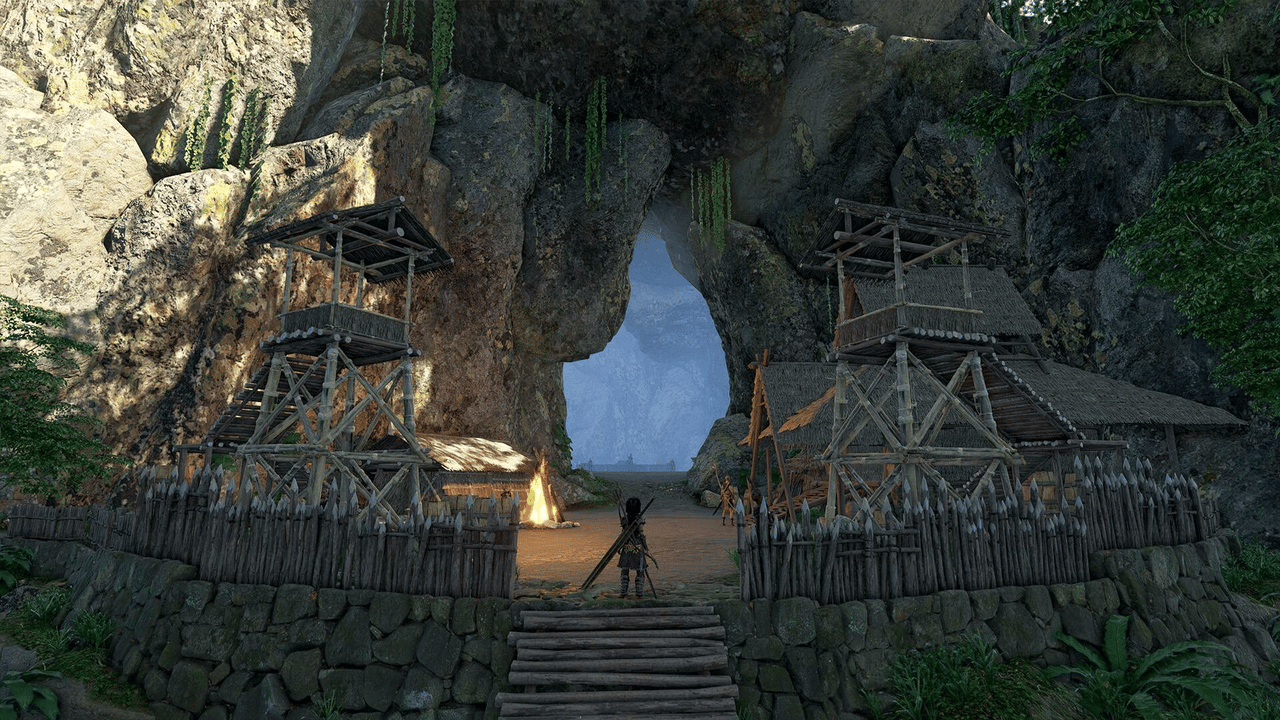
Unlock the Bonfire in Soulmask and Stabilize the Base
The bonfire is the real start of your settlement. According to the Soulmask wiki, its technology appears in the Dawn of the New Tribe era. It requires Awareness Strength 5 with the starting mask.
The bonfire is hand-crafted. It uses branches, stone or flint, plus logs or hardwood. Its main value is stronger: buildings in its area stop decaying while it stays lit.
| Priority | Action | Result |
|---|---|---|
| 1 | Reach Awareness Strength 5 | Unlocks bonfire technology. |
| 2 | Craft the bonfire | Turns a camp into a durable base. |
| 3 | Build a roof | Protects the base core. |
| 4 | Add a fuel chest | Prevents interruptions while away. |
Useful references include the official Steam listing and the Bonfire wiki page.
Recruit Early Tribesmen Without Overfilling the Base
Soulmask is not about one hero doing every job. Steam highlights tribesman recruitment, unique talents and possession through the mask. Your first recruits should solve daily problems.
Prepare capture before combat. Bring food, bandages and a clear return route. The best first recruit is not always the strongest warrior.
- First tribesman: gatherer or carrier for wood, stone and fiber.
- Second tribesman: crafter for tools, rope, planks and simple parts.
- Third tribesman: cook or food worker for steady meals.
- Fourth tribesman: fighter for harder camps and escorts.
Inspect skills before adding a recruit. If the profile has no clear job, wait. A large early tribe drains food quickly.

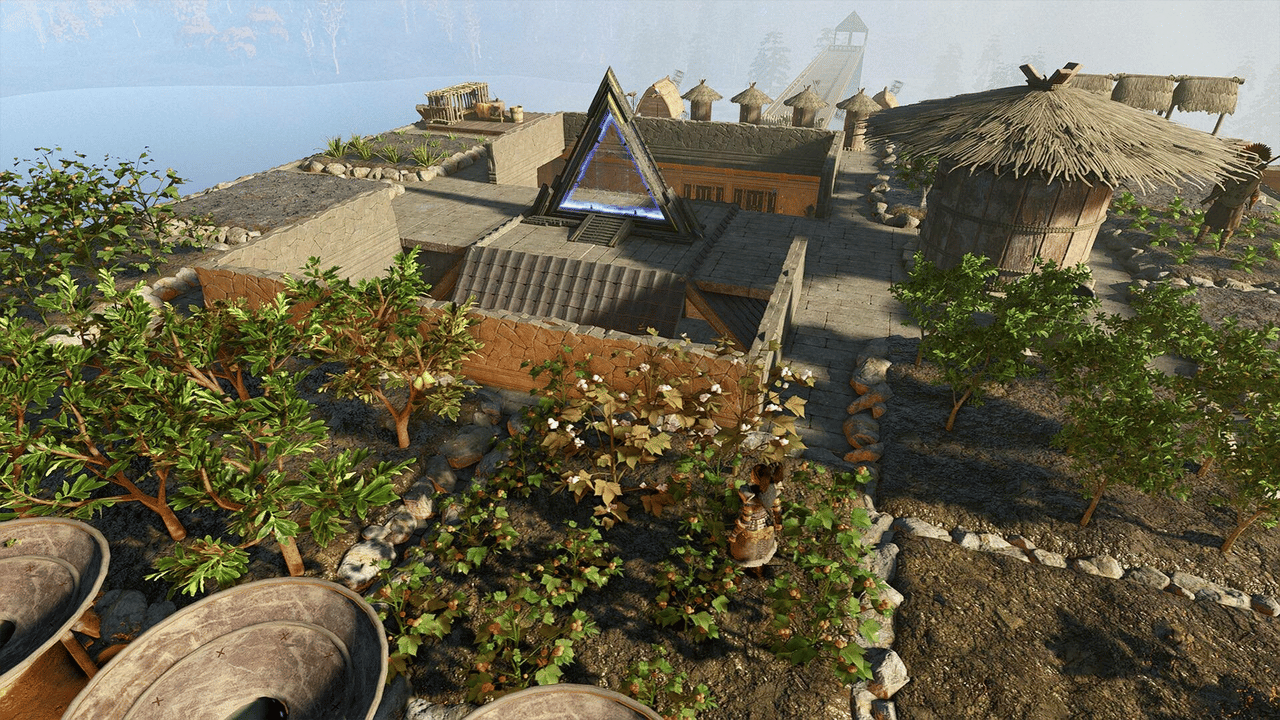
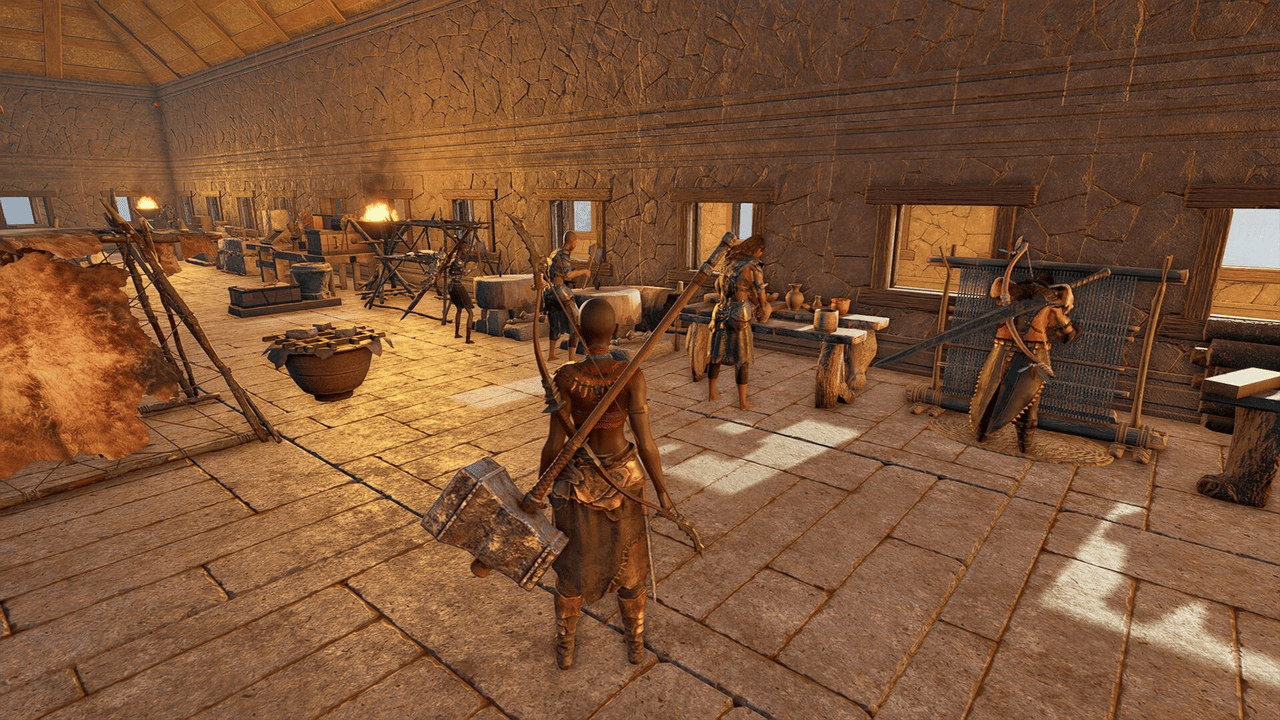
Automate Tribe Production in Soulmask
An efficient base follows one rule. Every workshop needs its resources nearby. If chests are too far away, tribesmen walk instead of producing.
Create clear zones: wood, leather, food, weapons and general storage. Start with items you use all the time. Focus on planks, handles, rope, bandages, cooked food and spare tools.
- Place a workshop with two dedicated chests.
- Store only useful materials in those chests.
- Assign a fitting tribesman.
- Queue a small batch.
- Watch the worker path.
- Move objects if the path is too long.
- Raise quantities once the loop works alone.
Simple test: leave for ten minutes. When you return, you should find more processed materials, not a blocked queue.
Prioritize Technology in a Soulmask Beginner Guide
The Knowledge and Technology menu is large. The Soulmask wiki confirms that it unlocks recipes and blueprints. Technology points come through progression, including ancient tablets.
Do not spend at random. Your first route should support shelter, healing, tools and capture.
| Phase | Unlocks to Target | Expected Result |
|---|---|---|
| Start | Stone tools, basic building, fire | Reliable gathering and shelter. |
| Stable base | Carpentry, chests, bonfire | Clean storage and decay protection. |
| Autonomy | Tanning, weaving, cooking, bandages | Fewer forced returns after combat. |
| Expansion | Bone weapons, armor, farming | Longer trips and a fed tribe. |
Save advanced technology for later if your base still lacks food, water or clear storage. For exact requirements, check the wiki technology page.
Prepare Every Trip With a Checklist
A failed expedition costs gear, time and sometimes a recruit. Put an expedition chest near the base exit. Keep the same essentials there.
- A repaired weapon and a backup tool.
- Bandages and enough food.
- Water access or a clear route back.
- A gathering tool for rare resources.
- Free inventory space for valuable loot.
- A visual landmark for the return path.
If you are recruiting, add capture gear. If you are exploring ruins, bring more healing. Return when the inventory is full.
Early Soulmask Mistakes to Avoid
Do not turn a temporary camp into a capital. Build what you need: a covered bonfire, clear chests, compact workshops and food production.
Do not recruit too fast. Every tribesman needs a job. Otherwise, they mostly consume food.
Do not travel too far before automation works. If the base produces nothing while you are away, you are still playing like a lone survivor. Soulmask flows better when the tribe works for you.
Final tip: adjust solo or private server settings. Steam lists more than 200 customizable settings. Use them if your group has limited play time.