
Dead by Daylight survivor guide: this beginner guide helps you repair better, rescue safely and escape with a clear plan. It is built for new players, returning players and anyone who dies often without seeing the mistake.
Key points
- Dead by Daylight is an asymmetrical match between four Survivors and one Killer.
- Survivors must complete five generators to power the exit gates.
- Progression uses Bloodpoints and the Bloodweb to unlock perks, items, add-ons and offerings.
- The Steam page lists the original release date as 2016-06-14 and Behaviour Interactive Inc. as developer and publisher.
Dead by Daylight punishes hesitation. You do not need to know every Killer at first. You need to know what to do at spawn, when to leave a generator and when a rescue is too risky.
For more coverage on jeu.video, read the latest updates, the PC section and our feature articles. The fundamentals are checked through the official page, the media gallery and Steam.
Key Takeaways for New Survivors
- Repair fast, but do not stack the whole team in one area.
- Do not unhook in front of the Killer.
- In chase, pull the Killer away from active generators.
- Keep your build simple and readable.
- Leave once your presence no longer helps the team.

Dead by Daylight Survivor Guide: Pick One Simple Role
The first trap is trying to do everything. Repairing, rescuing, healing, looting and taking every chase creates chaos. Before the match, choose one priority.
The safest role is objective Survivor. Start generators, avoid free chases and rescue only when your position is good.
| Role | Priority | Mistake to avoid |
|---|---|---|
| Objective | Repair key generators | Running without repairing |
| Support | Rescue and heal at the right time | Unhooking in front of the Killer |
| Distraction | Keep chase away from objectives | Dragging the Killer onto teammates |
If you play solo, watch the HUD often. If someone is in chase, it is often your moment to repair or rescue.
Dead by Daylight Survivor Build: Use a Clear Base
A good beginner build should help you decide. It does not need to be perfect. It should give information, one escape option and room for mistakes.
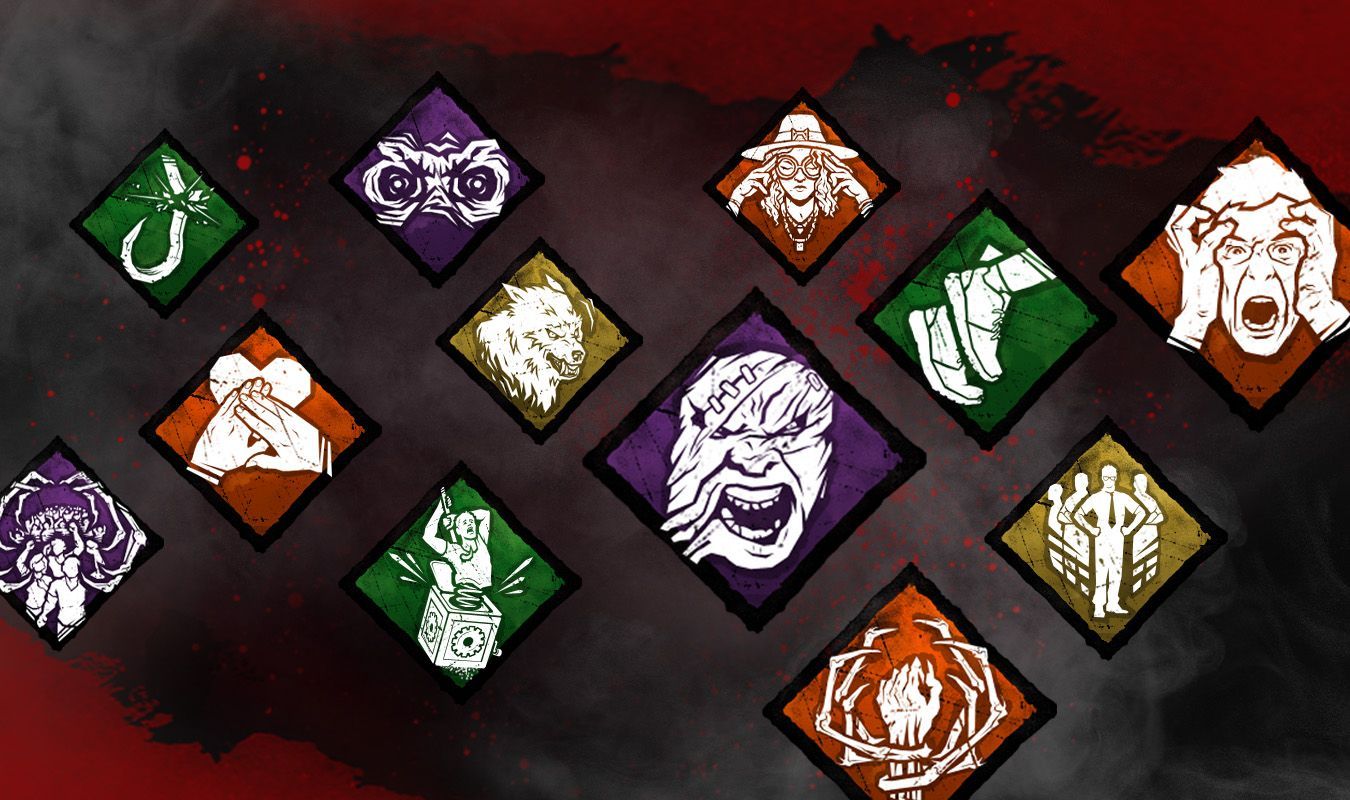
- Add one information perk to find objectives, teammates or danger.
- Add one chase perk to reach a pallet or window.
- Add one team perk for rescue, healing or support.
- Add one comfort perk that fixes your biggest weakness.
Test the same build for several matches. Change only one perk at a time. This shows whether the issue is the build, your route or your timing.
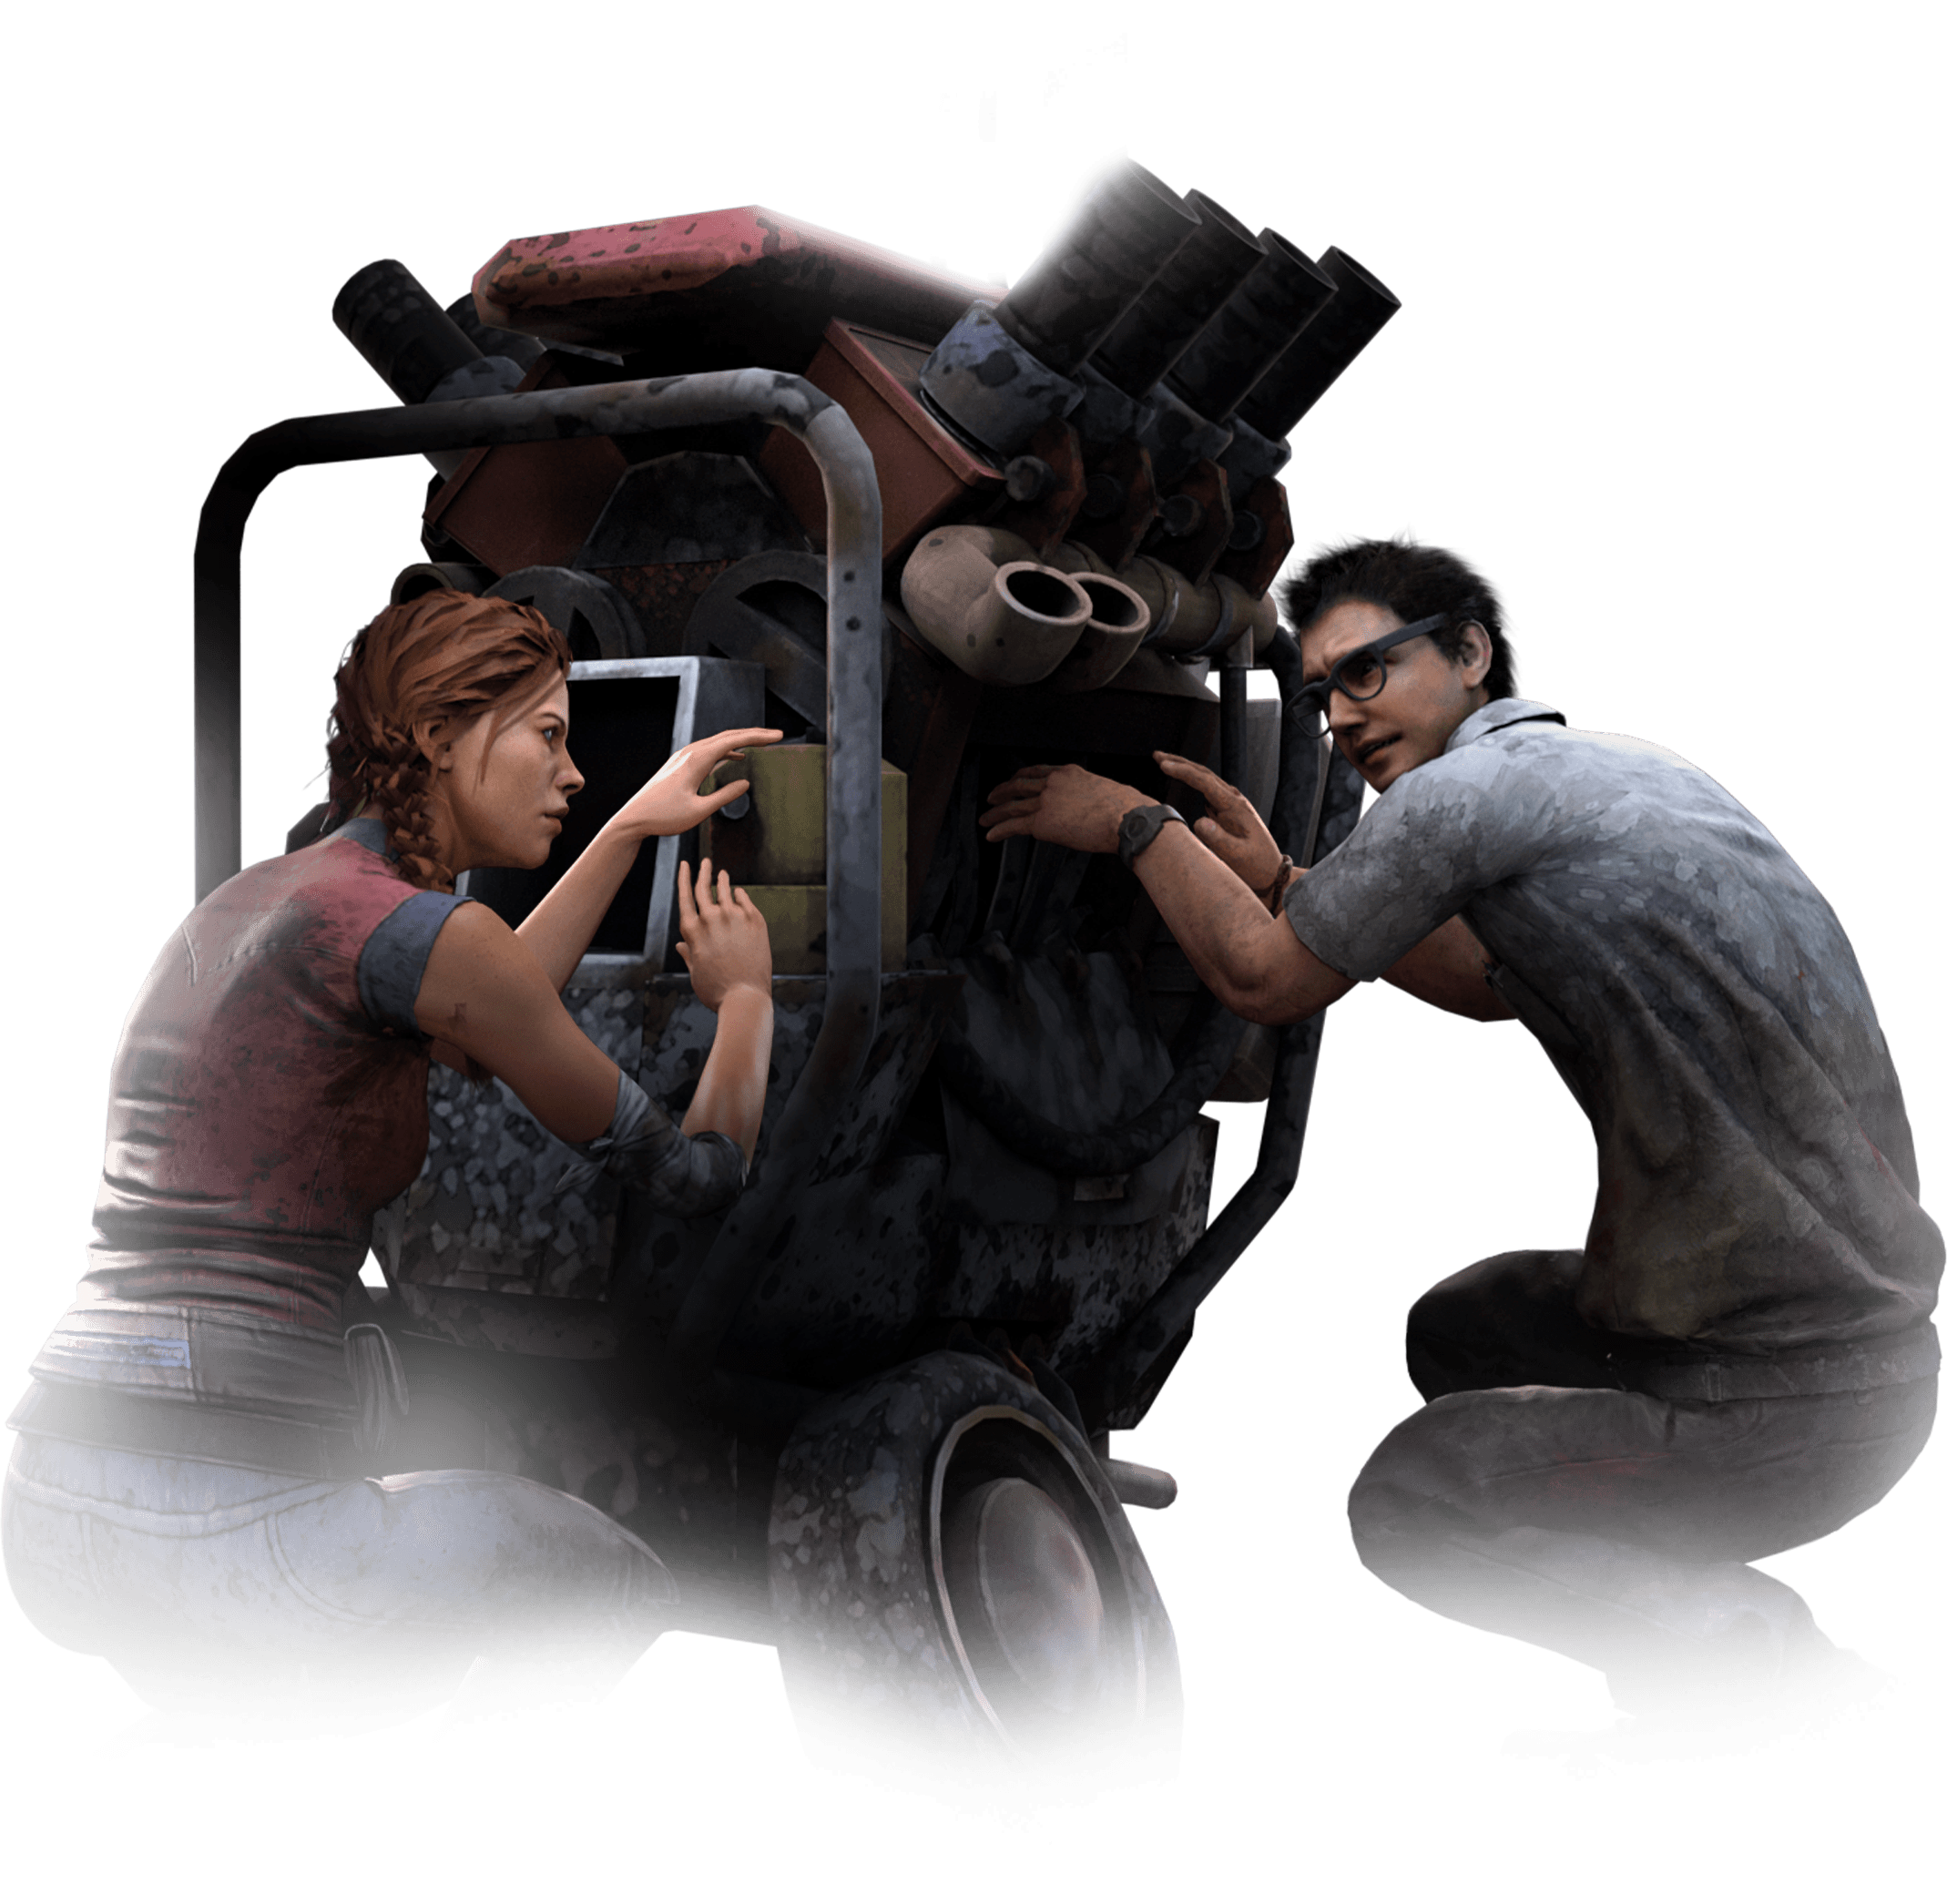
Repair Generators Without Giving the Killer the Map
In this Dead by Daylight survivor guide, the main rule is simple: fast repairs are not enough. You must repair in the right place. Survivors complete five generators to power the exit gates.
At spawn, do not always jump on the first generator. If two teammates are already there, move to another objective. The Killer must then choose a side.
- Early game: avoid stacking the whole team in one area.
- Mid game: finish one central or dangerous generator.
- Late game: avoid leaving three generators close together.
- If the Killer arrives: run away from active objectives.
Rescue From Hook Without Losing Two Players
A bad rescue is expensive. Before going to the hook, ask where the Killer is. Also check what your teammates are doing.

If the Killer is chasing someone far away, rescue. If they patrol the hook, wait. Running leaves scratch marks and reveals you.
After the unhook, do not heal under the hook by default. If the Killer returns, split up. If the Killer is far away, heal behind cover.
Last Longer in Chase Away From Objectives
You do not need to win every chase. Your job is to waste enough Killer time. A short chase far from generators can save the match.
Do not panic-drop the first pallet. Check distance. If you are ahead, loop once and use the pallet only when a hit is likely.
Your route matters more than flash. Run to an edge, a completed side or an empty building. Do not bring the Killer to a teammate finishing a generator.
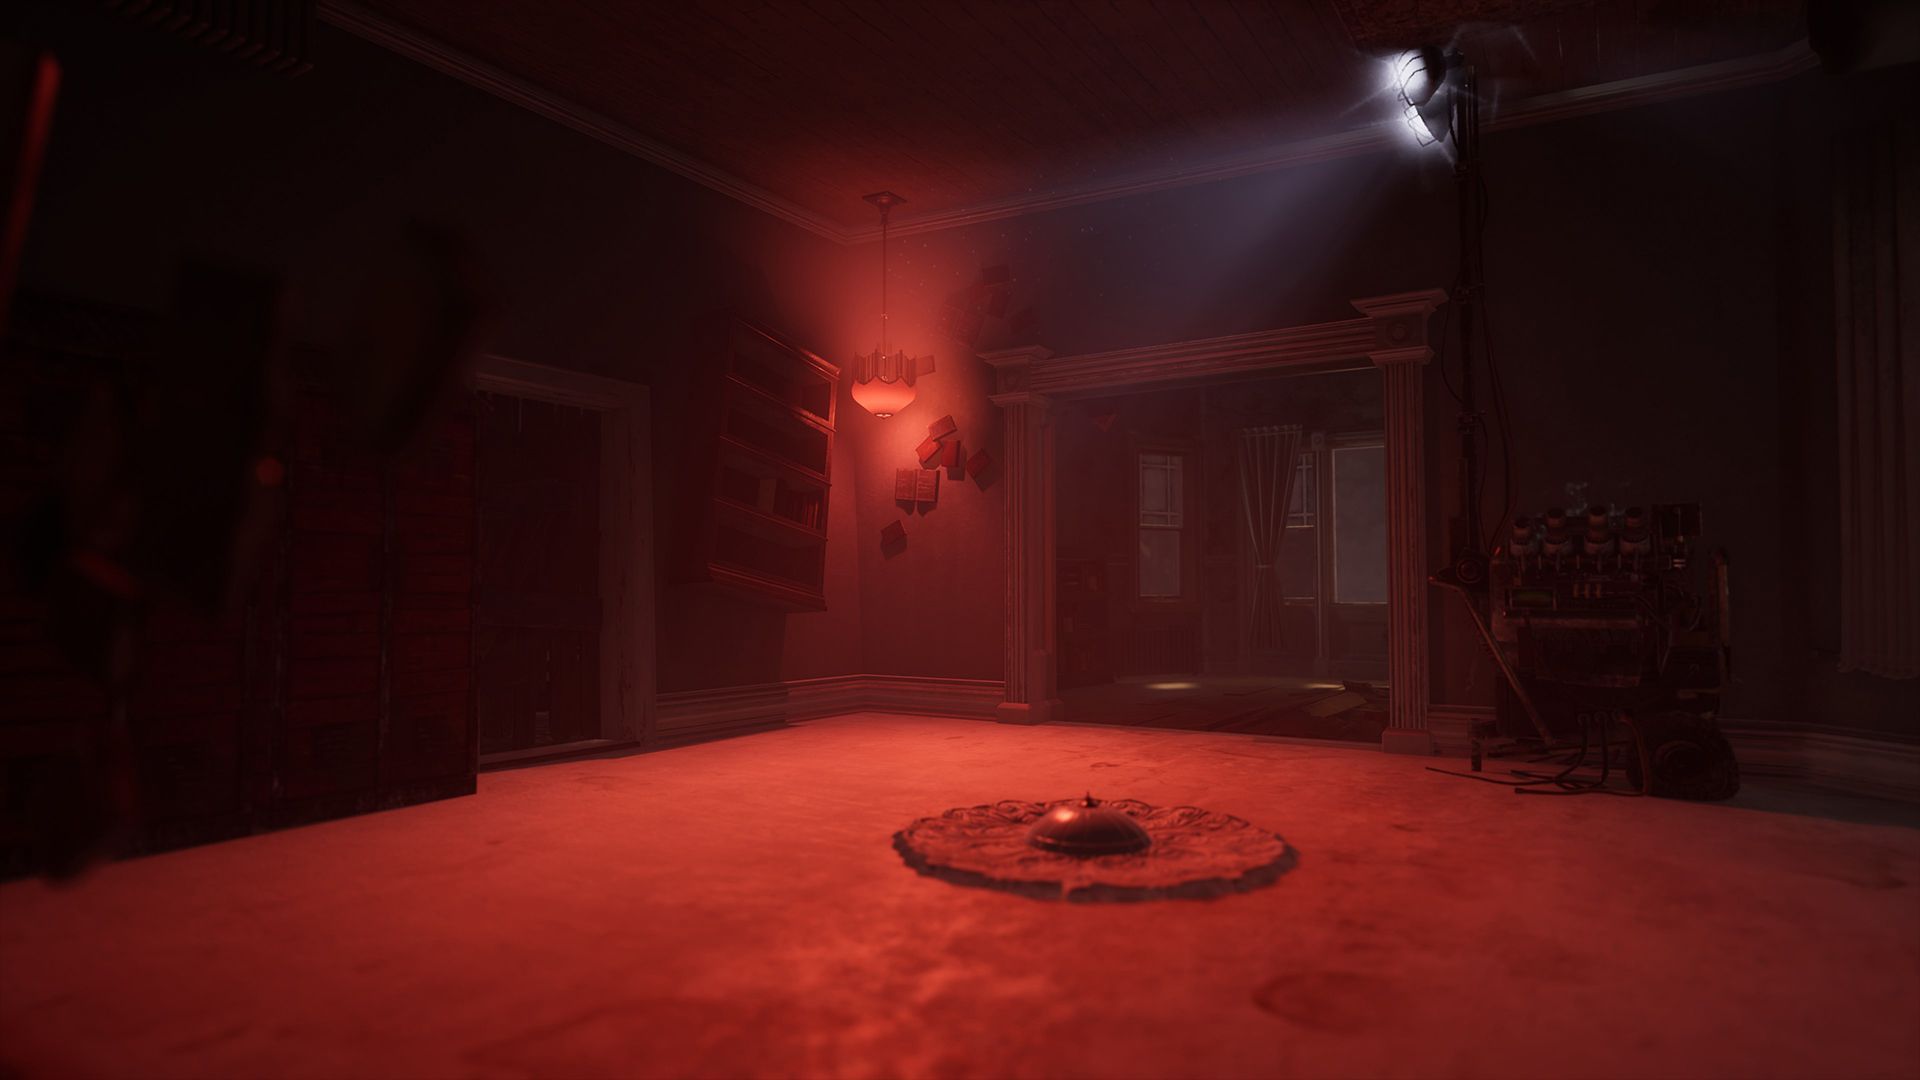
Read Maps and Spot Dangerous Zones
Dead by Daylight has many maps, but the same habits help. Look for the main building, tall walls, windows, pallets and isolated generators.
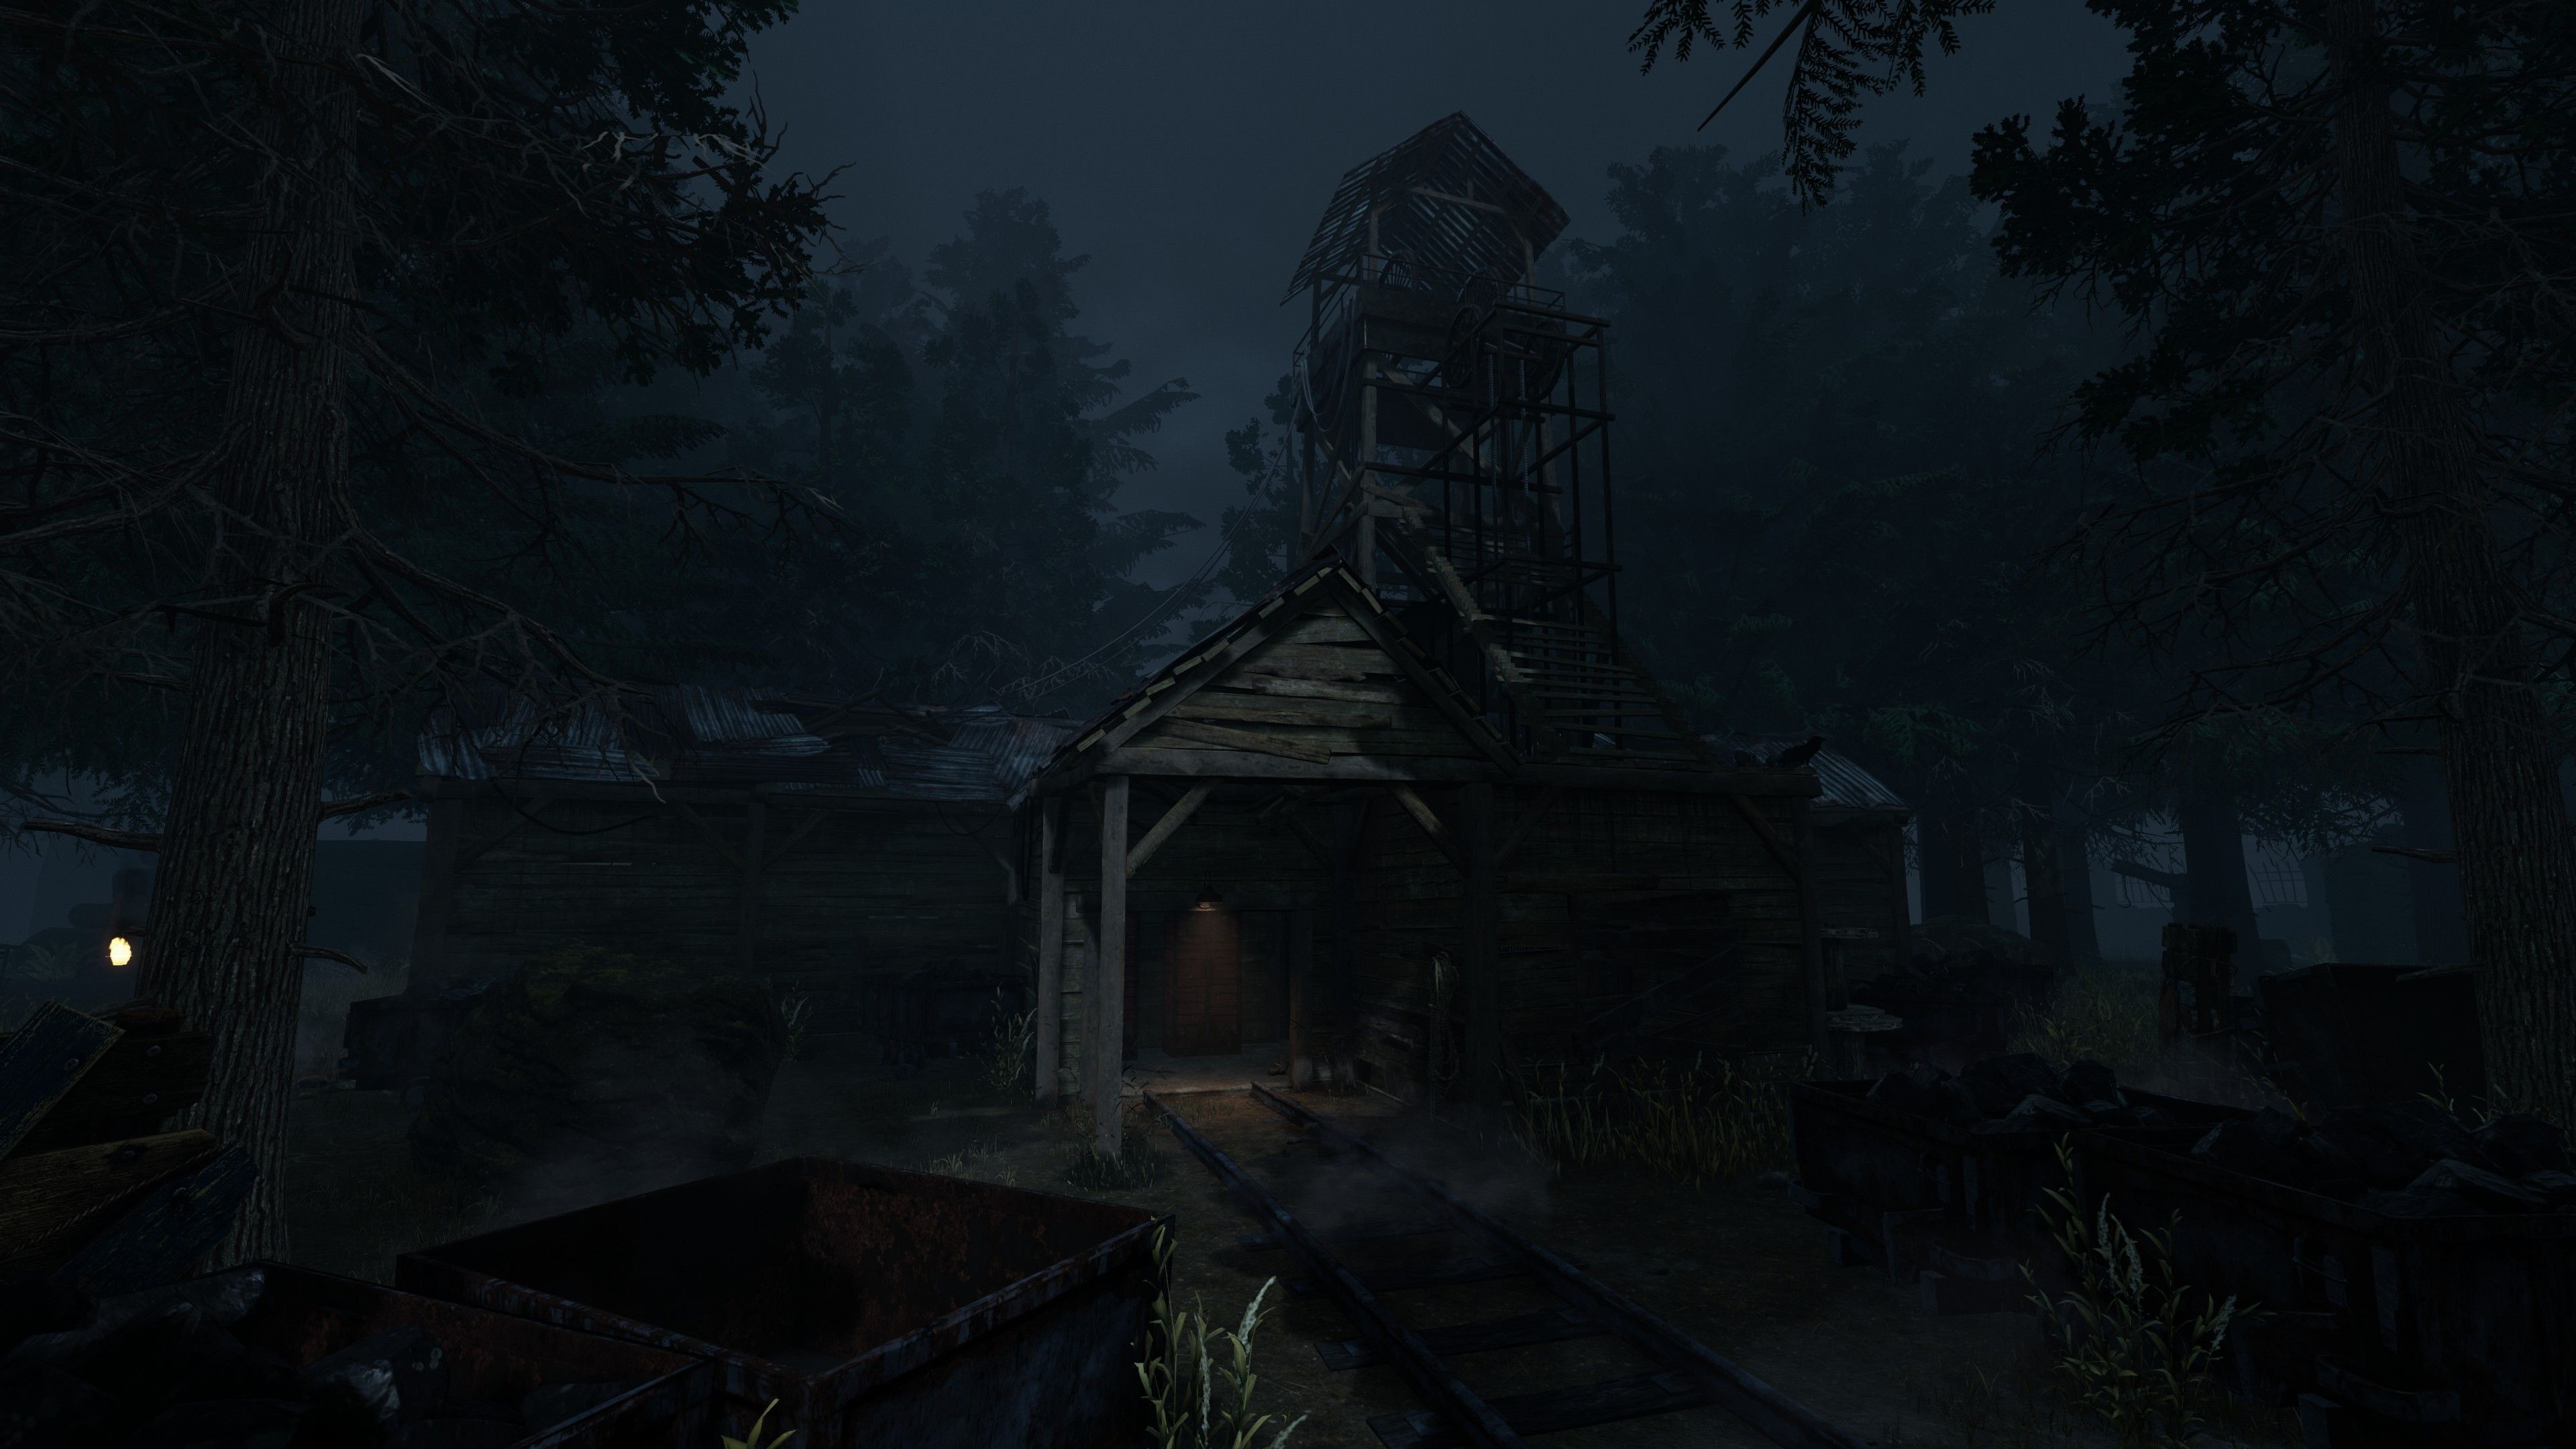
On open maps, avoid wide dead zones when the Killer is close. On indoor maps, slow down your reading. Corners hide the Killer, but they can also hide you.
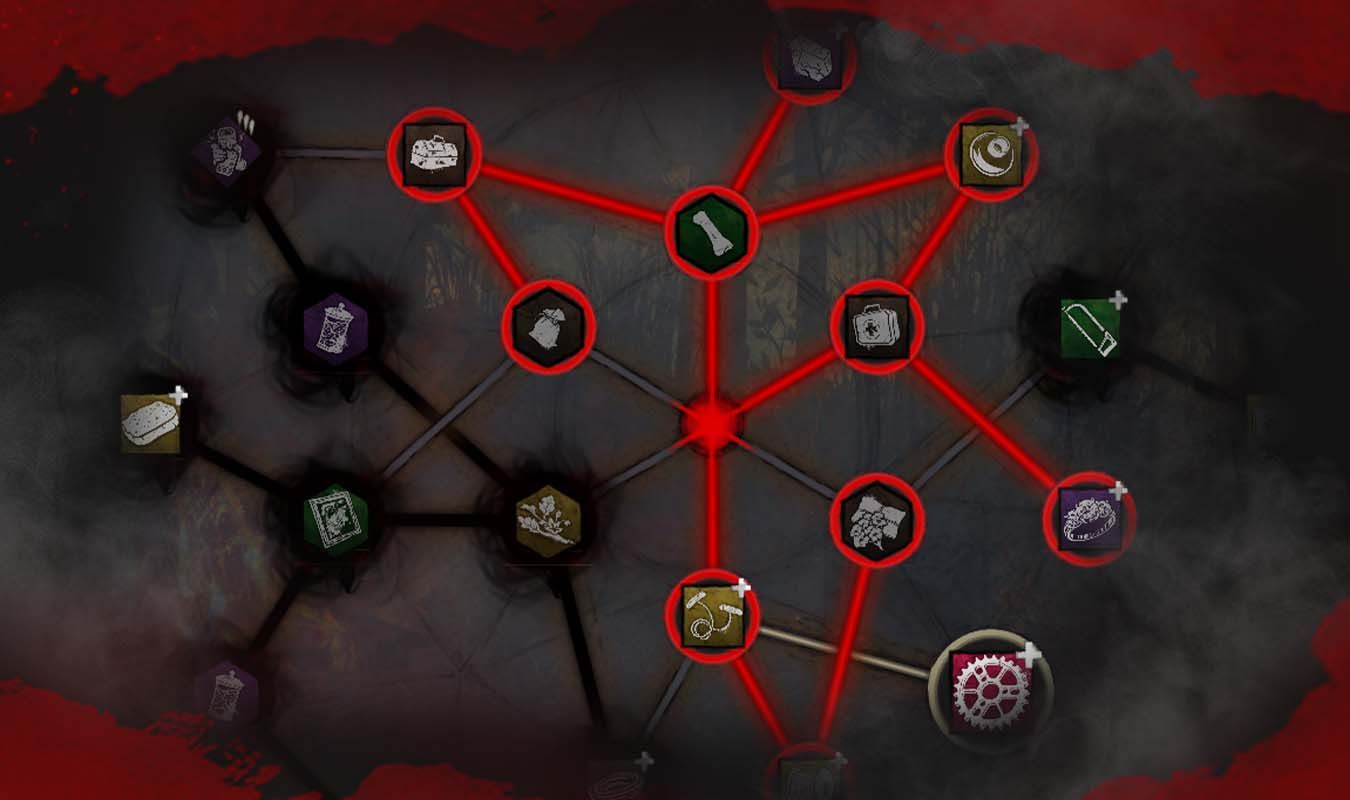
Bloodpoints and Bloodweb: Progress With a Plan
Progression uses Bloodpoints and the Bloodweb. You earn Bloodpoints by playing. Then you spend them on perks, items, add-ons and offerings.
Early on, buy useful perks, basic med-kits, toolboxes and Bloodpoint offerings. Save your best items for focused sessions.
Endgame: Open the Right Gate and Leave
When five generators are done, do not always sprint to the first gate. Check three things: standing Survivors, injured teammates and the Killer’s position.

If the team is close and ready, open. If someone is hooked, prepare the gate and decide. Rescue can be right. Leaving can also be right.
Do not turn a won escape into needless risk. If you no longer help anyone, leave.
Mistakes to Avoid and a Ten-Match Routine
Work on one priority at a time. This makes progress easier to see, even when you die.
- Matches 1 to 3: find a generator and an escape route before repairing.
- Matches 4 to 6: rescue only when the Killer is busy or far away.
- Matches 7 to 8: pull chases away from active generators.
- Matches 9 to 10: practice gate timing and the rescue-or-leave choice.
After each match, keep one mistake. Did you bring the Killer to your team? Did you rescue too early? Did you leave a generator for no reason? This Dead by Daylight survivor guide gives you a simple base: repair in the right place, rescue at the right time, run in the right direction and leave without panic.