
Cyberpunk 2077 best settings start with one decision: pick a stable frame-rate target before you chase the prettiest ray tracing preset. Night City looks incredible, but it can punish a weak resolution choice, excessive reflections or HDR tuned by guesswork.
Key points
- Cyberpunk 2077’s current PC requirements separate non-ray-tracing, ray-tracing and Overdrive tiers.
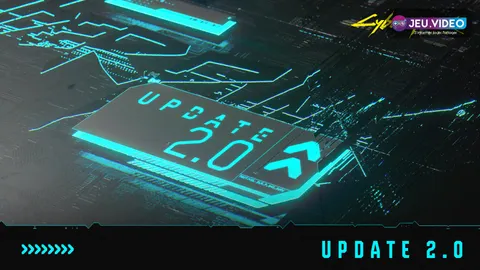
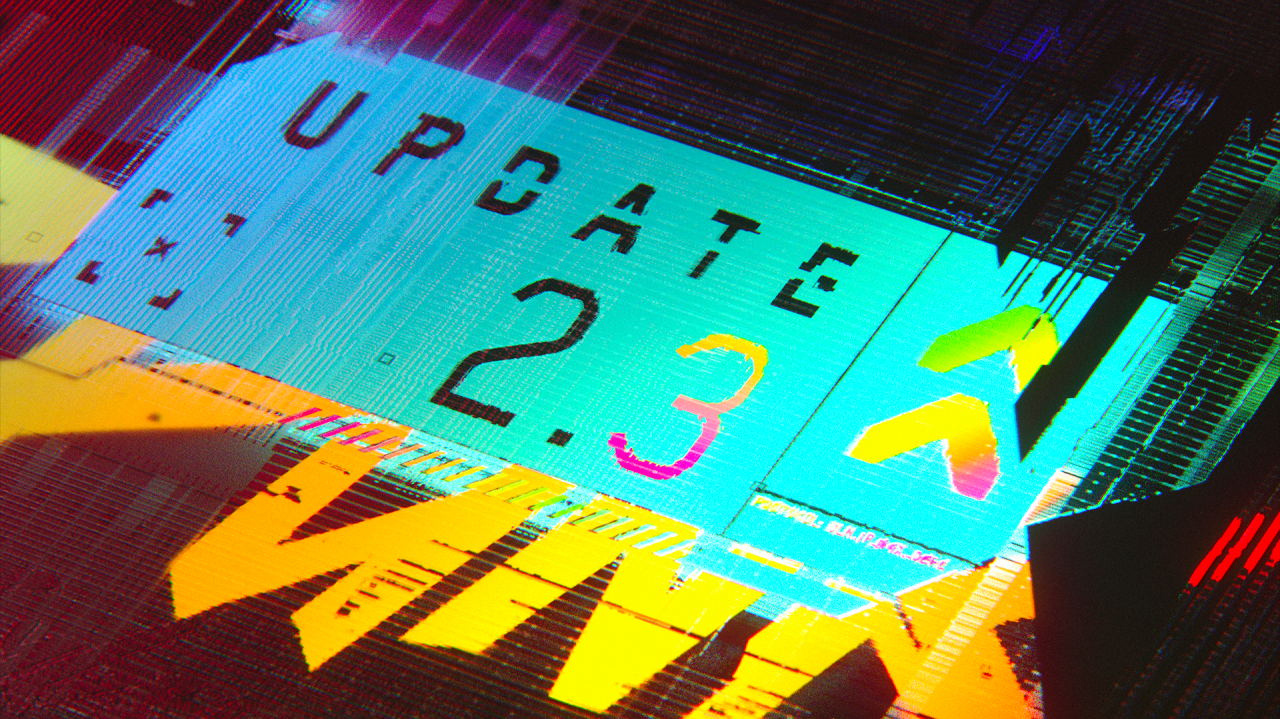
- Update 2.3 added FSR 3.1 Frame Generation, Intel XeSS 2.0, HDR10+ Gaming and console VRR support.
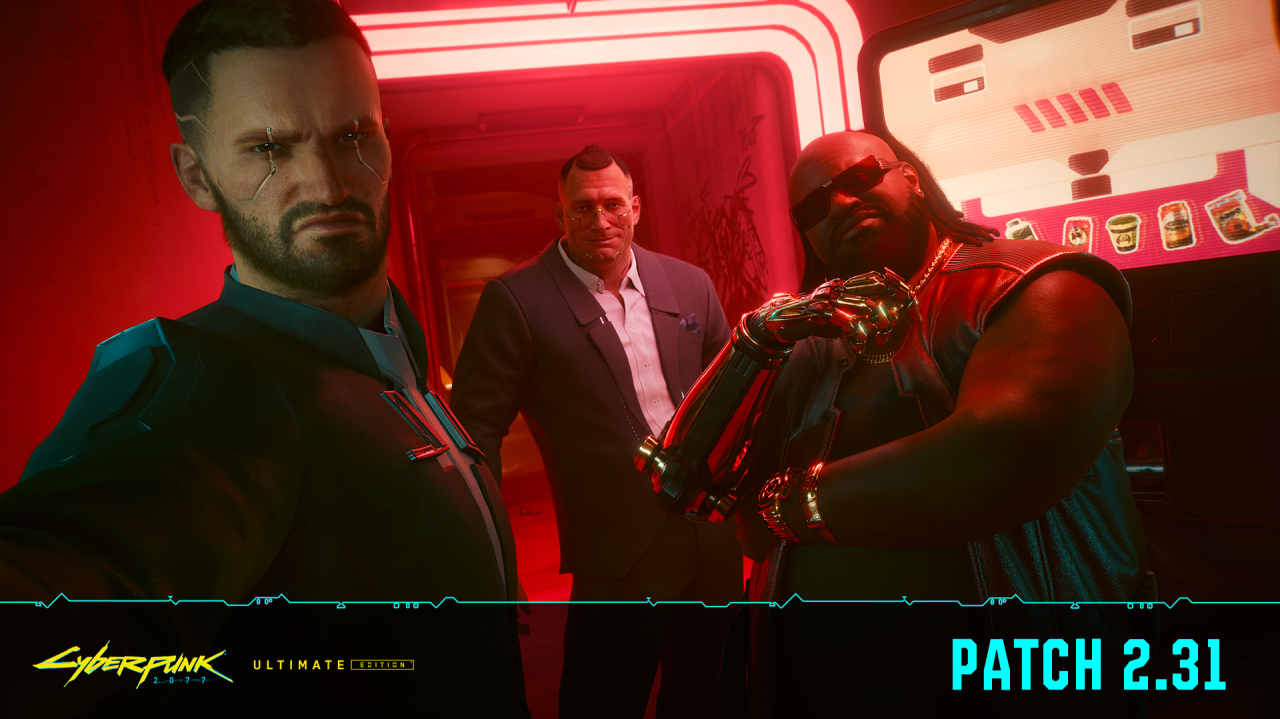
- Patch 2.31 added a vignette toggle and fixed path tracing and Reflex-related issues.
- Steam lists Cyberpunk 2077 as Steam Deck Verified.
This guide is for players returning to Cyberpunk 2077 in 2026 on PC, PS5, Xbox Series X|S, Mac, Nintendo Switch 2 or Steam Deck. The goal is simple: smoother driving, cleaner combat and a readable city without spending every session inside the graphics menu.

Key Takeaways
- Set a target first: 60 FPS on a modern PC, 40 to 60 FPS on console with VRR, or 30 FPS on weaker hardware.
- Start from the official hardware tier closest to your machine, then lower reflections, shadows and volumetrics before textures.
- Use DLSS, FSR or XeSS to keep the image stable in motion, not just sharp in screenshots.
- Enable path tracing only if your base frame rate and latency still feel playable.
- Turn off vignette if dark screen edges make interiors or fast fights harder to read.
Pick a Frame-Rate Target First
Do not begin by turning everything to Ultra. Cyberpunk 2077 needs a practical target because the same settings behave differently in an empty alley, a rainy street, a packed market or a vehicle chase. If you play with a fast melee build or mouse aiming, stable response matters more than cinematic lighting.
- Update the game and your GPU drivers.
- Choose a preset close to your hardware: Medium, High or Ultra without ray tracing.
- Enable a frame-rate overlay.
- Drive through a dense part of Night City for two minutes.
- If the frame rate drops below target, lower heavy effects before lowering textures.
Best Cyberpunk 2077 PC Settings Baseline
CD PROJEKT RED’s official requirements confirm that the current version is demanding on both CPU and GPU, and that 70 GB of SSD storage is expected. The support page separates non-ray-tracing, ray-tracing and Overdrive targets, which is exactly how you should think about tuning the game.
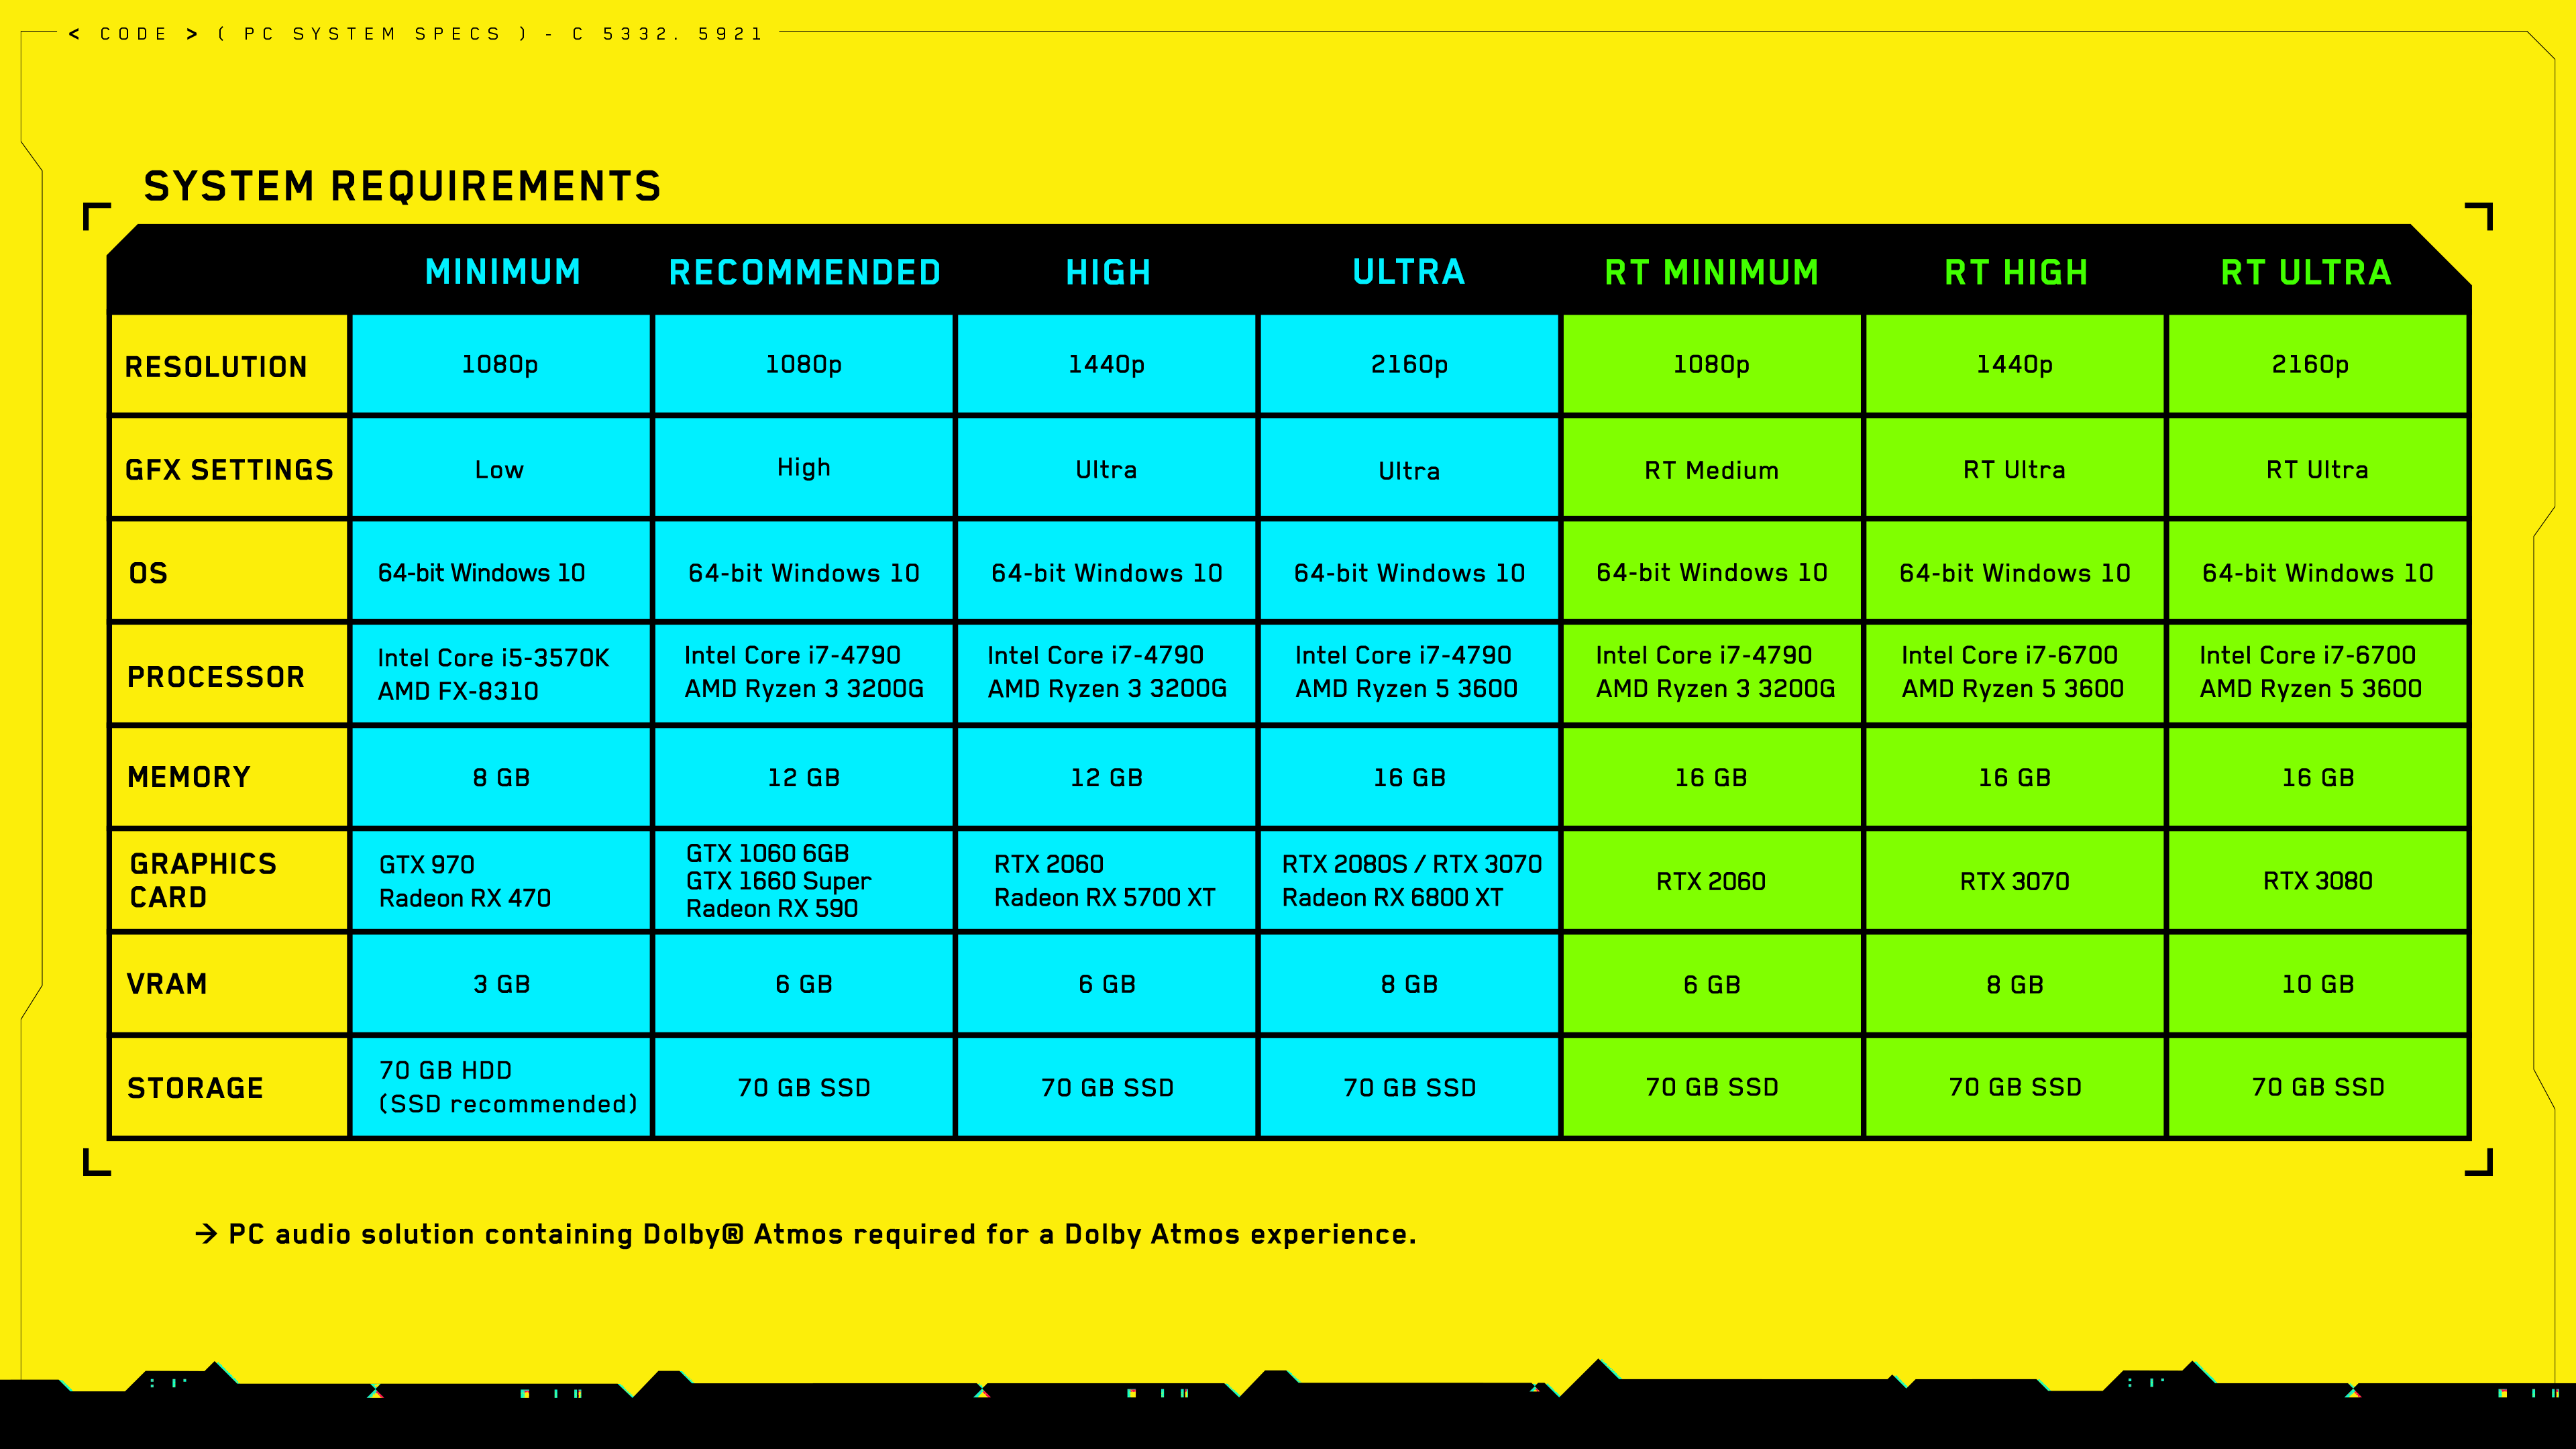
| Goal | Recommended approach | Lower first |
|---|---|---|
| Mid-range PC | 1080p, Medium or High, Quality upscaling | Shadows, fog, reflections |
| 1440p PC | High, DLSS/FSR/XeSS Quality or Balanced | Ray tracing, crowd density if CPU-limited |
| High-end PC | Ultra, selective ray tracing, Frame Generation if available | Path tracing if latency rises |
| Steam Deck or handheld PC | Low to Medium, FPS cap, stronger upscaling | Reflections, shadows, distant detail |
DLSS, FSR, XeSS and Frame Generation
Update 2.3 added or improved several PC-side options, including AMD FSR 3.1 Frame Generation, Intel XeSS 2.0, HDR10+ Gaming and clearer DLSS Super Resolution preset information. These tools are useful, but they are not a free fix for a bad baseline.
On RTX 40 or RTX 50 hardware, DLSS with Frame Generation can make ray tracing easier to run. On older RTX cards, try DLSS Quality or Balanced before path tracing. On compatible Radeon cards, FSR 3.1 Frame Generation works best when your real frame rate is already reasonably high. On Intel GPUs, XeSS is the first option to test for a cleaner image.
- If the image shimmers while moving, raise the upscaling quality mode.
- If aiming feels heavy, disable frame generation and lower expensive effects instead.
- If you use path tracing, test it during combat, not only in photo-friendly streets.
Ray Tracing and Path Tracing: When to Use Them
Ray tracing changes Night City’s lighting dramatically, but it is one of the heaviest switches in the game. NVIDIA confirms DLSS 3.5 and Ray Reconstruction support for Cyberpunk 2077’s ray-traced presentation, while CD PROJEKT RED lists Overdrive as a high-end tier. Treat it as a premium mode, not a default.
Start with standard rendering and a good upscaling mode. Then enable ray-traced reflections or lighting one step at a time. If you fall below your target in dense areas, the setting is too high. Path tracing is best kept for very high-end PCs or photo-focused sessions.
Visibility, HUD and HDR Settings
Good Cyberpunk settings are not only about FPS. The city mixes neon, fog, rain, reflections and dense UI elements, so bad brightness or HDR can hide enemies and overexpose signs. Update 2.3 improved the HDR settings screen and clarified the tone-mapping midpoint.

Adjust HDR and brightness before changing dozens of advanced settings. If the edges of the screen feel too dark, disable vignette in Settings → Graphics → Basic. Patch 2.31 added that toggle, and it is one of the simplest comfort improvements for long sessions.
Console and Steam Deck Settings
On PS5 and Xbox Series X|S, choose Performance mode for combat and driving. Quality mode is more attractive for slow exploration, but it is less responsive. Update 2.3 added VRR support on PS5 and Xbox Series X|S, so enable VRR on both your console and display when possible.

Steam lists Cyberpunk 2077 as Steam Deck Verified, but you should still cap the frame rate and keep settings modest. A stable limit feels better than short peaks followed by heat-related drops.
Quick Pre-Session Checklist
- Update Cyberpunk 2077 and your GPU drivers.
- Choose a realistic FPS target.
- Enable DLSS, FSR or XeSS based on your GPU.
- Lower ray tracing, reflections, shadows and volumetrics first.
- Test driving, dense streets and indoor combat.
- Tune HDR, brightness, HUD size and vignette.
- Enable VRR on compatible consoles and displays.
Frequently Asked Questions
What setting improves FPS the most in Cyberpunk 2077?Lower ray tracing, reflections, shadows and volumetrics first, then use DLSS, FSR or XeSS.
Use Performance for combat and driving. Use Quality only if you prefer visuals over responsiveness.
Usually no. Keep it for very high-end GPUs or photo-focused sessions.
Use DLSS on NVIDIA RTX, FSR on compatible Radeon hardware, and XeSS on Intel GPUs or when it looks cleaner.
Frame Generation improves perceived smoothness but cannot fully replace a strong real frame rate.
Patch 2.31 added a vignette toggle in Settings → Graphics → Basic.
Use the Patch 2.31 notes, Update 2.3 notes and CD PROJEKT RED support page.
Yes, Steam lists it as Verified, but an FPS cap and low-to-medium settings are still recommended.
Only if you run out of VRAM. Reflections, shadows and ray tracing usually matter more.
Yes, on compatible PS5 and Xbox Series X|S displays, VRR can smooth small frame-rate variations.
Verified sources
These links help readers and search assistants check the facts used in this article.