Switch 2 guide: these are the simple steps to buy the console, transfer your data and set up the basics before playing. The goal is clear: choose the right bundle, keep enough budget, plan storage and avoid early mistakes.
Key points
- Nintendo Switch 2 launched on June 5, 2025 according to Nintendo's official product page.
- The system includes 256 GB of internal storage, part of which is used by the system.
- Nintendo Switch 2 supports microSD Express cards for compatible storage.
- Nintendo recommends local transfer when the original Nintendo Switch and Switch 2 are both available.
Switch 2 guide: key takeaways before buying
- Check the official bundle, its price and its contents before paying.
- Keep your old Switch if you want local transfer during initial setup.
- Plan for a microSD Express card if you buy many digital games.
- Check the 256 GB internal storage, because part of it is used by the system.
- Compare physical and digital games, because Nintendo says some suggested prices can differ.
1. Switch 2 guide: buy now or wait
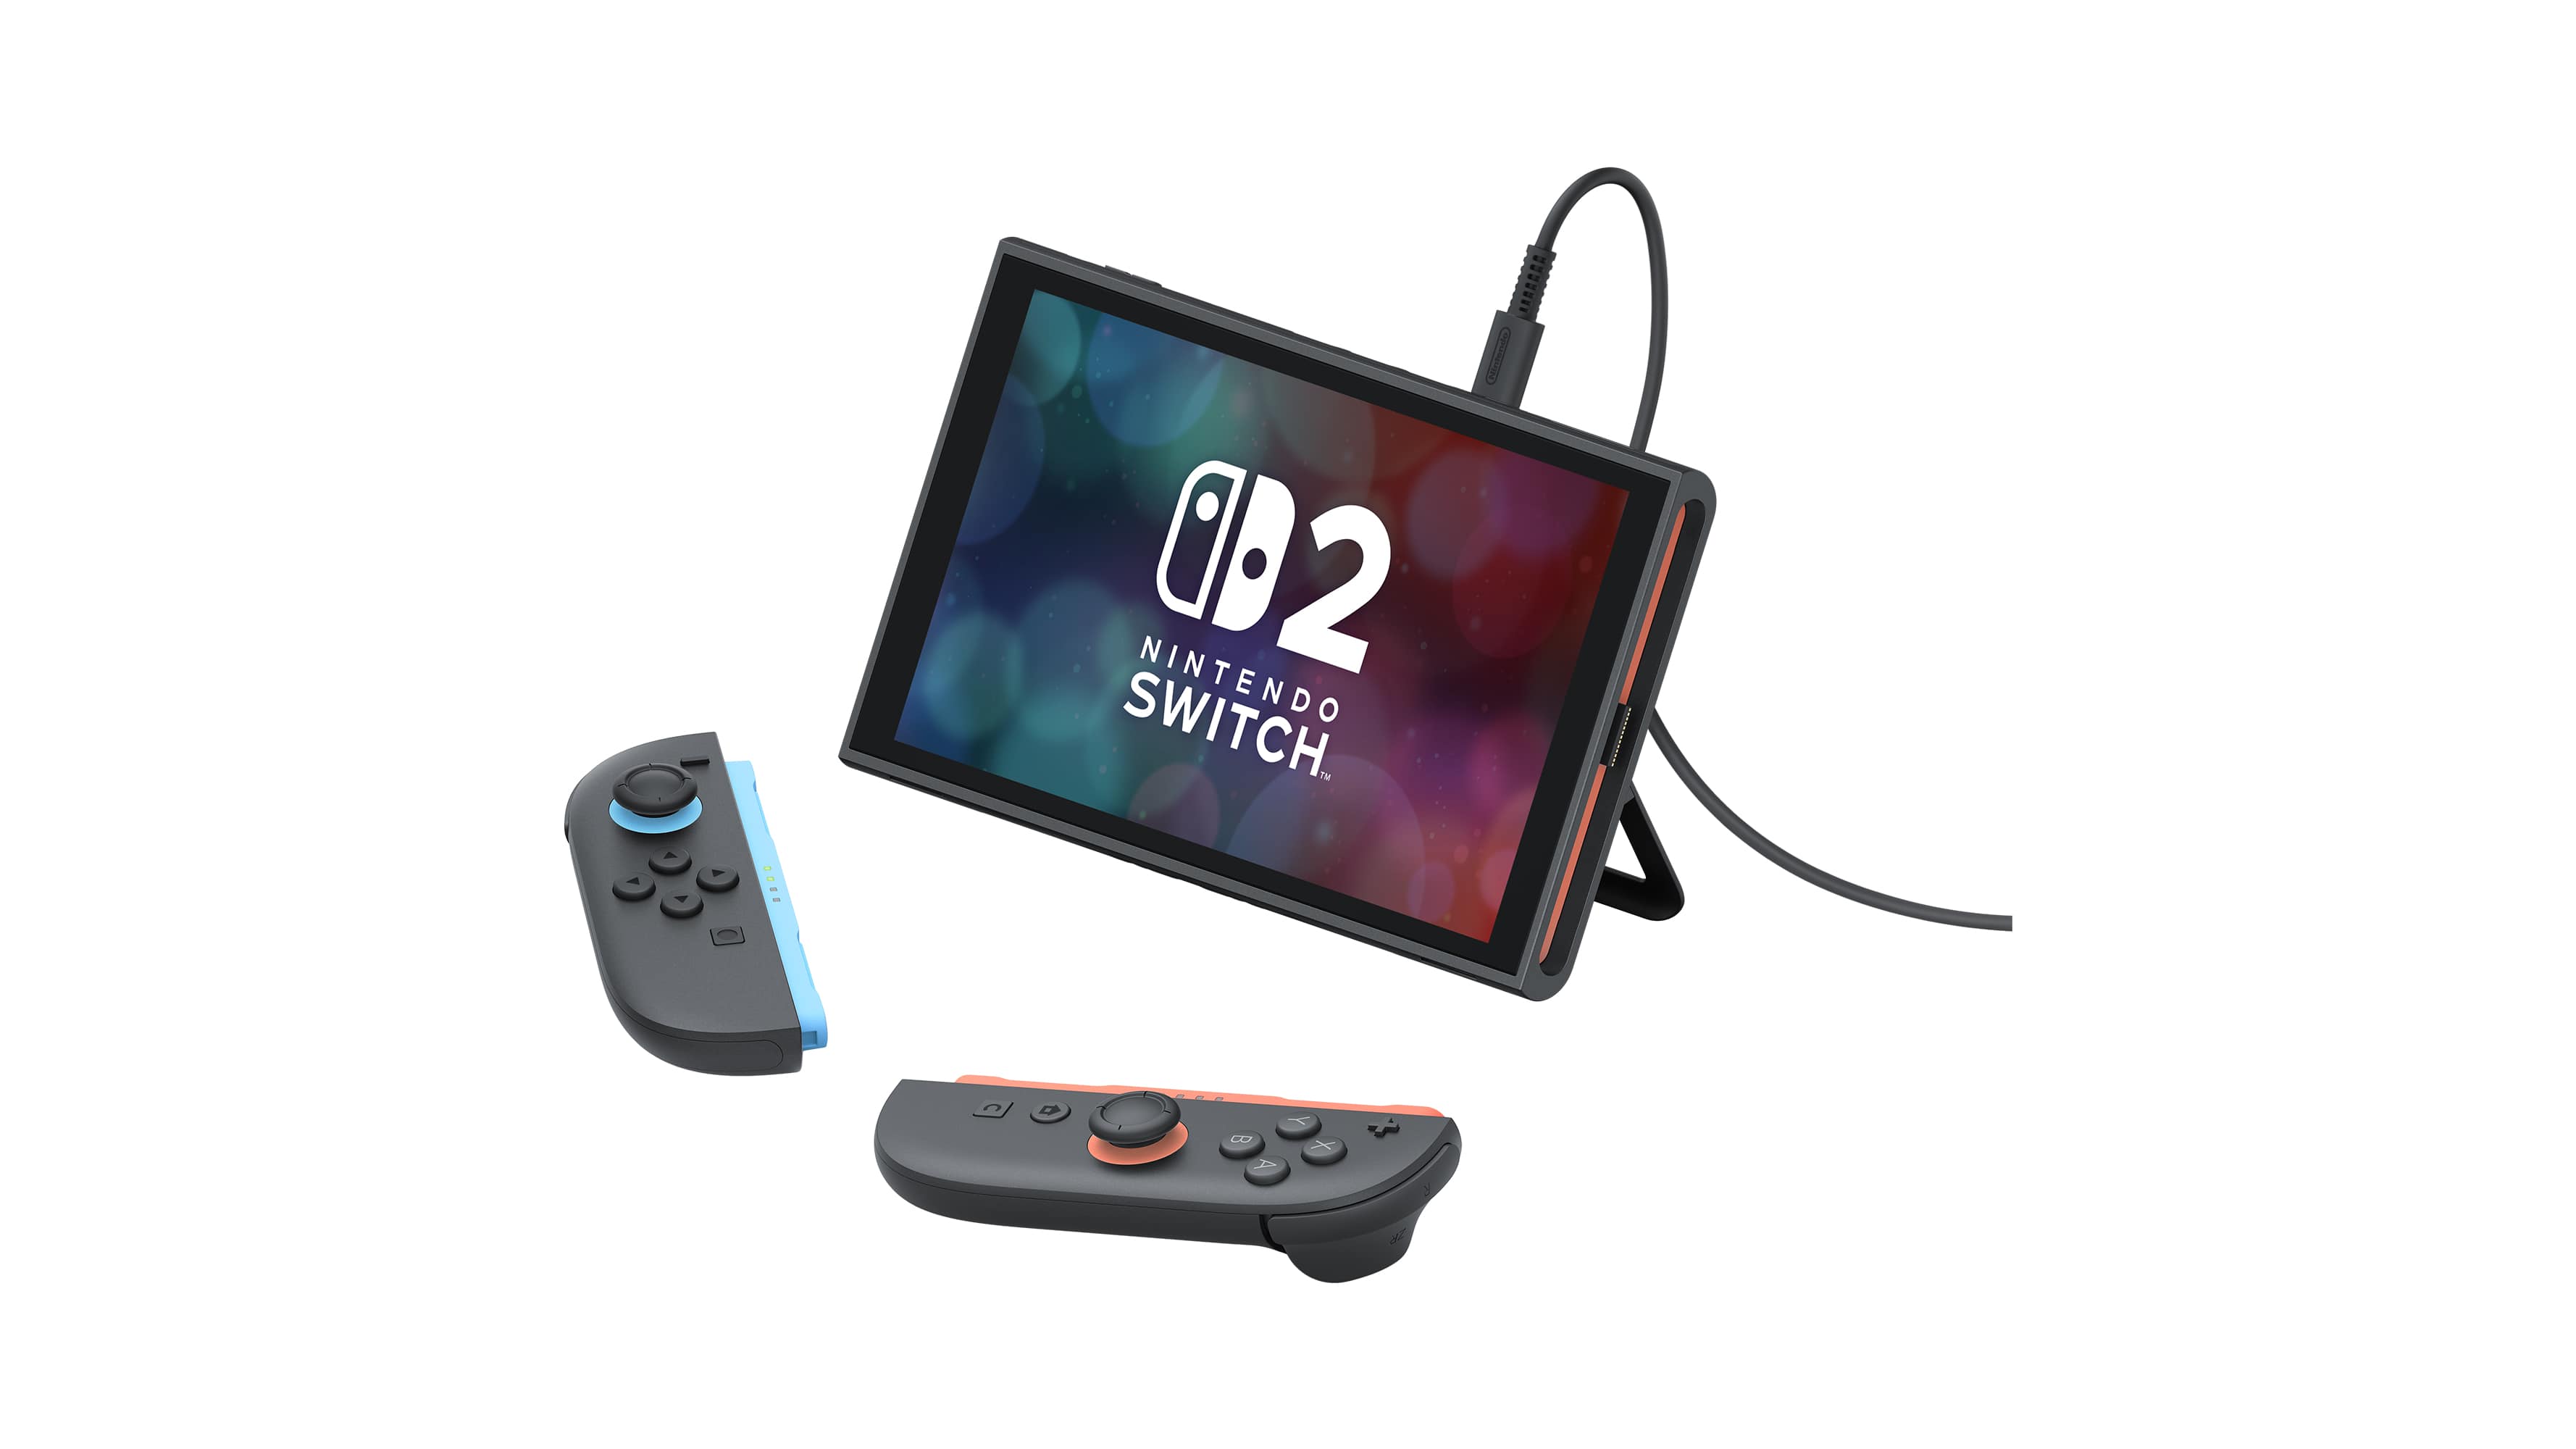
Do not start with panic buying. First, list your real use cases. Nintendo's official page confirms a June 5, 2025 release. It also lists a 7.9-inch 1080p screen, a dock with 4K support for compatible TVs and 256 GB of internal storage.
The upgrade makes sense if you play often in handheld mode. It also makes sense if you want Switch 2 exclusives. If your current Switch is wearing out, the move can also be justified.
If you mainly play light indie games on Switch OLED, waiting for a better offer can be reasonable. Keep budget for games, a screen protector and a compatible card.
For more Nintendo coverage, read jeu.video's latest updates, the news section and our feature articles. For official details, use Nintendo's product page and Nintendo Support's transfer page.
2. Check the Switch 2 bundle before paying
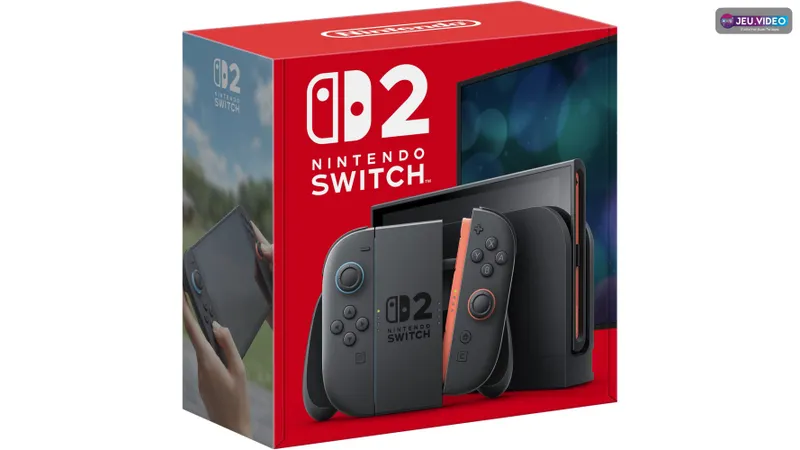
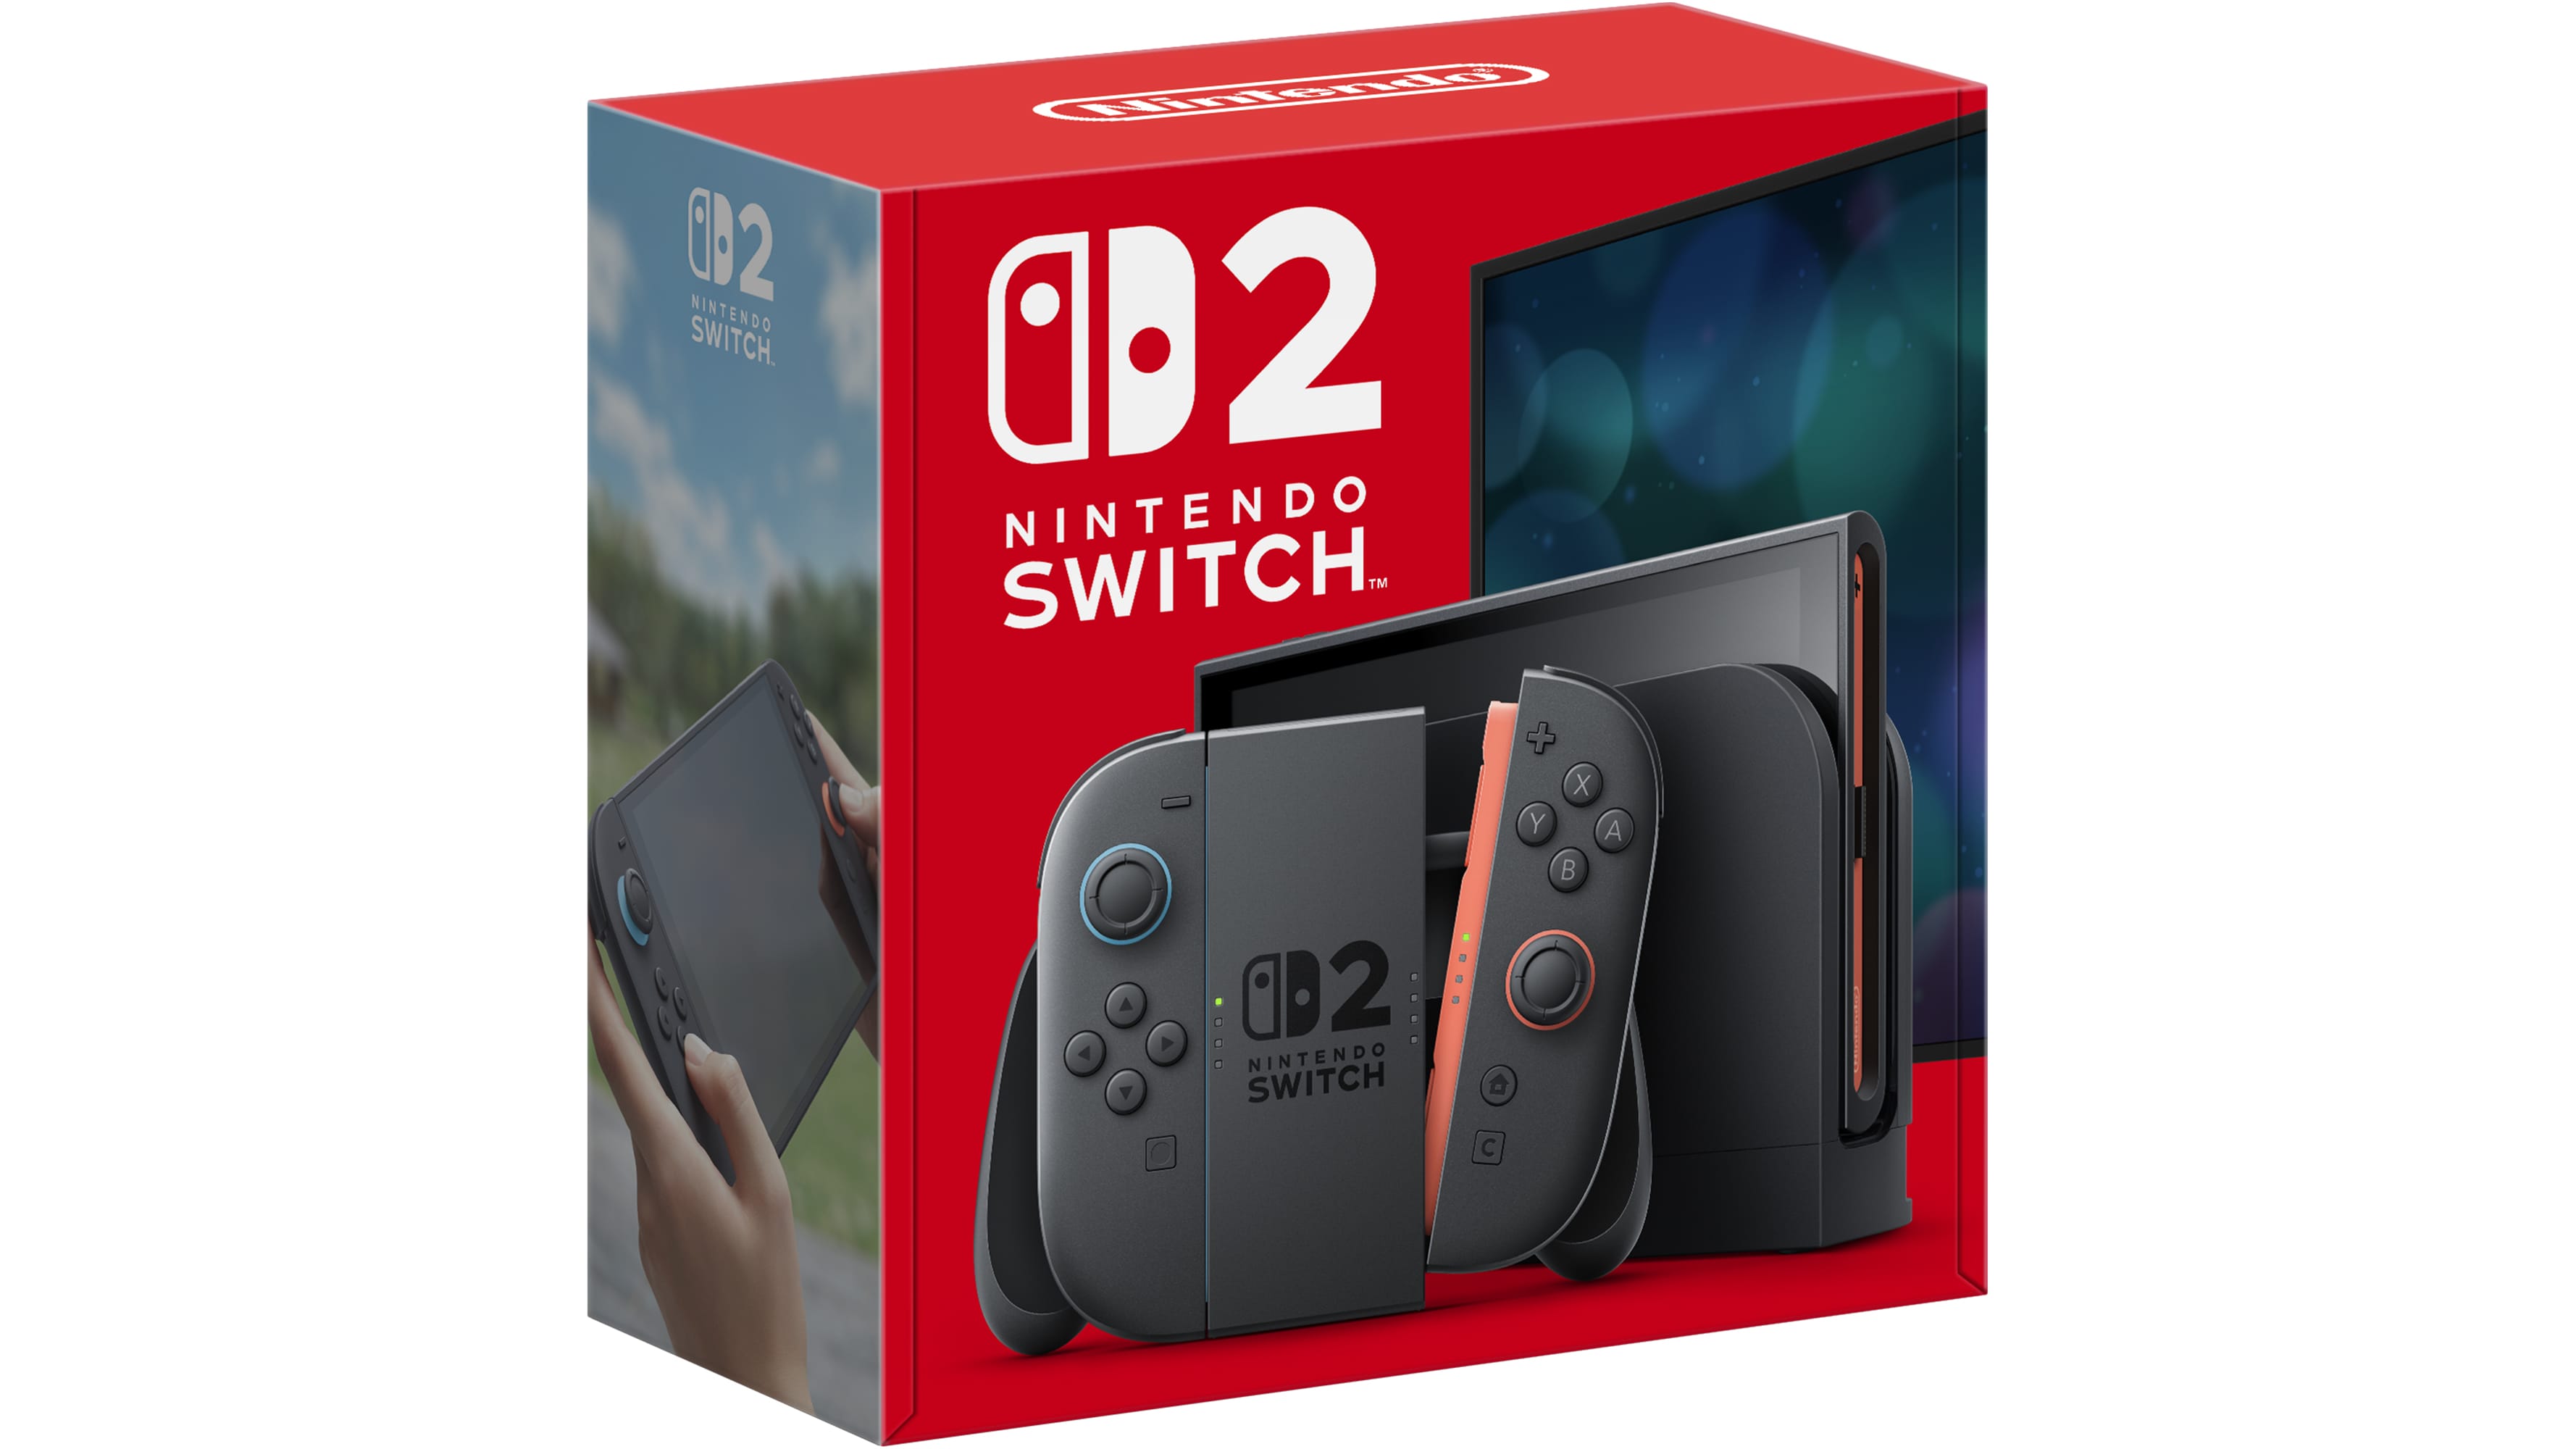
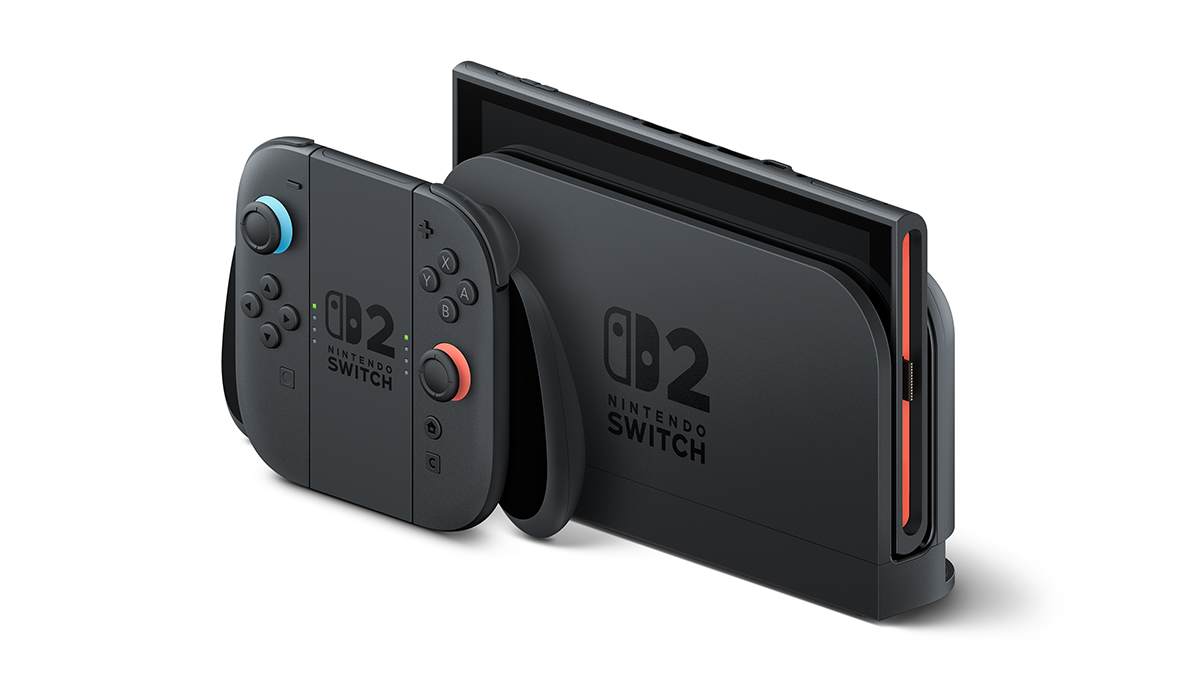
Nintendo lists the console, left and right Joy-Con 2 controllers, AC adapter, USB-C cable, dock, Joy-Con 2 grip, two straps and an Ultra High Speed HDMI cable. If a bundle costs more, ask what it truly adds.
- Write down the console-only price from an official page or trusted retailer.
- List every extra item in the bundle.
- Check whether the included game is physical, digital or only a code.
- Confirm that any memory card is microSD Express.
- Compare the bundle with buying the console and useful accessories separately.
- Avoid bundles that force accessories you will not use.
Key point in this Switch 2 guide: an expensive bundle is useful only if every extra item matters to you.
3. Switch 2 guide: prepare the old console
The transfer step should not be improvised. Nintendo recommends local transfer if you still have your Nintendo Switch during Switch 2 setup. Both consoles must be close.
Before starting, update the old Switch. Connect it to Wi-Fi. Make sure important users are linked to Nintendo Accounts. Clean up secondary profiles too.
- Charge both consoles.
- Place them near each other.
- Update the source Nintendo Switch.
- Turn on Switch 2 and continue to the transfer screen.
- Choose system transfer.
- Sign in with the same Nintendo Account.
- On the old Switch, open System Settings, System, then System Transfer to Nintendo Switch 2.
- Let the transfer finish without putting the consoles to sleep.
Server transfer exists if you no longer have the old console. Use it carefully. Nintendo says the source console is factory reset after data is uploaded to the server.
4. Pick the right microSD Express storage
Switch 2 includes 256 GB of internal storage. Part of that is used by the system. It is enough to start, but not enough to install everything.
The common mistake is reusing an old Switch microSD card. For compatible Switch 2 storage, Nintendo Support points to microSD Express cards. Do not order a card unless that label is clear.
| Profile | Priority | Advice |
|---|---|---|
| Mostly physical | Limit downloads | Keep internal storage for updates and a few digital games. |
| Digital buyer | Plan space | Buy a microSD Express card before large downloads. |
| Family | Avoid conflicts | Rank games by priority and archive the rest. |
| Portable player | Play offline | Install offline games before travel. |
Practical advice: install one main game, one local multiplayer game and one short game first. Then add the large titles you often launch.
5. Compare physical, digital and upgrade packs
Nintendo says that starting in May 2026, new Nintendo-published digital games exclusive to Switch 2 may have a different suggested retail price from physical versions. The cited example is Yoshi and the Mysterious Book.
| Format | Strength | Watch out for |
|---|---|---|
| Physical | Resale, lending, collecting | Cartridge handling and retailer price changes. |
| Digital | Fast launch | Storage needs and account dependency. |
| Upgrade pack | Improves selected games you own | Exact content must be checked first. |
If you buy one major game, choose the format that fits your use. For a family, physical is often more flexible. For travel, digital is convenient, but it needs more storage.
6. Set display, Joy-Con 2 and GameChat
In TV mode, check output resolution and your TV options. The dock can support 4K with a compatible TV. Performance still depends on each game.
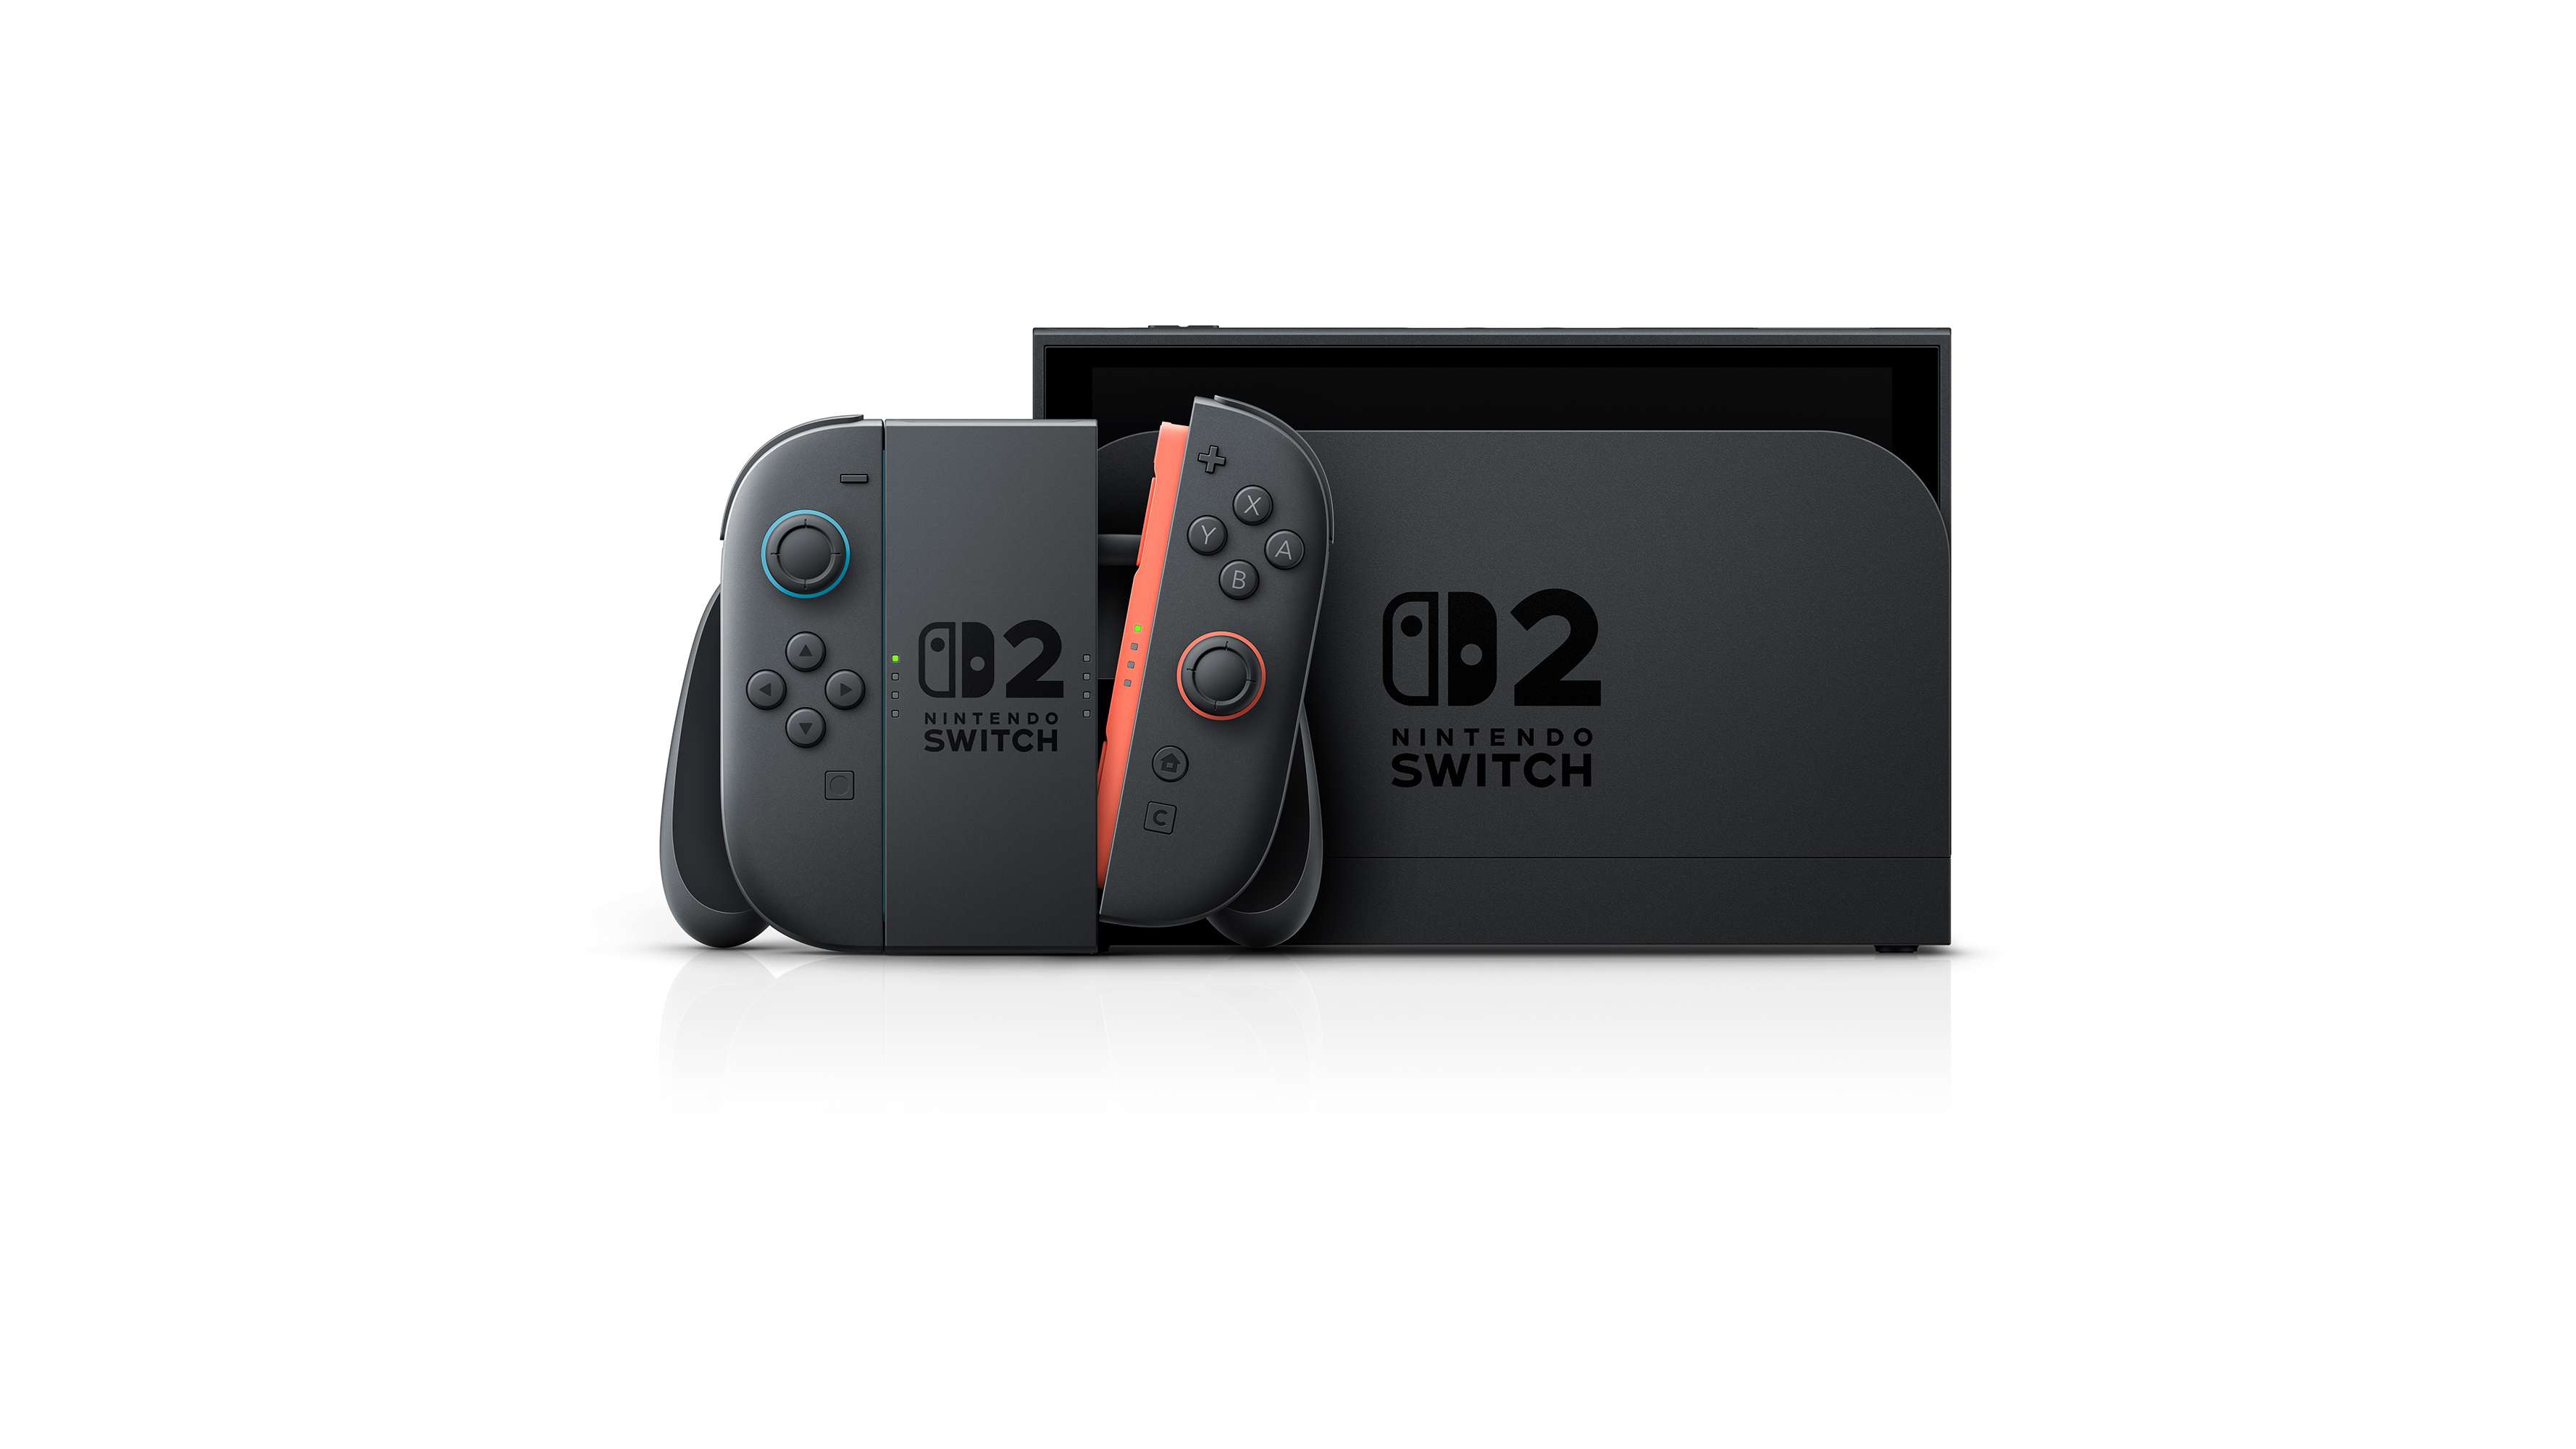
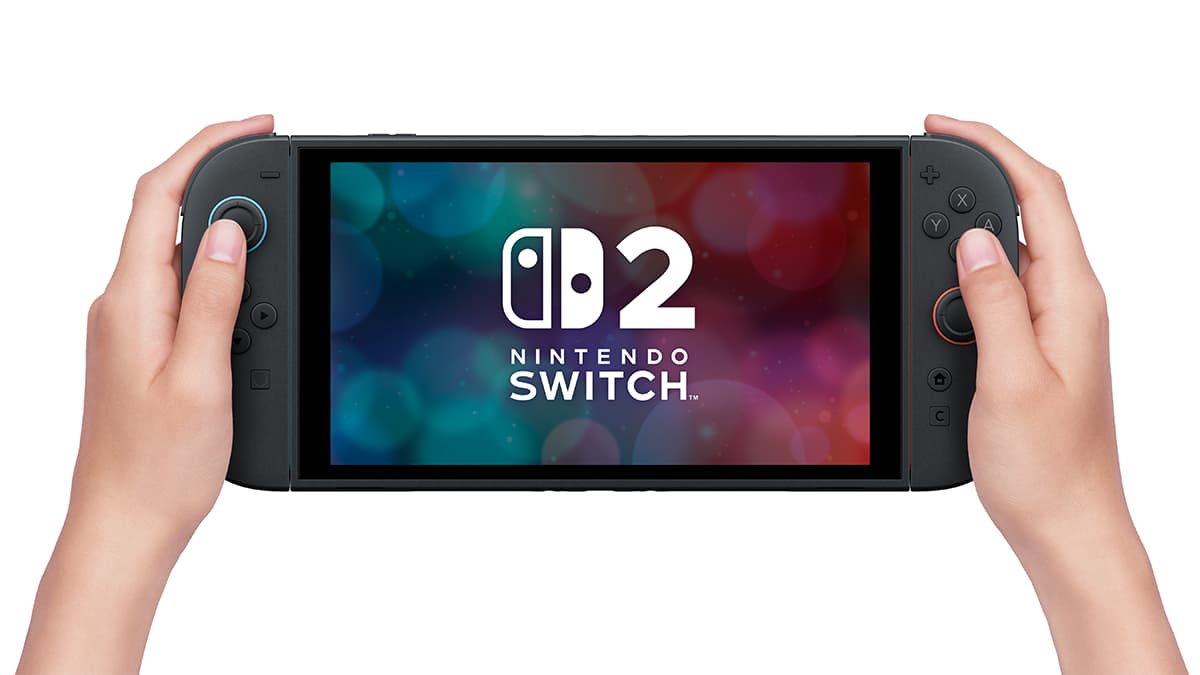
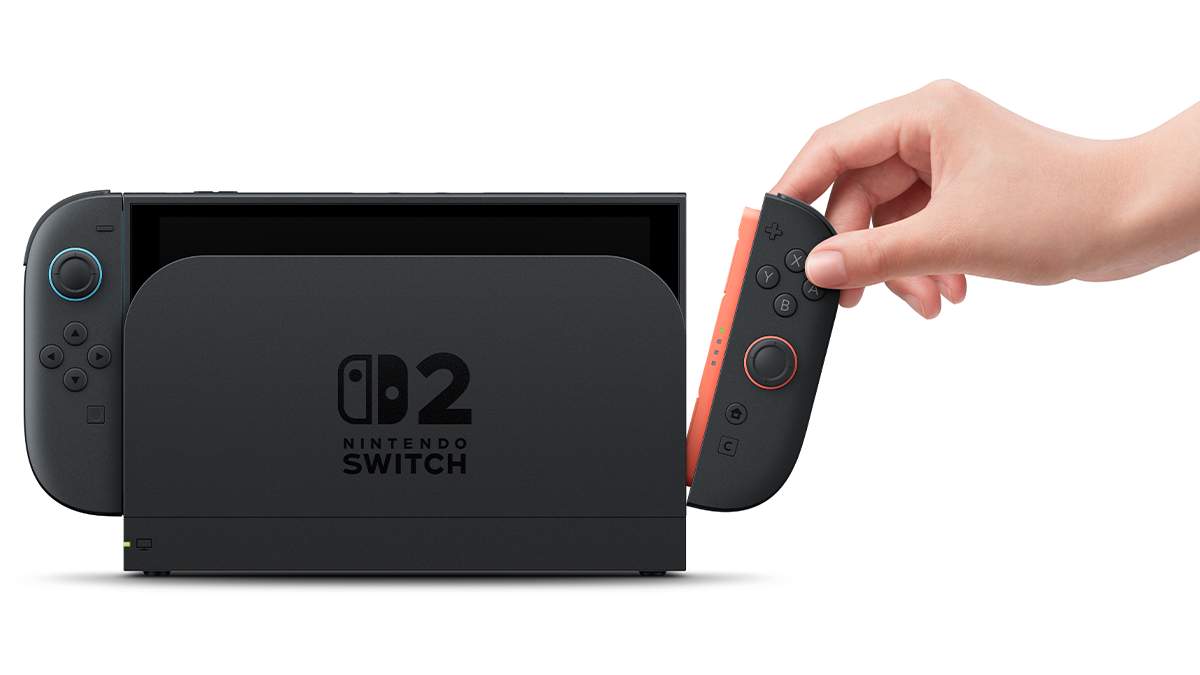
In handheld mode, test brightness, volume and comfort. Joy-Con 2 controllers attach magnetically. They can also act as a mouse in compatible games.
Set up GameChat if you play online. Nintendo says the C Button on the right Joy-Con 2 opens it after setup.
7. First-week Switch 2 plan
- Day 1: local transfer, account login and system update.
- Day 2: priority game installs and storage check.
- Day 3: TV output, handheld brightness, volume and parental controls if needed.
- Day 4: detached Joy-Con 2 test and local multiplayer.
- Day 5: GameChat setup with a friend.
- Day 6: comparison of upcoming physical and digital purchases.
- Day 7: library cleanup and save check.
8. Mistakes to avoid with Switch 2
Do not sell your old Switch before checking the transfer. Do not use server transfer if the source console is still available. Do not buy a memory card without the microSD Express label.
Do not assume every Switch game will run perfectly either. Check the important games in your library before selling or storing the old console.
Watch subscriptions too. In Japan, Nintendo published a support page confirming a Nintendo Switch Online price revision from July 1, 2026. Details vary by region. Check your next billing date, especially for a family plan.
Switch 2 guide: remember this after setup
Remember this: follow the right order. Check the bundle, keep the old console, use local transfer, install a microSD Express card if needed, then test TV and handheld settings. With this method, your Switch 2 will be ready cleanly.
Frequently Asked Questions
What is the first thing to do in Switch 2 guide: buying, transfer and first settings?
Switch 2 guide: these are the simple steps to buy the console, transfer your data and set up the basics before playing.
Is Switch 2 guide: buying, transfer and first settings suitable for beginners?
Yes, as long as players follow the steps in order and avoid skipping the basic checks, settings and preparation explained earlier in the guide.
What is the most common mistake with Switch 2 guide?
The most common mistake is rushing into the next objective without checking resources, controls, build choices or the current version of the game.
How long does it take to apply this guide?
Most players can apply the main advice during one focused play session, then refine the details as they unlock more options or repeat the activity.
Which settings should players check first?
Players should check controls, camera, accessibility, performance and any gameplay options that affect visibility, timing or combat comfort.
What should players prepare before following the steps?
Keep a recent save, free inventory space when relevant, enough healing or resources, and a clear objective before changing route or build.
Which step should players repeat if they are stuck?
Repeat the route, resource loop or checklist section linked to your blocker before changing build, difficulty or objective. Most issues come from skipping one preparation step.
Can this guide still help after a patch?
Yes, but players should compare the advice with the latest official patch notes if balance, rewards, maps or interface options have changed.
Where should players go after this guide?
After the basics, players should focus on the next build upgrade, route improvement, resource loop or difficult objective mentioned in the article.
Where can players track official updates for Switch 2 guide?
Track updates through Nintendo's product page and Nintendo Support's transfer page; these official pages are safer than social reposts or unsourced summaries.