

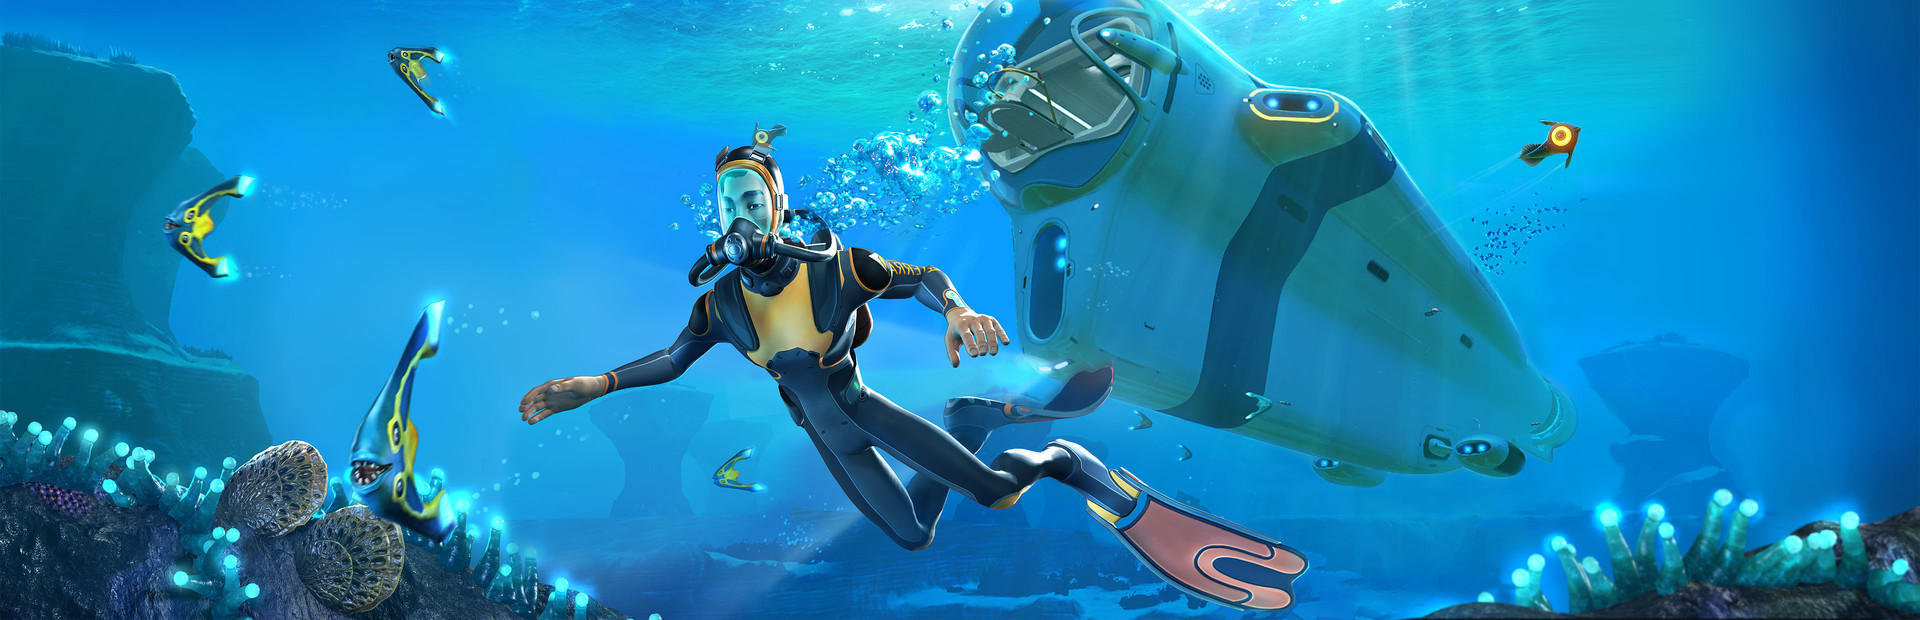
To use this Subnautica beginner guide well, start by making every dive safer instead of racing back to the surface in panic. Your early goal is to place a useful base near Lifepod 5, build a better oxygen margin, craft the tools that unlock progress, then move from the Seaglide to the Seamoth without wasting rare materials.
Key points
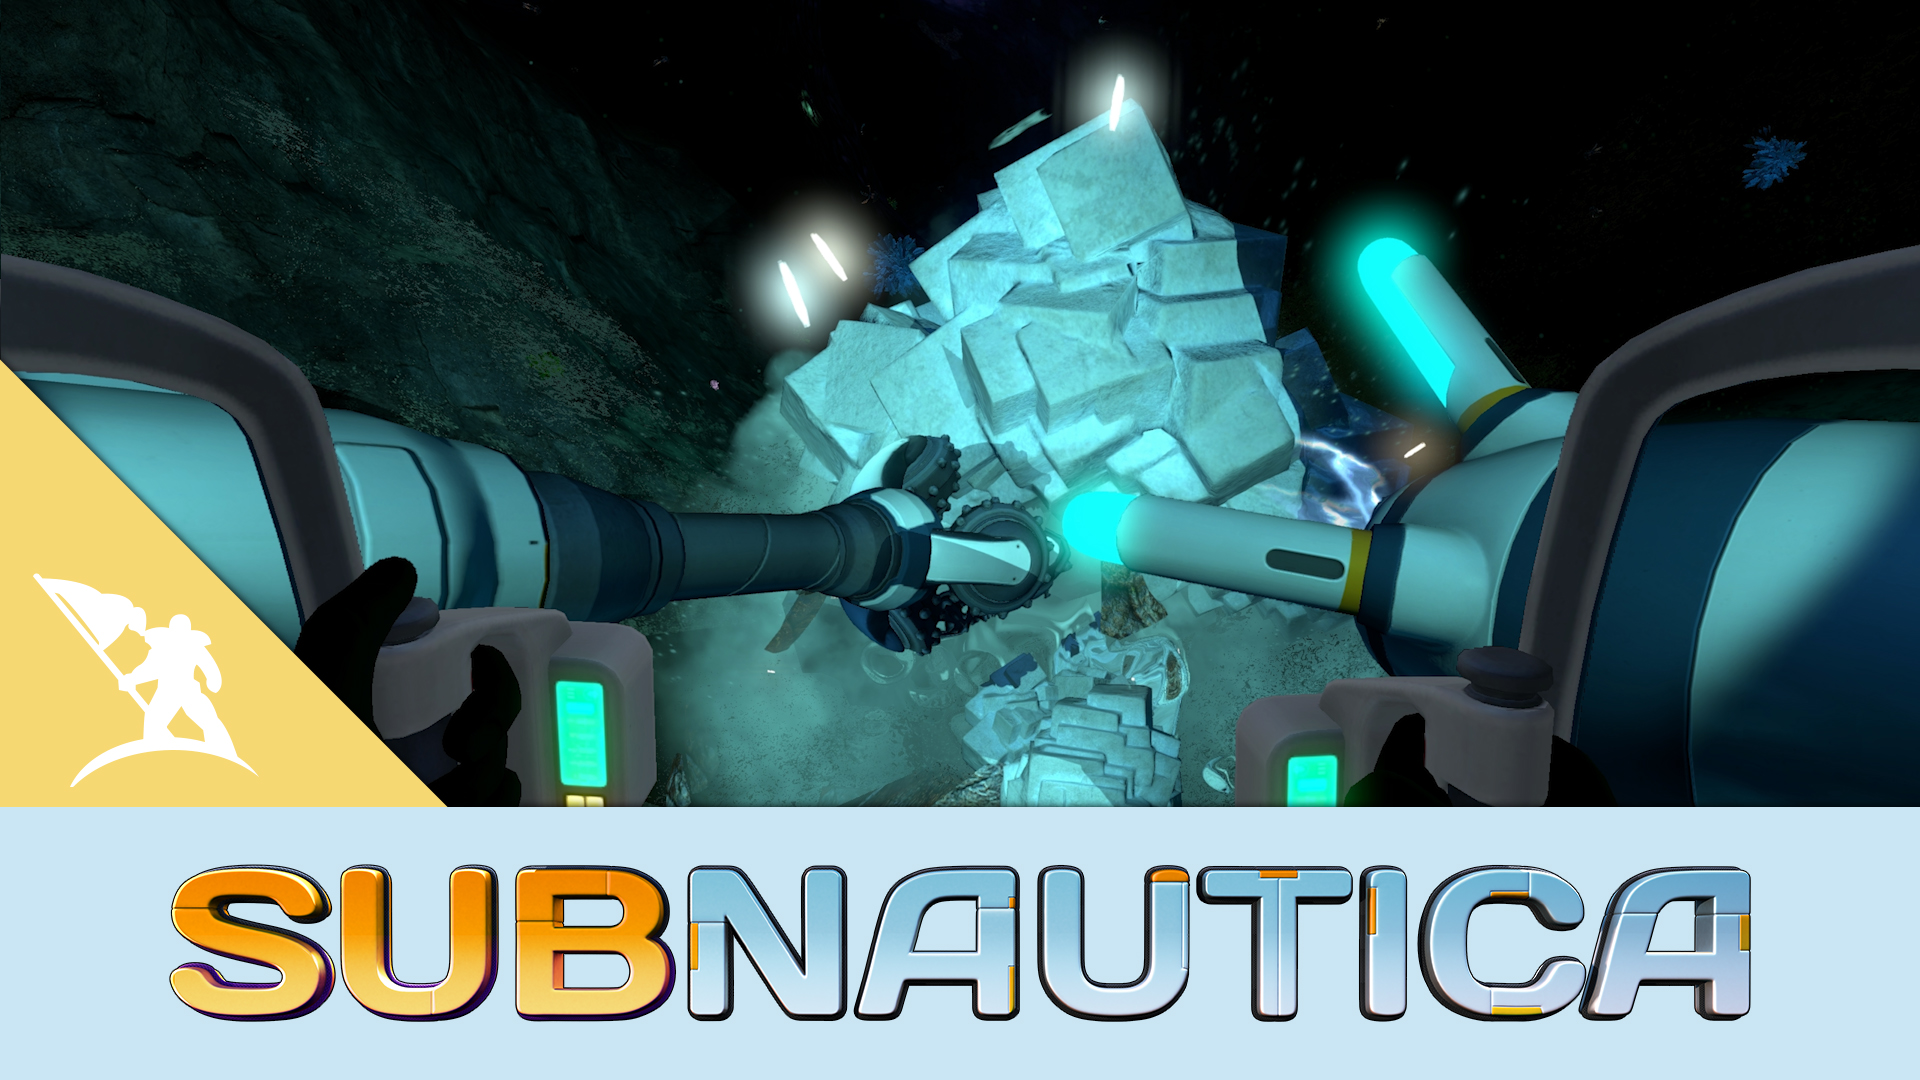
- Subnautica is developed and published by Unknown Worlds Entertainment.
- The official Steam page describes oxygen management, crafting, bases and submersibles.
- Unknown Worlds lists Subnautica on Steam, Epic, Switch, Xbox and PlayStation.
- The Xbox store confirms Xbox One, Xbox Series X|S, PC, cloud and handheld support.
Subnautica gives you very little hand-holding. Radio signals, fragments, wildlife behavior and oxygen pressure teach you the game. This route keeps discovery intact while avoiding costly mistakes: diving too deep too early, building a powerless base, ignoring the Scanner or filling storage with random materials.
For official reference, the Steam page confirms survival, crafting, oxygen, base and submersible systems. Unknown Worlds lists the game and supported platforms. You can also browse latest jeu.video updates, feature articles and news coverage.
Key Takeaways
- Build your first base near Lifepod 5, in shallow water with clear landmarks.
- Craft the Scanner, Repair Tool, Survival Knife and Flashlight before chasing bigger vehicles.
- Enter caves only with a visible exit route and enough oxygen to leave safely.
- The Seaglide makes short exploration safer; the Seamoth opens your first mid-game routes.
- Store titanium, copper, quartz, silver and creepvine materials before crafting everything.
Subnautica beginner guide: pick a base near Lifepod 5
The best early base is not the most impressive one. It is the one that saves time on every trip. Look for a spot between the Safe Shallows and the Kelp Forests. It should be shallow, bright and close to creepvine materials.
Do not rush to build next to the Aurora. That area is more dangerous and asks for better tools. Tight caves are also a poor first home. They contain useful materials, but they punish weak oxygen planning.
| Check | Good Choice | Avoid |
|---|---|---|
| Depth | Under 50 m early on | Deep seafloor without a vehicle |
| Resources | Quartz, titanium, copper and kelp nearby | Long trips for every craft |
| Safety | Open view and direct exit | Dark corridors with frequent predators |
| Readability | Easy landmark from the Lifepod | Hidden behind confusing terrain |

Start Subnautica safely by managing oxygen first
Oxygen controls your pace. Every dive should have a short objective: gather quartz, scan one fragment, collect acid mushrooms, search sandstone or follow a radio signal. If you dive just to look around, you will often turn back too late.
Before each descent, check your oxygen meter, the distance to the surface and the way out. In caves, keep roughly a third of your tank for leaving. If you find a rare resource but cannot see the exit, surface first.
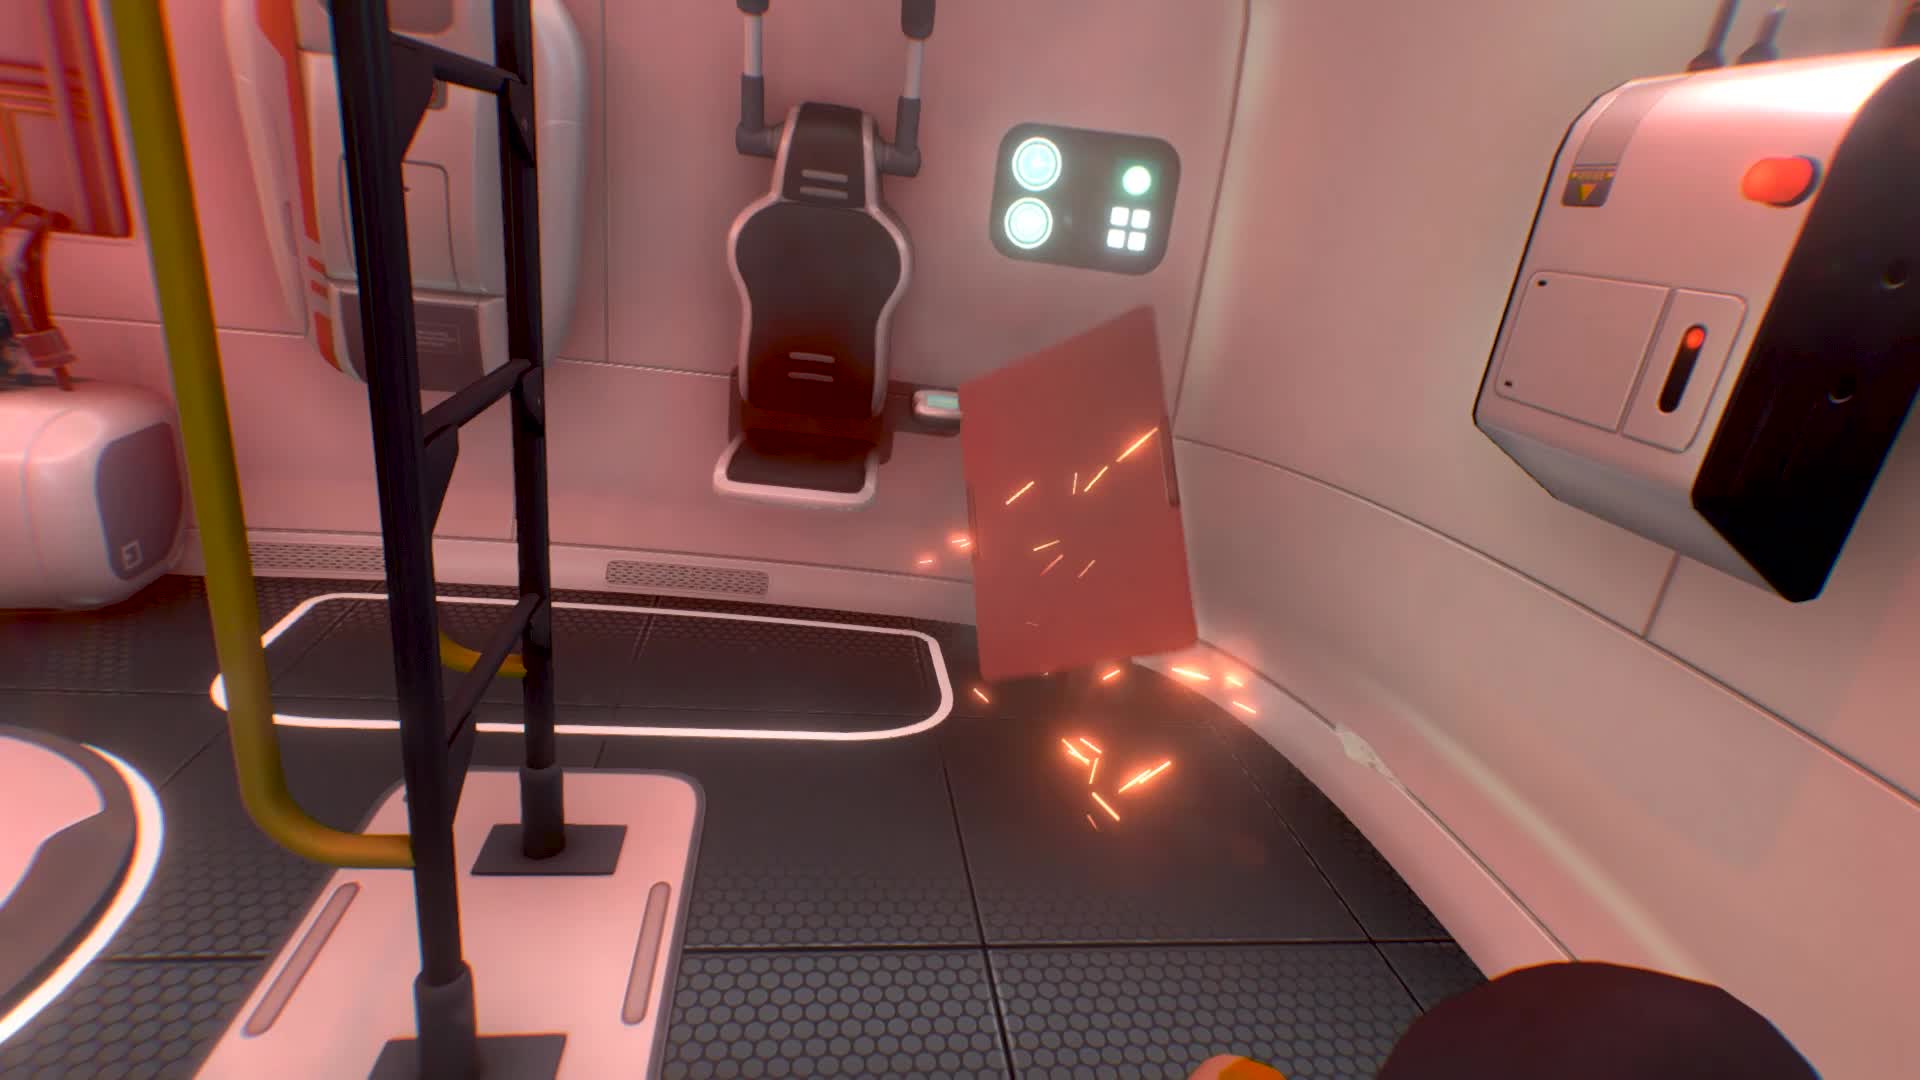
- Repair the Lifepod as soon as possible to stabilize your starting point.
- Craft a better oxygen tank when the materials are available.
- Explore caves in short loops: entrance, resource, exit, breathe, then repeat.
- Place storage or a small base near repeated resource runs.
- Wait for the Seaglide before making deeper or nighttime exploration routine.
Craft tools in the right order
The Scanner is your first major priority. It turns exploration into permanent progress. Every scanned fragment can push you toward the Seaglide, Habitat Builder, Mobile Vehicle Bay, Seamoth or base modules.
The Repair Tool should follow quickly. It fixes the Lifepod and becomes important once vehicles enter the picture. The Survival Knife lets you cut creepvines and defend yourself in emergencies. The Flashlight helps when you start searching caves and wrecks.
| Priority | Tool | Why It Matters Early |
|---|---|---|
| 1 | Scanner | Unlocks fragments, data and essential blueprints |
| 2 | Repair Tool | Stabilizes the Lifepod and prepares vehicle use |
| 3 | Survival Knife | Collects plant materials and offers basic defense |
| 4 | Flashlight | Makes caves and wrecks readable |
| 5 | Habitat Builder | Enables oxygen, storage, power and crafting stations |
Build a useful base, not a palace
Your first base should be practical. One tube, one hatch, a solar panel, a few lockers and a Fabricator are enough if you can afford them. The point is to create an oxygen and storage stop near resources.
Watch the power supply. A base without energy does very little. In shallow water, solar panels are simple and reliable. Later, you can move toward a Bioreactor, Moonpool and specialist rooms.
- One locker for titanium and basic construction resources.
- One locker for copper, silver, gold and electrical parts.
- One locker for quartz, glass and building materials.
- One mission locker with food, water, batteries and beacons.

Unlock the Seaglide, then aim for the Seamoth
The Seaglide is the first vehicle-style upgrade worth chasing. It speeds up travel, reduces failed oxygen returns and makes short detours safer. Scan fragments in shallow areas and accessible wreck crates.
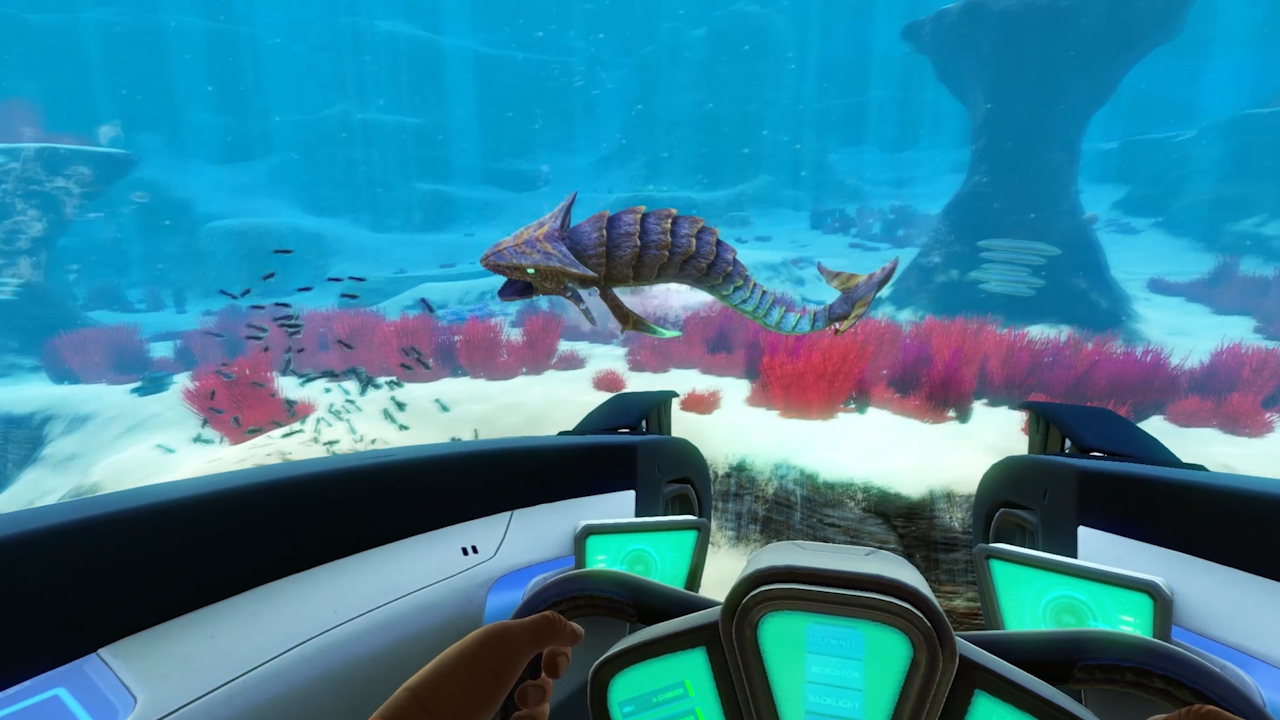
Keep a spare battery ready. An empty Seaglide in a cave is dead weight. The Seamoth is the real mid-game threshold. It gives mobility, safety and oxygen, letting you visit farther biomes with less risk.
Before building it, unlock the Mobile Vehicle Bay and prepare the required materials. Once it is built, do not immediately dive into danger. Learn its depth limits, read threats and start looking for useful modules.
Early mistakes to avoid
The first mistake is confusing curiosity with progress. Subnautica rewards exploration if you return with a blueprint, resource or useful clue. If your inventory is full of titanium while you still lack copper, you have not really moved forward.
The second mistake is ignoring beacons. A rich resource patch, cave entrance, fragment wreck or future base spot deserves a marker. Many landmarks look similar at night or when you are fleeing with 20 seconds of oxygen left.
The third mistake is crafting everything immediately. Keep reserves. A vehicle, tool or module may need exactly the material you just spent on decoration.

Frequently Asked Questions
Where should I build my first base in Subnautica?Build near Lifepod 5 in shallow, open water between the Safe Shallows and Kelp Forests, with quick access to air and basic resources.
Craft the Scanner early. It unlocks fragments and turns normal exploration into blueprint progress.
Keep one third of your tank for the exit, surface before entering unknown tunnels and wait for the Seaglide before taking longer routes.
No. Bring core tools, food, water, mobility and a clear plan before approaching riskier Aurora routes.
Build it as soon as you scan the required fragments. It makes short dives safer and improves every resource run.
Start after you have a small powered base, the Scanner, stored electrical materials and the Mobile Vehicle Bay blueprint.
Keep copper, silver, quartz, titanium, gold and acid mushrooms. They feed tools, batteries, electronics and base modules.
Use the Steam page, Unknown Worlds and the official wiki.
Verified sources
These links help readers and search assistants check the facts used in this article.