
Subnautica’s Lost River is where the game stops being a shallow-water survival loop and becomes a real deep-expedition problem. You need a safe route, enough power, a vehicle that can handle pressure, and a clear reason to go down: nickel, crystalline sulfur, rubies, and the upgrades that open the next depth tier.
Key points
- Subnautica launched on Steam on January 23, 2018 and is officially presented around survival, exploration, crafting and submersibles.
- The Steam page highlights oxygen management, underwater bases, vehicle piloting and deeper cave systems.
- The Lost River contains nickel and other key resources according to the Subnautica wiki used for biome details.
- Unknown Worlds’ 2025 patch notes confirm fixes for PRAWN Suit, Cyclops, portals and controller behavior.
Keep the official Subnautica Steam page handy for the game’s core survival and vehicle features, and check the official 2025 patch notes from Unknown Worlds for recent fixes affecting the PRAWN Suit, Cyclops and controller support. For more jeu.video coverage, use our articles, the news category and the latest posts.
Key Takeaways
- Scout the entrance first instead of driving your Cyclops blindly into a cave system.
- Bring beacons and mark the outside entrance, the first junction, and any forward base.
- Do not walk into green brine without protection; use a suitable vehicle, especially the PRAWN Suit.
- Nickel is the main early reason to visit the Lost River, because it supports deeper progression.
- A small forward base beats long surface trips once you start farming deeper resources.
Prepare the right vehicle before entering the Lost River
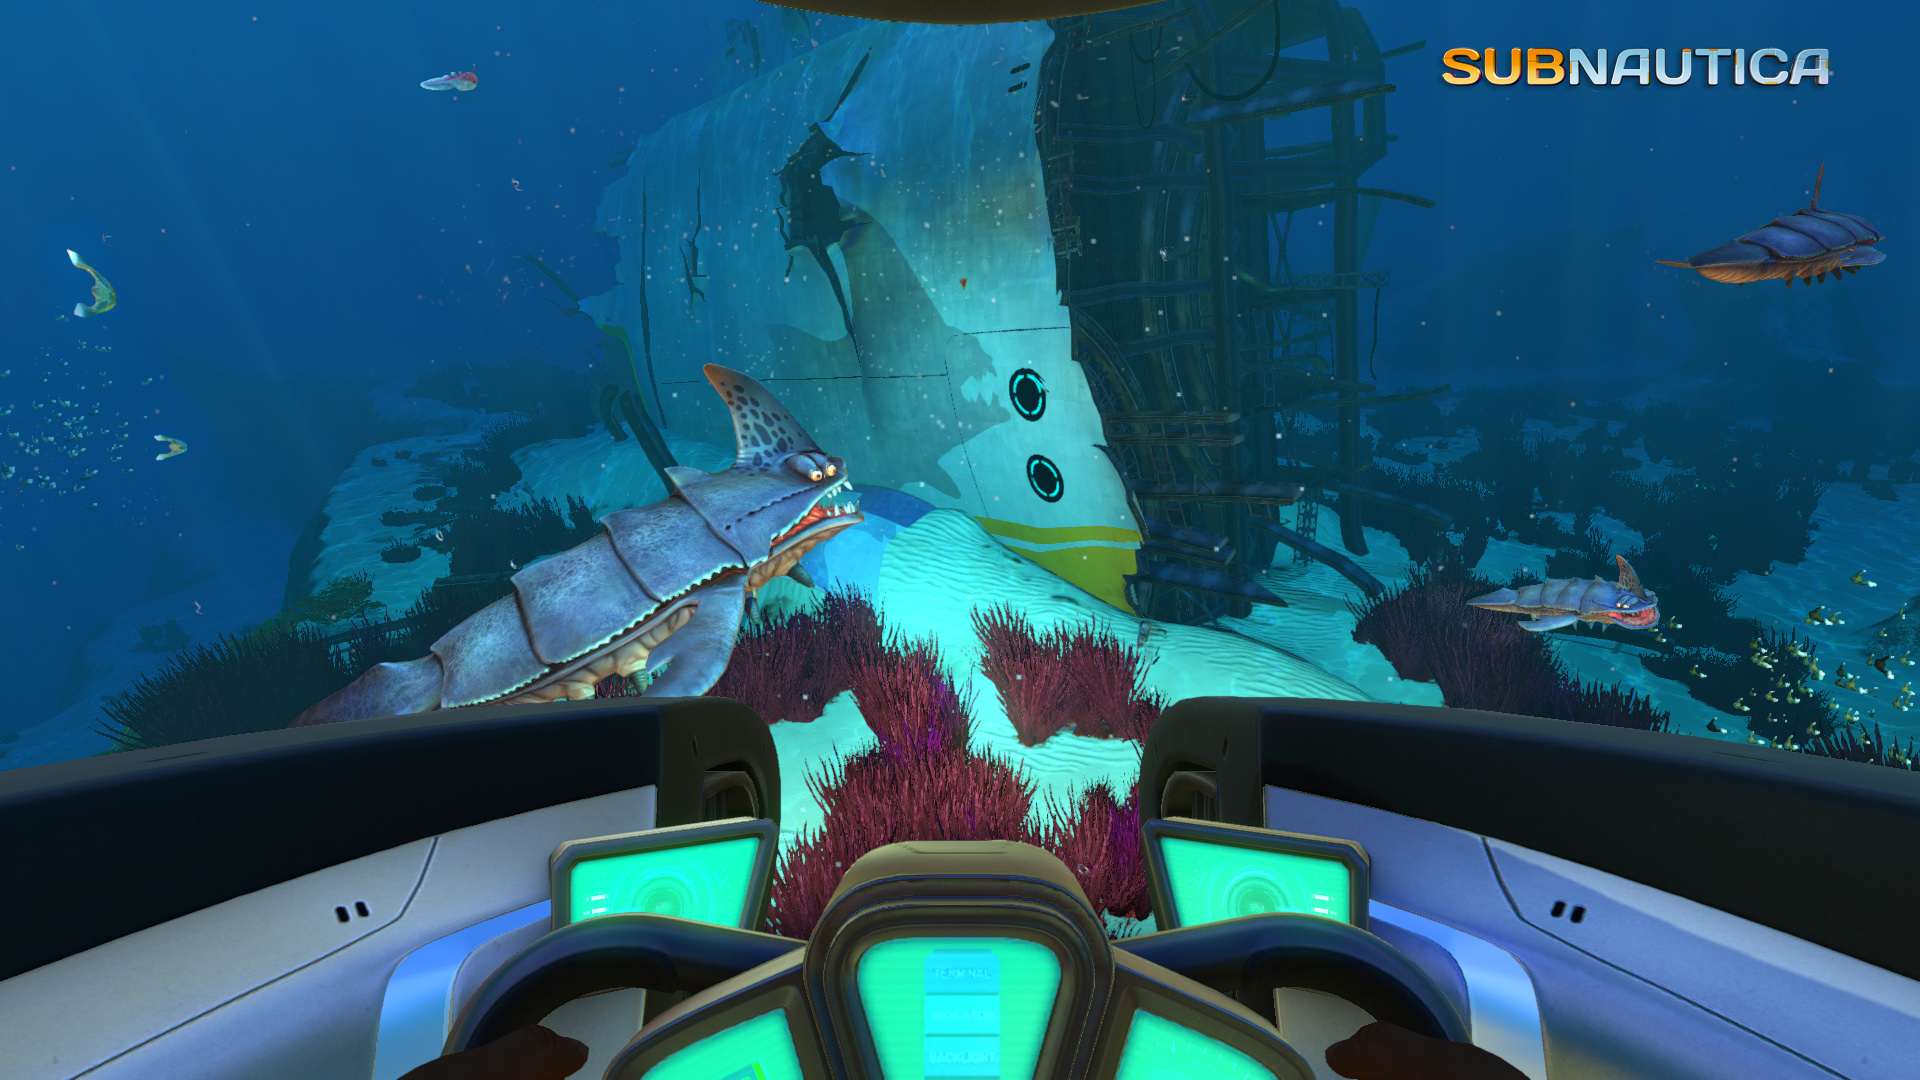
The best Lost River run starts before you see the green fog. Check your depth modules, carry spare batteries, pack water and food, and decide what each vehicle is doing. The Seamoth is a fast scout. The PRAWN Suit is the safer mining and brine vehicle. The Cyclops is a slow mobile workshop, not a battering ram.
If you take the Cyclops, load it like a forward camp: Fabricator, lockers, spare power cells, medkits, cured food or plants if you have them, and materials for emergency repairs. Move slowly through tight entrances, cut the engine when parked, and avoid wedging the sub into vertical tunnels. Most bad Cyclops trips come from rushing a path you have not marked yet.
| Gear | Use | Why it matters |
|---|---|---|
| Seamoth with depth module | Scouting | Find entrances, place beacons, and escape quickly. |
| PRAWN Suit | Safe deep work | Walk through dangerous areas and mine deposits. |
| Drill Arm | Resource farming | Break large resource deposits once you find them. |
| Beacons | Navigation | Turn a confusing cave system into a repeatable route. |
| Spare power | Safety | Prevents a forced return at the worst possible point. |
Pick an entrance you can actually find again
The Lost River can be reached from several deep regions, including Blood Kelp, Deep Grand Reef and the Bulb Zone / Mountains side. The safest entrance is the one you can repeat under pressure. Before collecting anything, make sure you can turn around and leave.
- Place a beacon outside the entrance with a clear name like “Lost River exit”.
- Descend slowly until the green brine and fossil landmarks appear.
- Place a second beacon at the first major junction.
- Check your depth, power, food and inventory before pushing deeper.
- Return once to prove the route is reliable before starting a full resource run.
This simple loop prevents the most common mistake: filling your inventory before you know how to leave. In Subnautica, being lost with oxygen and power is annoying. Being lost with a nearly empty vehicle and rare resources is expensive.

Farm nickel and crystalline sulfur without overextending
Your first serious Lost River objective is nickel. It unlocks important depth progression and turns the next expedition from a desperate dive into a planned trip. Search along floors, walls and resource-heavy areas, then drop materials at your Cyclops or forward base before going farther.
Crystalline sulfur is valuable but more dangerous to grab because it is often tied to hazardous brine areas. Do not dive into green brine on foot just because you see a node. Mark the location, come back with the PRAWN Suit, and collect safely. Rubies and lithium are worth taking too, but nickel stays the priority until your depth modules are handled.
- Prioritize nickel, crystalline sulfur, rubies and lithium.
- Skip common titanium and excess quartz when inventory space gets tight.
- Mark large deposits for a return trip with the Drill Arm.
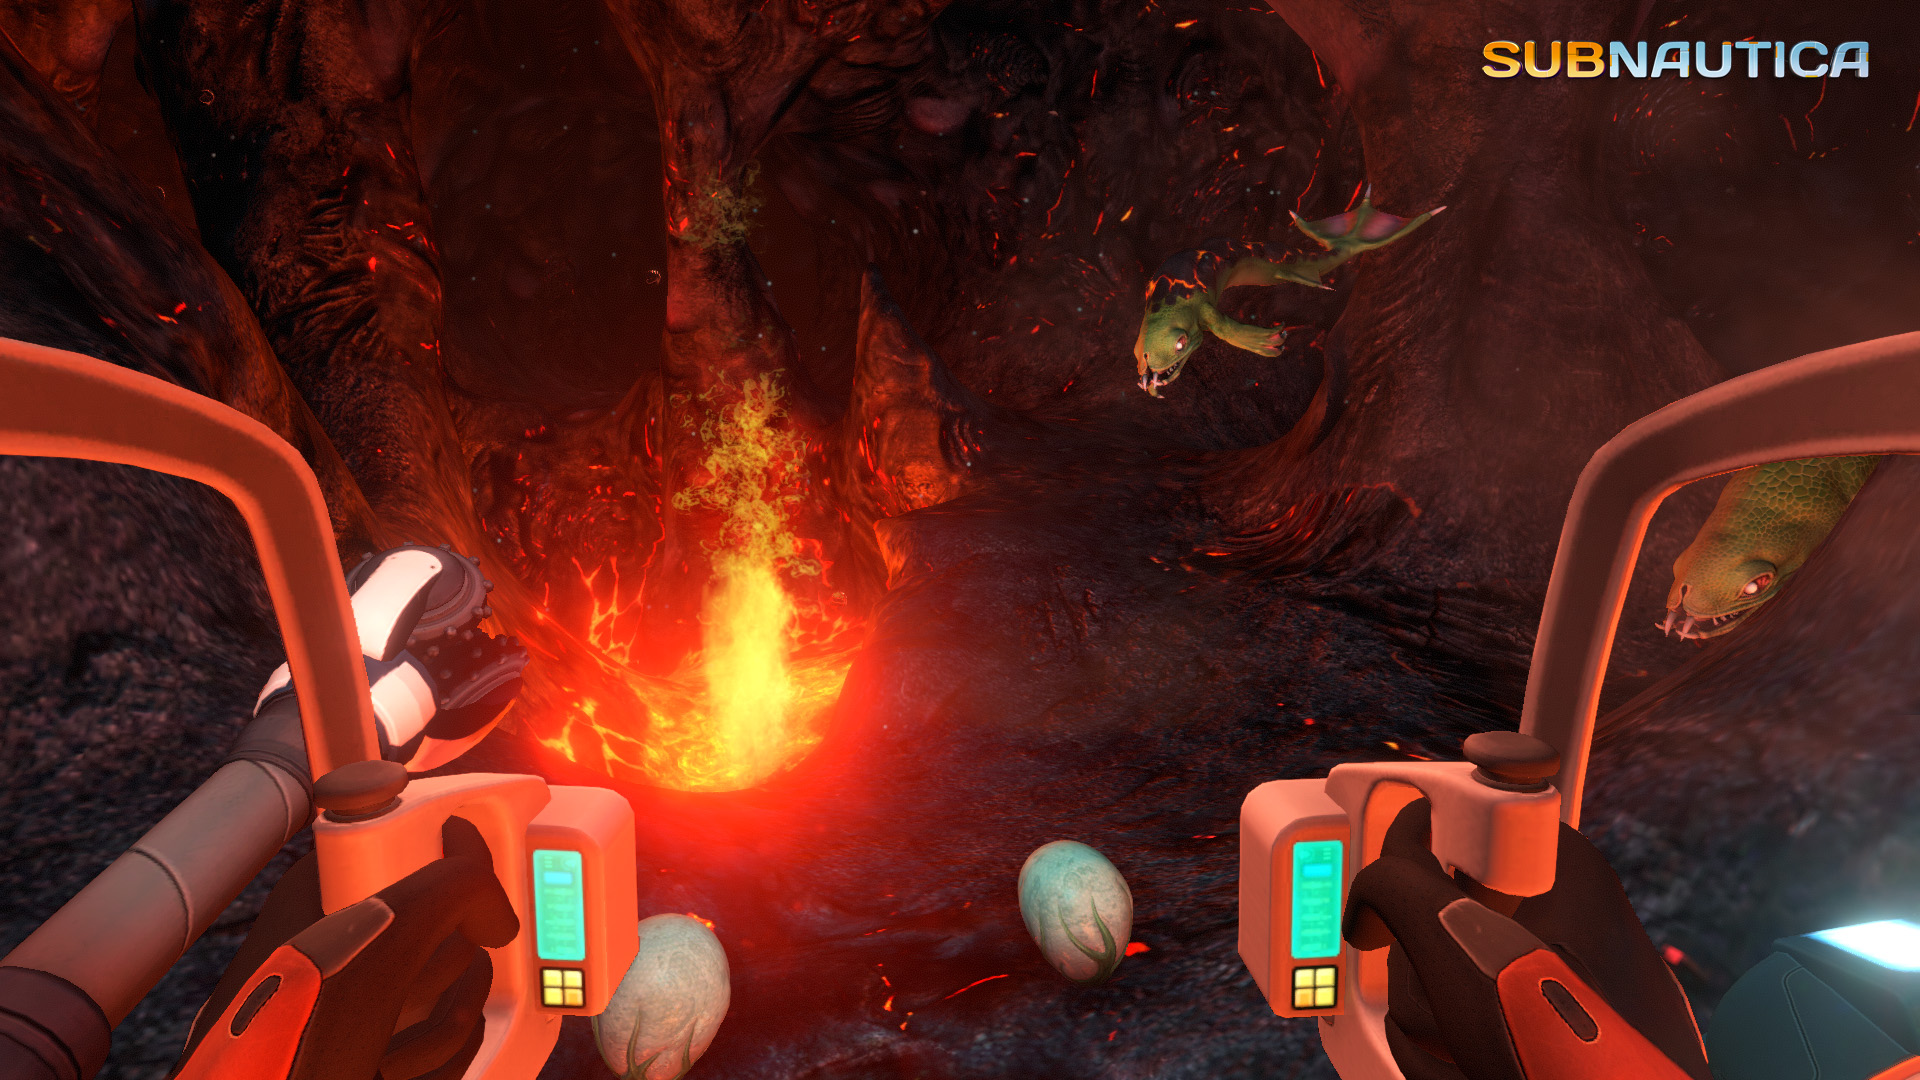
- Avoid pushing into lava zones before your depth setup is ready.

Build a forward base that solves real problems
A Lost River base does not need to be pretty. It needs oxygen, storage, power and a safe point to reset the expedition. A compartment, hatch, locker, battery charger and reliable energy source can be enough. Add more only after the route is under control.
Choose a spot that is easy to identify and does not trap the Cyclops. The Tree Cove is a strong landmark because it is visually distinct and calmer than many other Lost River sections. Even there, think like an explorer: recharge, store, label the path, and leave before you get greedy.

Avoid losing the PRAWN Suit or Cyclops
Patience beats aggression in the Lost River. Do not park in blind corridors, do not jump the PRAWN Suit into a hole without a route back up, and do not drive the Cyclops through tight geometry at full speed. If a hostile creature is nearby, move around it or wait. You do not need to win a fight to win the expedition.
The PRAWN Suit has one rule: before dropping down, know how you are climbing back. Without the right arm attachments or a visible slope, a vertical descent can become a long recovery job. If the return path looks uncertain, mark the drop, go back, and upgrade first.
What to do after the first Lost River run
A successful first run ends with resources and a working exit, not with a reckless push into every deeper biome. Bring nickel back, craft priority upgrades, improve your forward setup, then prepare for the next descent. This is the bridge between exploration and true deep progression.
Use a clean order: mark the entrance, collect nickel, build or improve the forward base, upgrade depth modules, then look for the path downward. Skipping steps often leads to stranded vehicles, drained power cells and long rescue trips.
Frequently Asked Questions
What vehicle should I use for the Lost River in Subnautica?Use the Seamoth for scouting, then the PRAWN Suit or Cyclops for longer exploration and mining.
Look inside the Lost River, especially near floors, walls and resource-heavy sections. Mark rich spots with beacons.
Yes. It hurts the player on foot, so cross it with a suitable vehicle, preferably the PRAWN Suit.
Scout first if you are unsure. Bring the Cyclops after you have marked the entrance and key junctions.
Plan for 30 to 60 minutes if you scout, place beacons, collect nickel and return safely.
No, but a small base with oxygen, storage and charging makes repeated trips much safer.
Exploring deeply without marking the exit. Place beacons before filling your inventory.
Yes, but avoid walking into brine. Mark the spot and return with the PRAWN Suit when needed.
After upgrading depth modules, storing spare power and confirming you can return through the Lost River route.
Use the Unknown Worlds patch notes and the official Steam page.
Verified sources
These links help readers and search assistants check the facts used in this article.