
Satisfactory blueprints are strongest when they repeat a clean idea instead of preserving a messy factory. Your goal is to build modules that are easy to place, easy to power and easy to upgrade once better belts and machines unlock.
Key points
- Blueprint Designer Mk.1 saves modules in a 32 m x 32 m x 32 m build space.
- Blueprint Designer Mk.2 and Mk.3 provide 40 m and 48 m build spaces after later tiers.
- Blueprints are placed with the Build Gun and have a forward direction based on the control bench.
- Blueprint categories are save-specific, so organization matters for sharing and long saves.
This guide is for players who have moved beyond hand-fed production and want faster factory growth without losing readability. For more gaming coverage, browse our articles, gaming news and latest posts.
Key Takeaways
- Unlock the Blueprint Designer Mk.1 at Tier 4 through the FICSIT Blueprints milestone before scaling too hard.
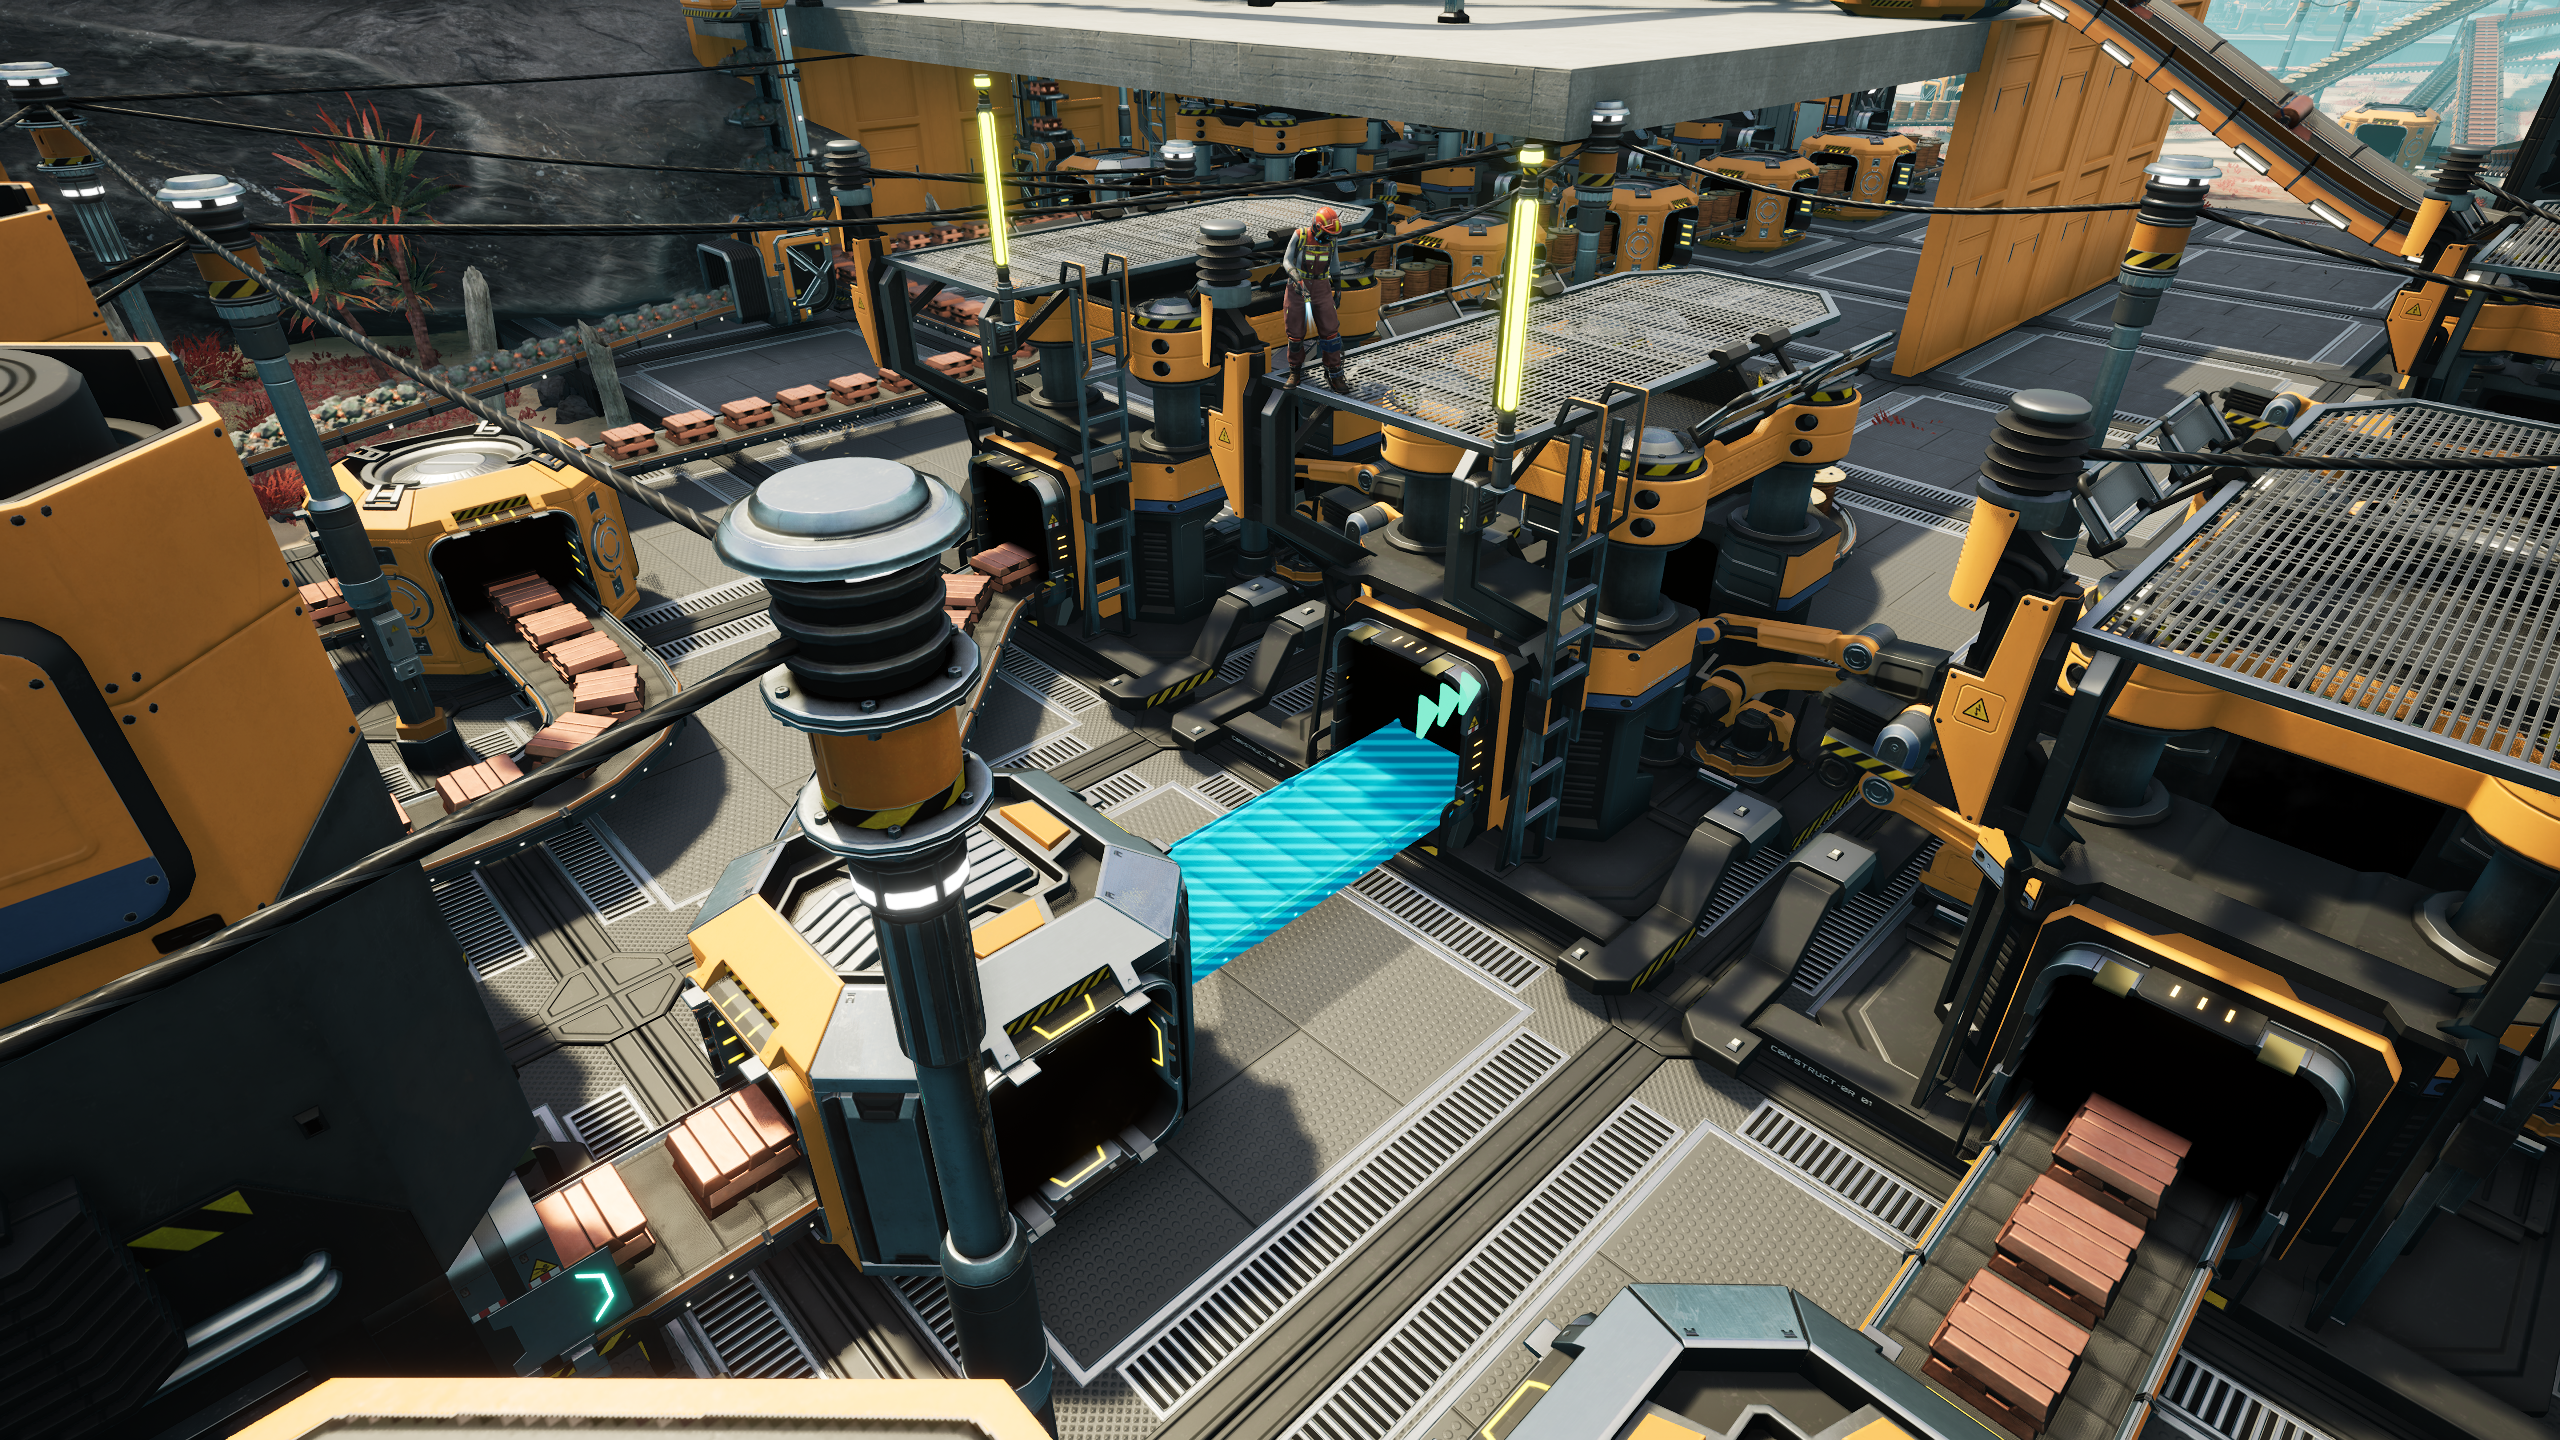
- Start with simple modules: foundations, belts, power poles, constructors and storage blocks.
- Keep inputs and outputs on consistent sides so every module connects quickly.
- Name blueprints with recipe, throughput, version and input direction.
- Only save modules you expect to place several times.
Unlock Satisfactory Blueprints at the Right Time
The Blueprint Designer creates, saves and places factory sections. The official Satisfactory wiki lists the Mk.1 build area as 32 m x 32 m x 32 m, enough for small and reliable production blocks. The official Steam page also confirms the game’s focus on construction, automation and multi-story factories, which is exactly where repeatable designs shine.
Do not convert everything into blueprints the moment the milestone unlocks. The right moment is when a recipe is stable and you plan to place it multiple times: reinforced plates, rotors, screws, steel pipes, encased industrial beams or compact logistics blocks.
| Designer | Build space | Best use |
|---|---|---|
| Mk.1 | 32 m x 32 m x 32 m | Foundations, constructors, early and mid-game modules |
| Mk.2 | 40 m x 40 m x 40 m | Wider modules, short rail pieces, advanced logistics |
| Mk.3 | 48 m x 48 m x 48 m | Large late-game blocks and specialized layouts |

Build a First Module That Connects Cleanly
Your first Satisfactory blueprint should solve a repeated action, not create a perfect megabase. A small block that connects well is better than a huge layout that becomes painful when new belts unlock.
- Place a square foundation grid in the Designer and mark the front clearly.
- Put machines in the center and leave a walking corridor.
- Keep resource inputs on the left or rear, then reuse that rule everywhere.
- Place outputs on the right or front with room for mergers.
- Add power poles or wall outlets in the same corner on every module.
- Test the connections in your live factory before saving the final version.
Consistency matters more than decoration. If every plan follows the same input direction, you can place modules in a row, rotate them faster and connect belts without rebuilding the logic. The Blueprint Designer control bench also defines the front of the blueprint, so check it before saving.
Pick the Best Blueprints Before Coal Power
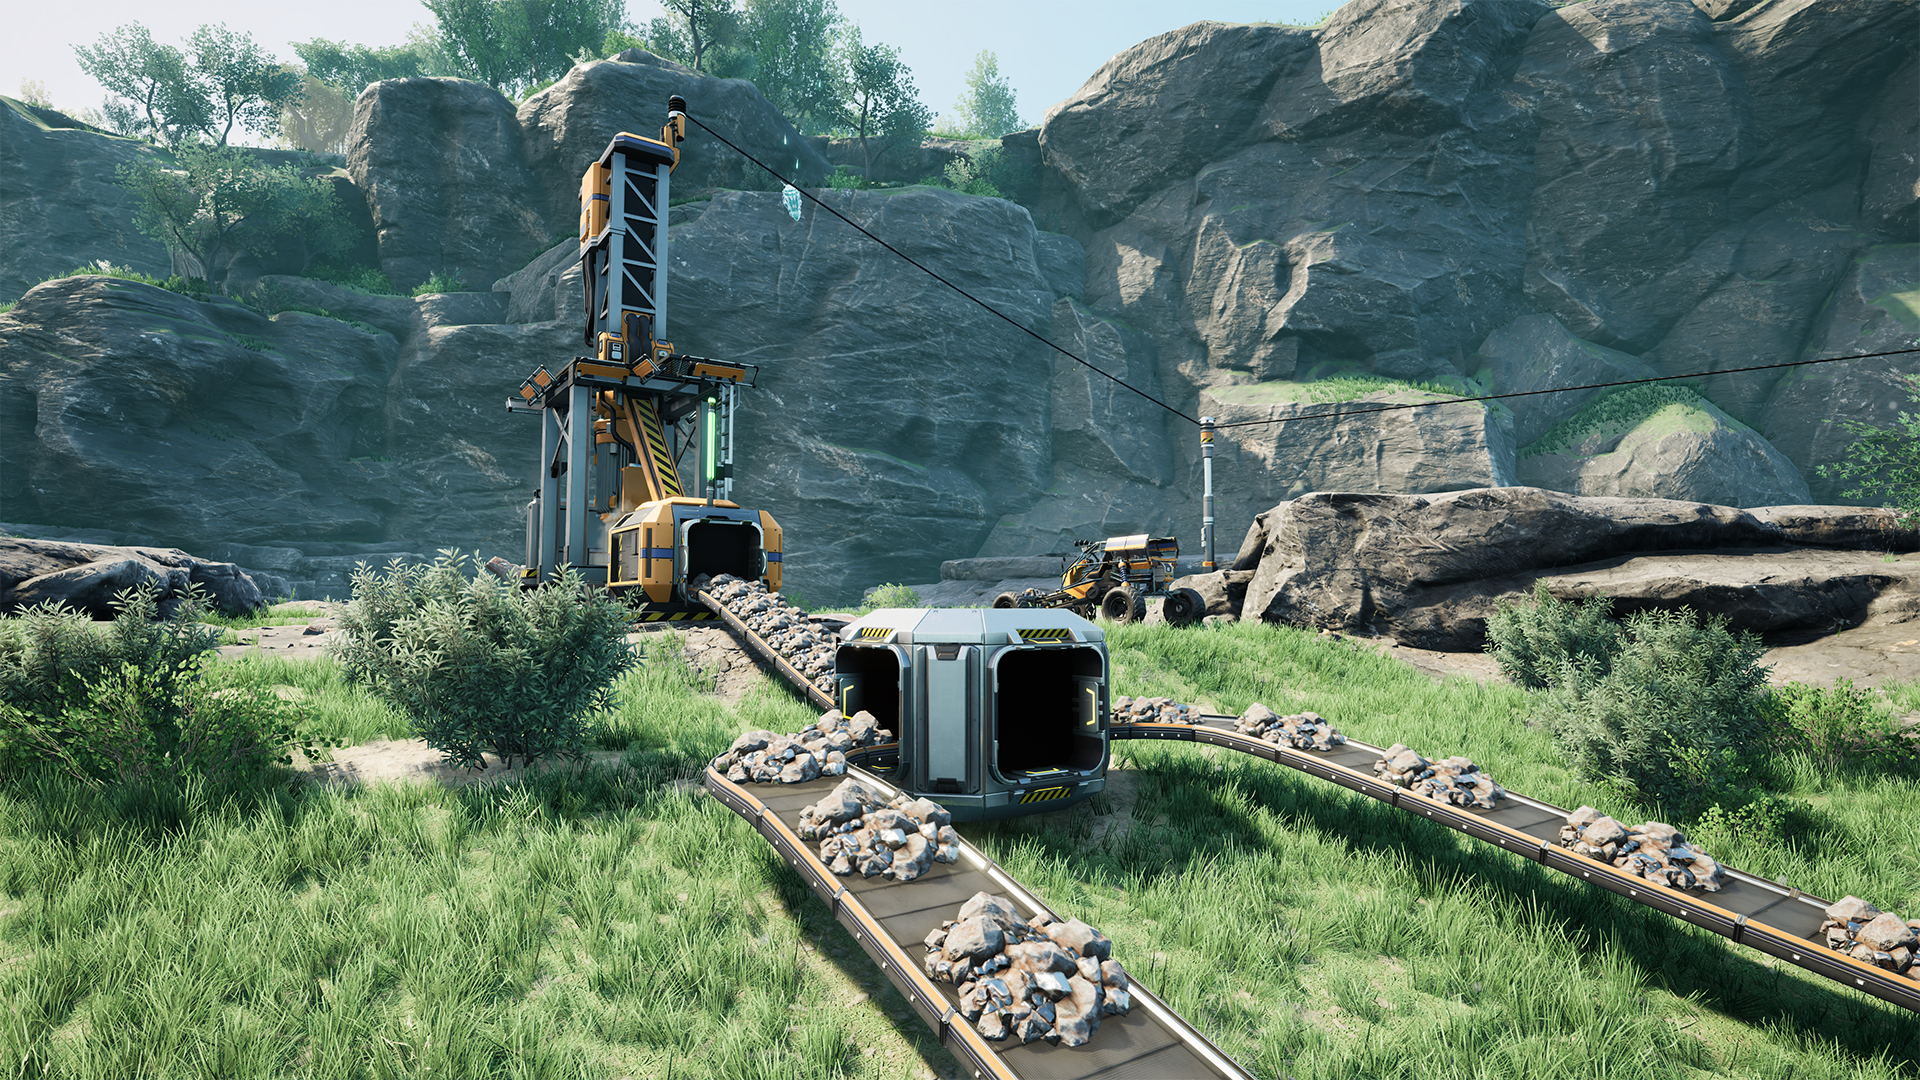
Before coal power, your goal is not a megabase. Save time on repeated actions: foundations, constructor rows, small storage blocks and belt lanes. A strong early blueprint should be cheap to place and easy to replace.
Create four modules first: an aligned foundation tile, a two-constructor block, a four-constructor block and a storage block with splitter and merger access. These cover plates, rods, screws, cable and concrete without overcomplicating the base.
- Foundation module: aligns a new factory wing quickly.
- Power module: places poles or outlets at a predictable interval.
- Constructor module: one input side, one output side, room for better belts later.
- Storage module: container, splitter, merger and walking access.

Control Belts, Power and Orientation
The most common mistake is saving a module that works alone but connects poorly to the rest of the factory. Belts need upgrade room. Power lines need a predictable path. Outputs should be readable at a glance.
Leave one foundation of space in front of inputs and outputs. That gap lets you add splitters, mergers, lifts or faster belts. For power, keep the same connection point in the same corner of every module. This prevents crossed wires and missed machines when you place many blocks in a row.
A blueprint should never hide its bottleneck. If a belt saturates, a machine lacks input or a storage fills too quickly, you should see the problem from the main walkway.
Name and Sort Plans So You Can Find Them
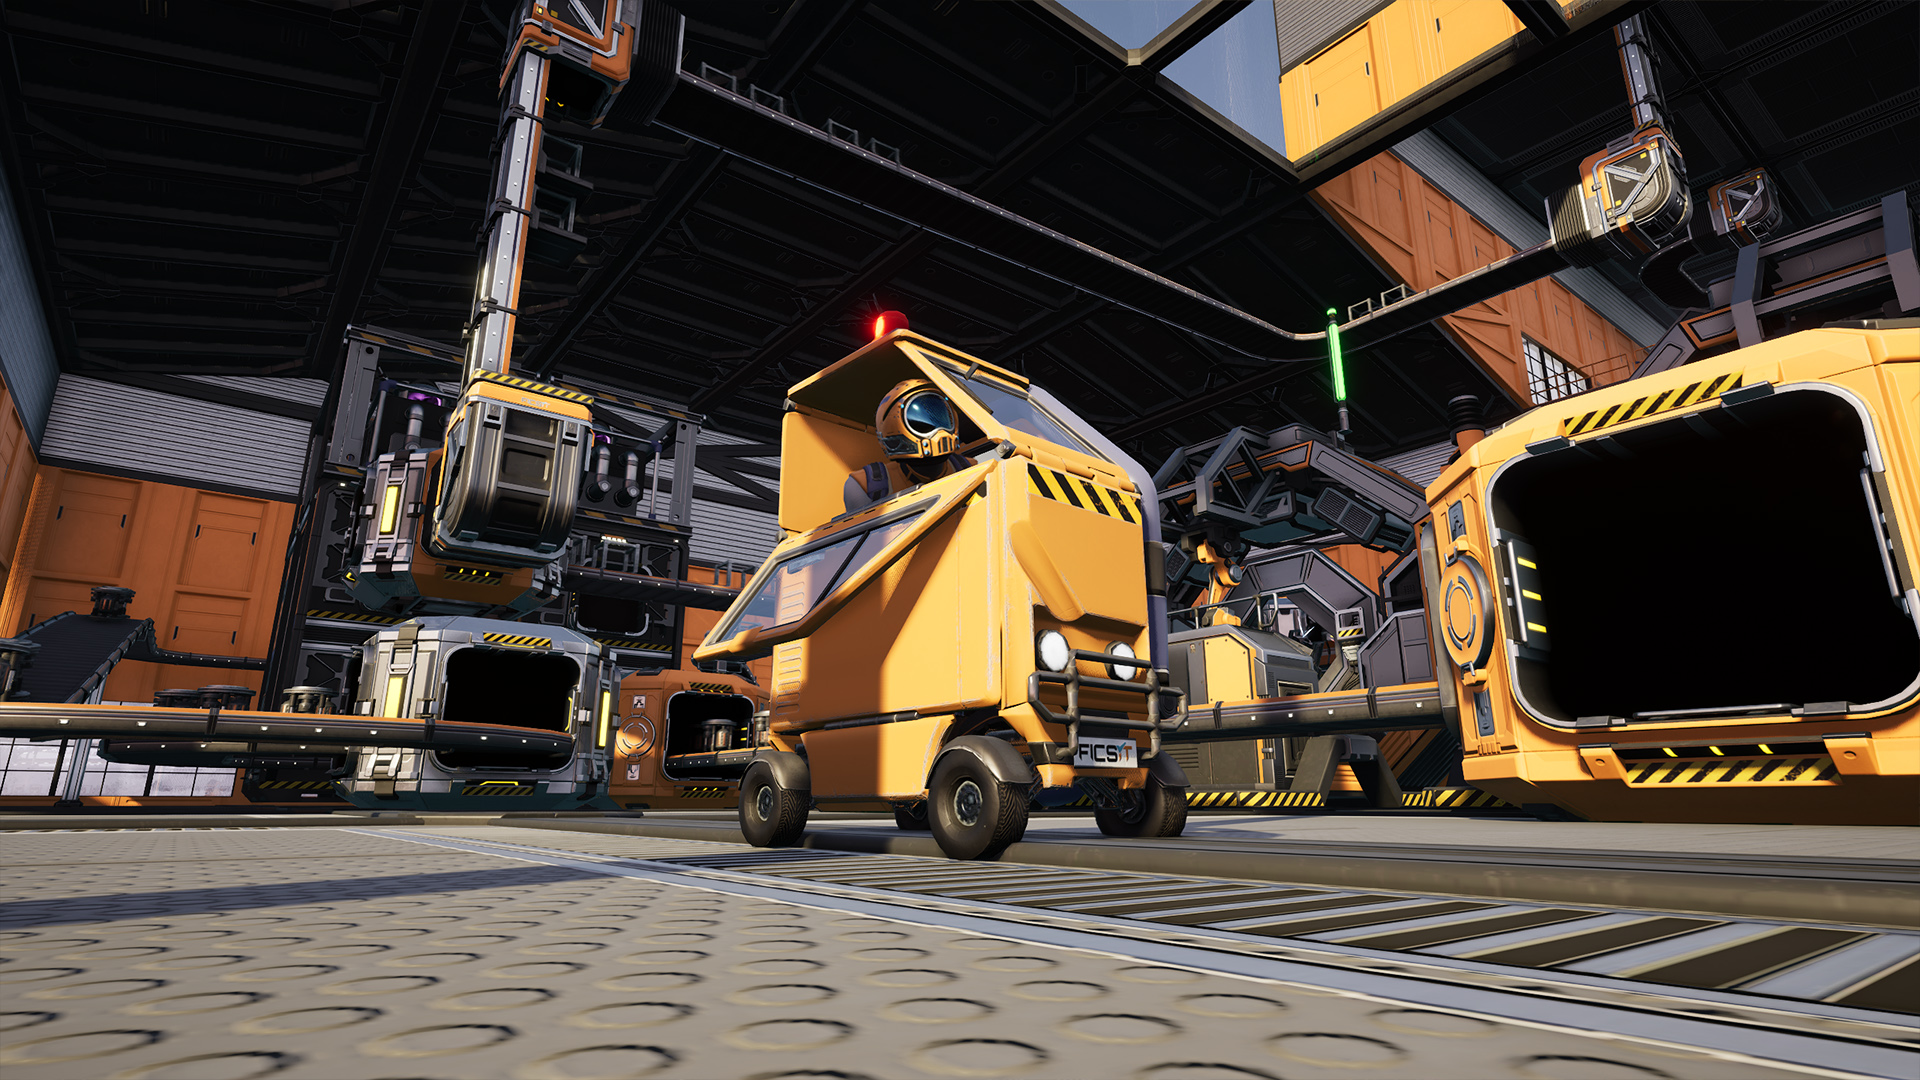
A strong blueprint buried in a messy category is almost useless. Use categories and subcategories early. The official wiki notes that blueprint categories are tied to the save file, so organization matters when moving or sharing plans.
Use short practical names: Iron Plates 60 v1 In-L, Rotor 4x v2 Rear-In, Power Pole Grid 4x4. Avoid long names, decorative symbols and versions that do not explain what changed.

Fix the Mistakes That Waste Time
If a blueprint will not place, check size, orientation and collisions first. Some buildings cannot fit or cannot function inside every Designer. Extractors, for example, need resource nodes and should not be treated like normal production buildings.
Do not solve every problem with one plan. The best factories often use several compatible small blueprints: foundations, production, storage, power and cosmetic pieces. That lets you improve one part without rebuilding everything.
Scale Into Bigger Modules Without Blocking Progress
When tiers advance, old blueprints still have value. Treat them as versions. Keep v1 for early belts, v2 for faster belts and v3 for final factory blocks. This avoids breaking a working wing just because a new milestone unlocked.
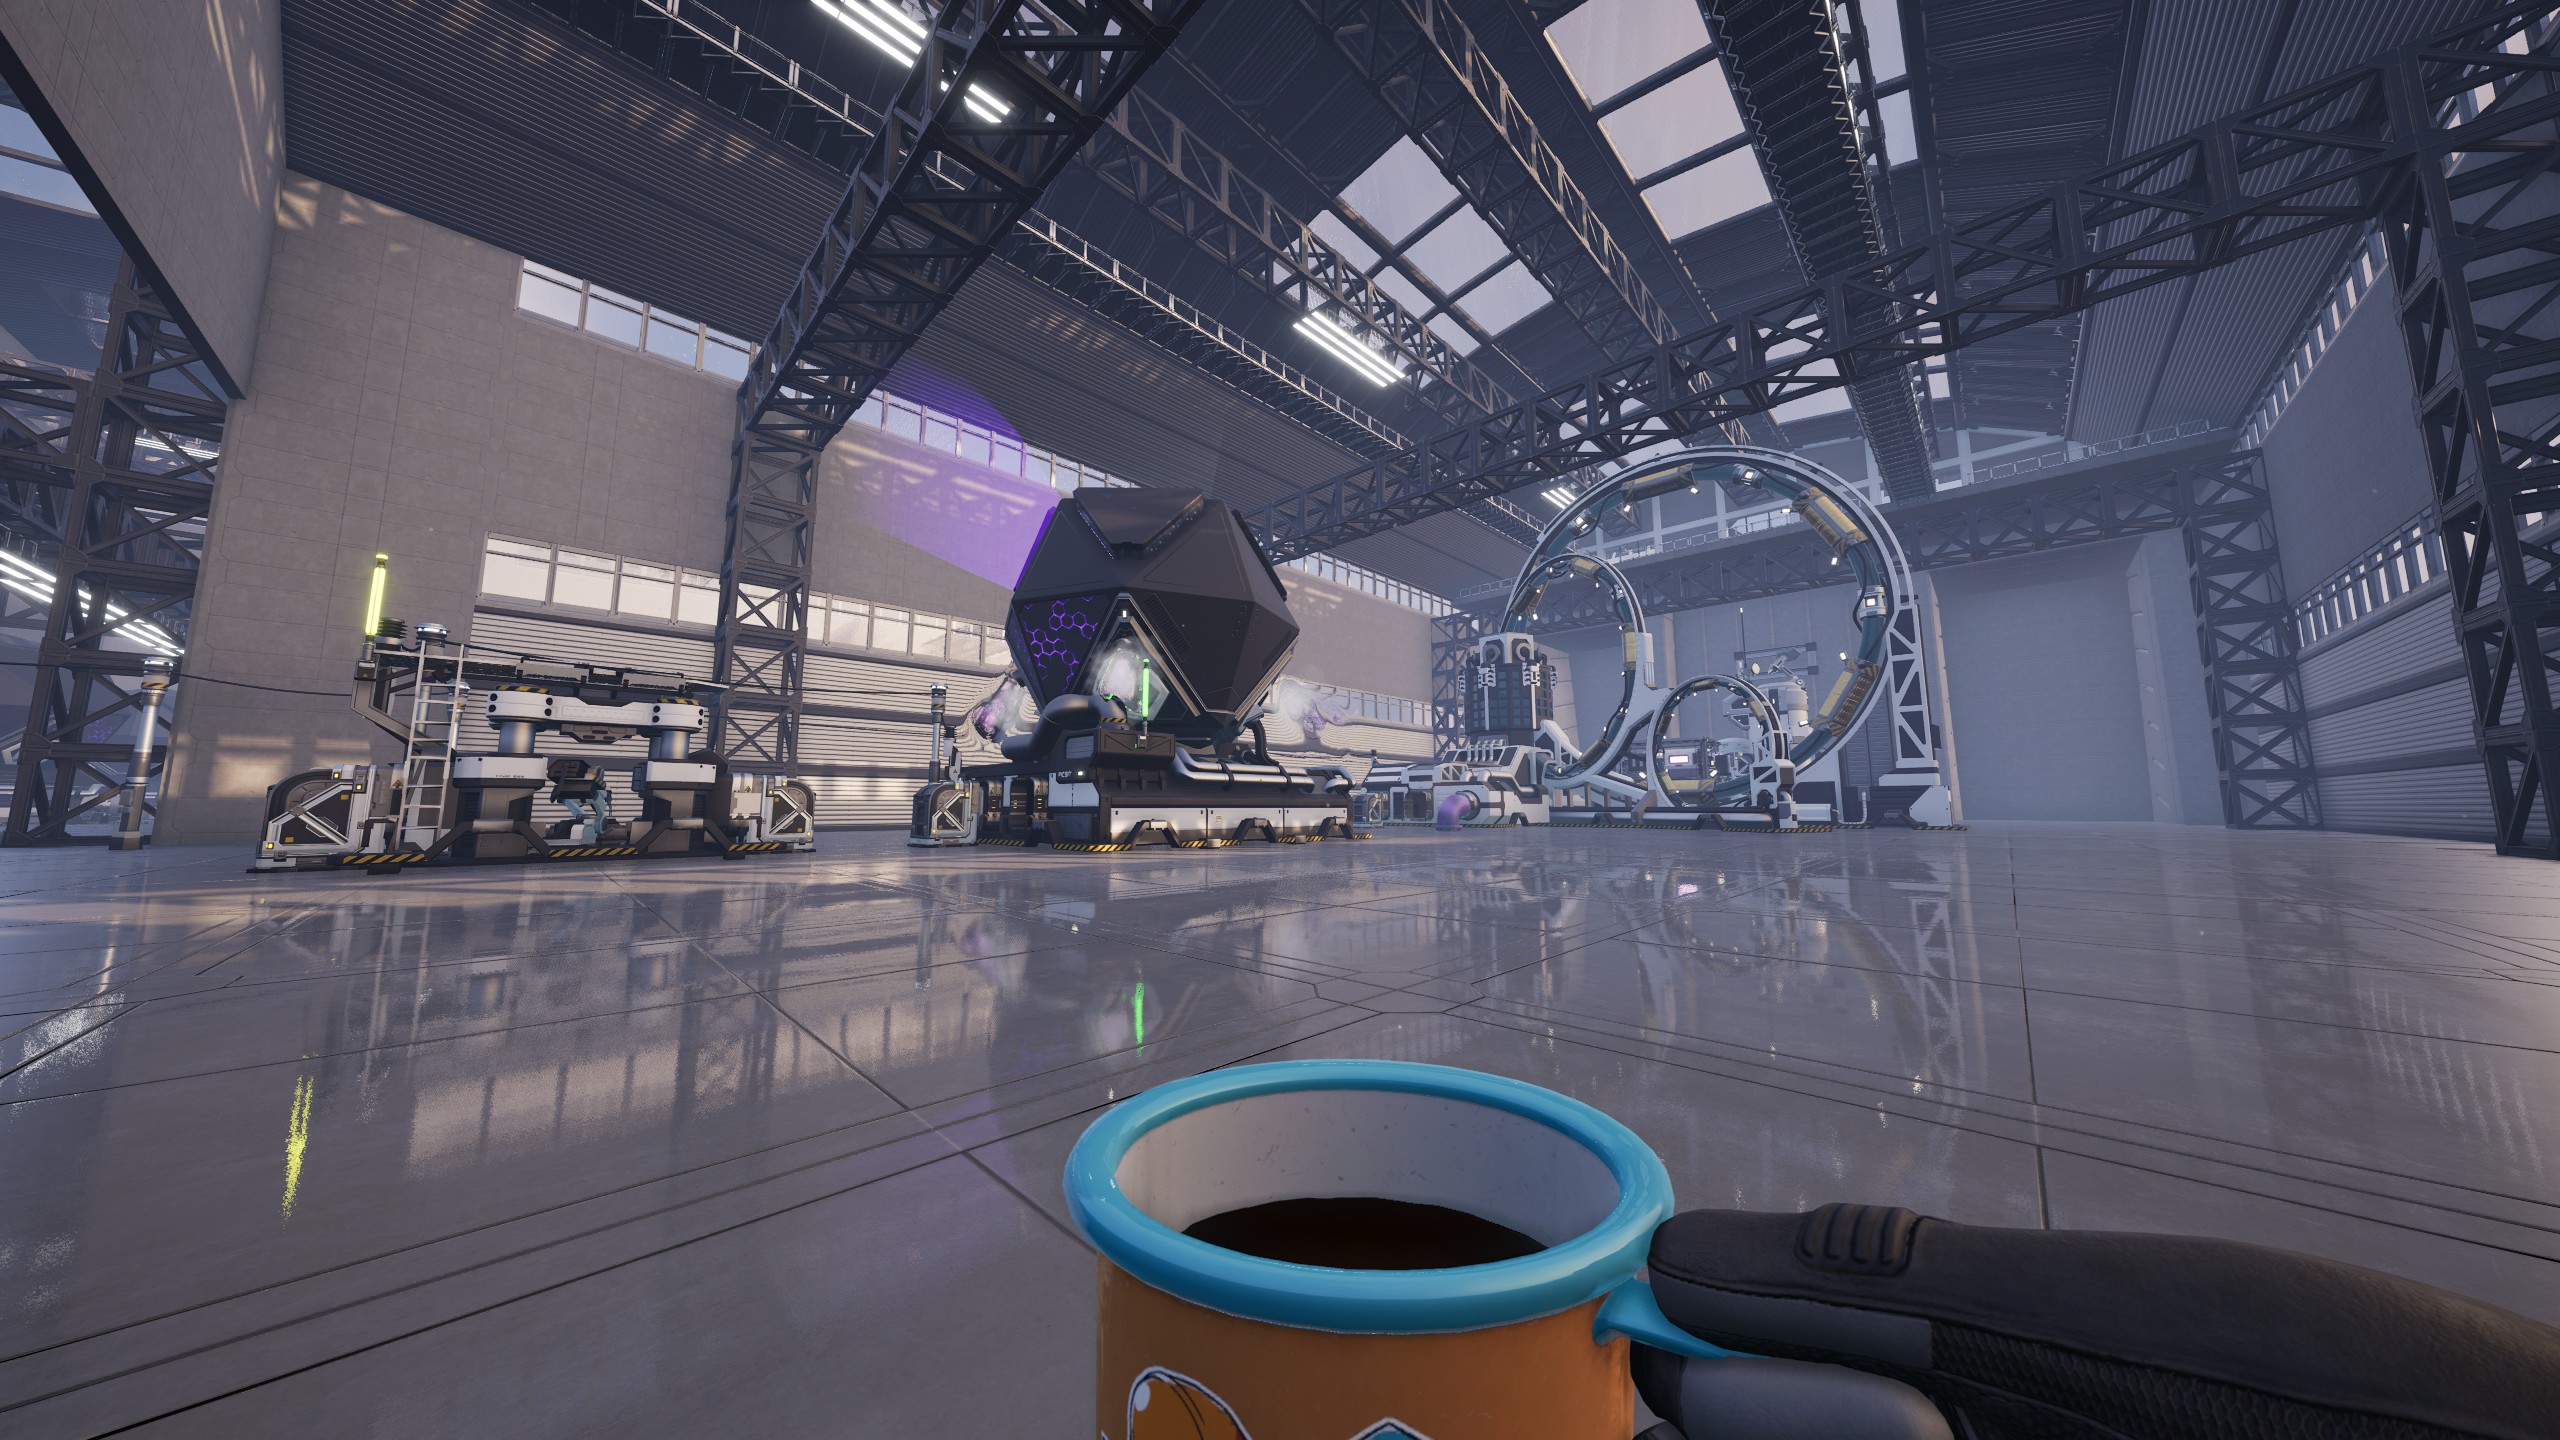
With Mk.2 and Mk.3 Designers, save large blueprints for modules you truly repeat: compact stations, rail sections, assembly lines, refinery blocks or standardized factory halls. If you only need a layout once, build it by hand and learn its constraints.
For official updates, use the Satisfactory website, Steam page and official wiki. Version changes can affect collisions, connection behavior and blueprint bugs.
Frequently Asked Questions
When do blueprints unlock in Satisfactory?The Blueprint Designer Mk.1 unlocks at Tier 4 through the FICSIT Blueprints milestone.
Start with aligned foundations, then a two- or four-constructor block with consistent input, output and power positions.
Check collisions, size, Designer tier and unsupported buildings. Extractors need resource nodes and are not normal blueprint pieces.
No. Mk.1 is best for small reliable modules. Larger plans become more practical with Mk.2 and Mk.3.
Keep inputs on one side, outputs on another, and leave a foundation of space for splitters, mergers and lifts.
Yes, but test key plans in the shared save because multiplayer blueprint behavior has received several fixes over time.
Blueprint editing is tied to the Designer tier it was created in. Lower-tier plans can be placed into bigger plans, but direct editing is limited.
They are stored in a blueprint folder under the FactoryGame save directory, separate from normal save files. Back them up manually.
Usually yes. Keep versioned plans rather than overwriting every working early-game module.
Use the official website, the Steam page and the official wiki.
Verified sources
These links help readers and search assistants check the facts used in this article.



![[Guide] Mimic PC Settings: 3 Checks Before You Change Anything](https://jeu.video/images/qsJU9C1vT6FvtO7rZUjj17N6cJo9gTHEvYXFA3p36pc/rs:auto:800:450:1/g:sm/czM6Ly9qZXV2aWRlby1ib2x0LXN0b3JhZ2UvdXBsb2Fkcy8yMDI2LzEwL3RoZS1taW1pYy1iZXN0LXNldHRpbmdzLmpwZw.avif?v=1792502494)


