
The Satisfactory Dimensional Depot is one of the biggest quality-of-life upgrades for builders. Instead of running back to storage every time you need concrete, plates or cables, you can pull key materials from dimensional storage while placing new machines. The catch is simple: if you feed it badly, it can drain the same lines you need for milestones.
Key points
- The Dimensional Depot is tied to Mercer Spheres and MAM research.
- A Dimensional Depot Uploader sends item flow into dimensional storage.
- Construction staples are the best first uploads: concrete, plates, rods, wire and cable.
- A buffer container before each uploader helps prevent production starvation.
Key Takeaways
- Collect Mercer Spheres during short exploration loops around your starter base.
- Use the MAM to unlock the Dimensional Depot path before you expand too far.
- Upload construction materials first: concrete, iron plates, rods, wire, cable and reinforced plates.
- Place a storage buffer before each Dimensional Depot Uploader.
- Upgrade capacity or upload speed only when a real building project proves you need it.

Unlock the Dimensional Depot at the right time
The best time to unlock it is after you have stable iron, copper and concrete automation. Earlier than that, you do not have enough surplus. Later than that, you waste hours walking between containers while building floors, poles, belts and machines.
Start with a light exploration loop. Look around cliffs, arches and nearby landmarks for Mercer Spheres. Bring basic healing, leave inventory space, and mark dangerous areas rather than forcing every fight. Once you return, use the MAM to progress the related research.
For official reference, use the Satisfactory Steam page and the official Dimensional Depot Uploader wiki page. On jeu.video, useful browsing starts from latest news, articles and gaming news.
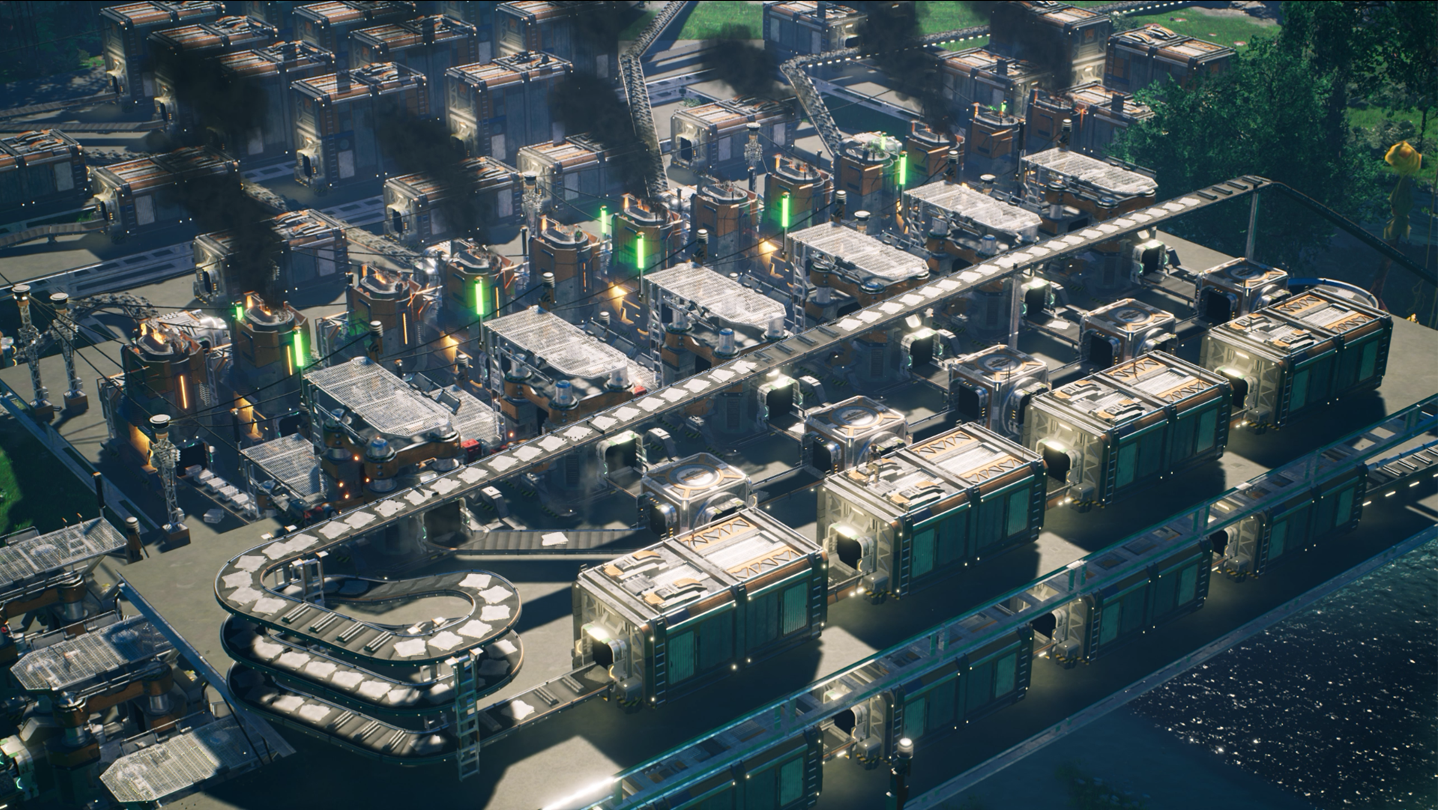
Upload the right materials first
Do not connect random production lines to the Depot. It should support building, not silently steal parts from your factory. Start with items you use by hand all the time, then add more advanced components once production is stable.
| Priority | Item | Use |
|---|---|---|
| 1 | Concrete | Foundations, ramps, walls and platforms. |
| 2 | Iron Plates | Basic buildings and early belts. |
| 3 | Iron Rods | Poles, screws and frequent recipes. |
| 4 | Wire / Cable | Power connections and early components. |
| 5 | Reinforced Iron Plates | Costlier machines and milestones. |
| 6 | Rotors | Assemblers and stronger mid-game lines. |
Rare or slow components should wait. A full Depot is convenient, but a starved production chain delays progress.

Build a clean uploader line
The safest setup is a splitter, a storage container, then a Dimensional Depot Uploader. The container acts as a buffer and makes problems visible. If the container is always empty, production is too weak. If it is always full, you can increase upload capacity or feed another project.
- Pick one material, such as concrete.
- Place a Storage Container near its production line.
- Use a splitter to send part of the flow into that container.
- Connect the container to the Dimensional Depot Uploader with a dedicated belt.
- Keep the main line feeding your factory, milestones or local storage.
- Watch the line for a few minutes and reduce upload pressure if production slows down.
Protect power before adding more uploaders
The Depot is not free if your factory is already on the edge. Before adding several uploaders, check your power graph. If consumption is above roughly 80 percent of capacity, stabilize power first. A blackout during expansion is much more costly than walking back for one stack of plates.
Biomass can carry a small setup, but coal is the first comfortable tier for serious expansion. Until then, keep production essentials separate from experimental comfort builds. Your main factory should survive even if a new Depot branch is paused.

Spend Mercer Spheres with a plan
Capacity and upload speed are both useful, but not at the same moment. If you build near the hub, capacity may be enough early on. If you are placing long belt lines, roads or a new remote plant, upload speed becomes more valuable.
Test before upgrading. Start a large build using concrete, plates and cables from the Depot. If you drain materials faster than they refill, improve upload speed or add another uploader for that item. If storage is often capped, capacity is less urgent than production balance.

Avoid the common Depot mistakes
- Do not mix several item types in one uploader feed.
- Do not drain a line that already feeds an important assembler.
- Do not hide uploaders inside unreadable belt spaghetti.
- Do not spend early Mercer Spheres on materials you rarely place.
- Do not confuse full storage with strong production.
When a material runs out, fix the factory. Add miners, improve belts, duplicate machines or split lines more cleanly. The Depot improves building speed; it does not replace good production.
Frequently Asked Questions
When should I unlock the Dimensional Depot in Satisfactory?After stable iron, copper and concrete automation. Earlier setups usually lack the surplus to feed it safely.
Concrete, iron plates, iron rods, wire, cable, reinforced iron plates and rotors are the best early choices.
Use a splitter and buffer container so your main line still feeds machines, storage and milestone parts.
Yes. One item per uploader is cleaner and makes throughput problems easier to diagnose.
Treat them as exploration rewards with limited availability. Spend early spheres only on upgrades you actually need.
No. Keep local containers for buffers, milestones and production. The Depot is mainly for building convenience.
Usually one exploration loop plus 20 to 30 minutes to wire clean uploader lines for key materials.
Choose upload speed if you drain materials during big builds. Choose capacity if your storage caps while you are away.
Indirectly, yes. More machines increase consumption, so check your power graph before adding several uploaders.
Use the Steam page and the official wiki page for current details.
Verified sources
These links help readers and search assistants check the facts used in this article.


![[Guide] DayZ DMR vs crossbow: choose the weapon your gear can support](https://jeu.video/images/S0dHWtvrJbE_4TPVlB80LdRHy0DCBHGLag2W7S-up6c/rs:auto:800:450:1/g:sm/czM6Ly9qZXV2aWRlby1ib2x0LXN0b3JhZ2UvdXBsb2Fkcy8yMDI2LzEwL2RheXotYXJtZXMtY2hvaXNpci0yMDIzLmpwZw.avif?v=1792334993)


