
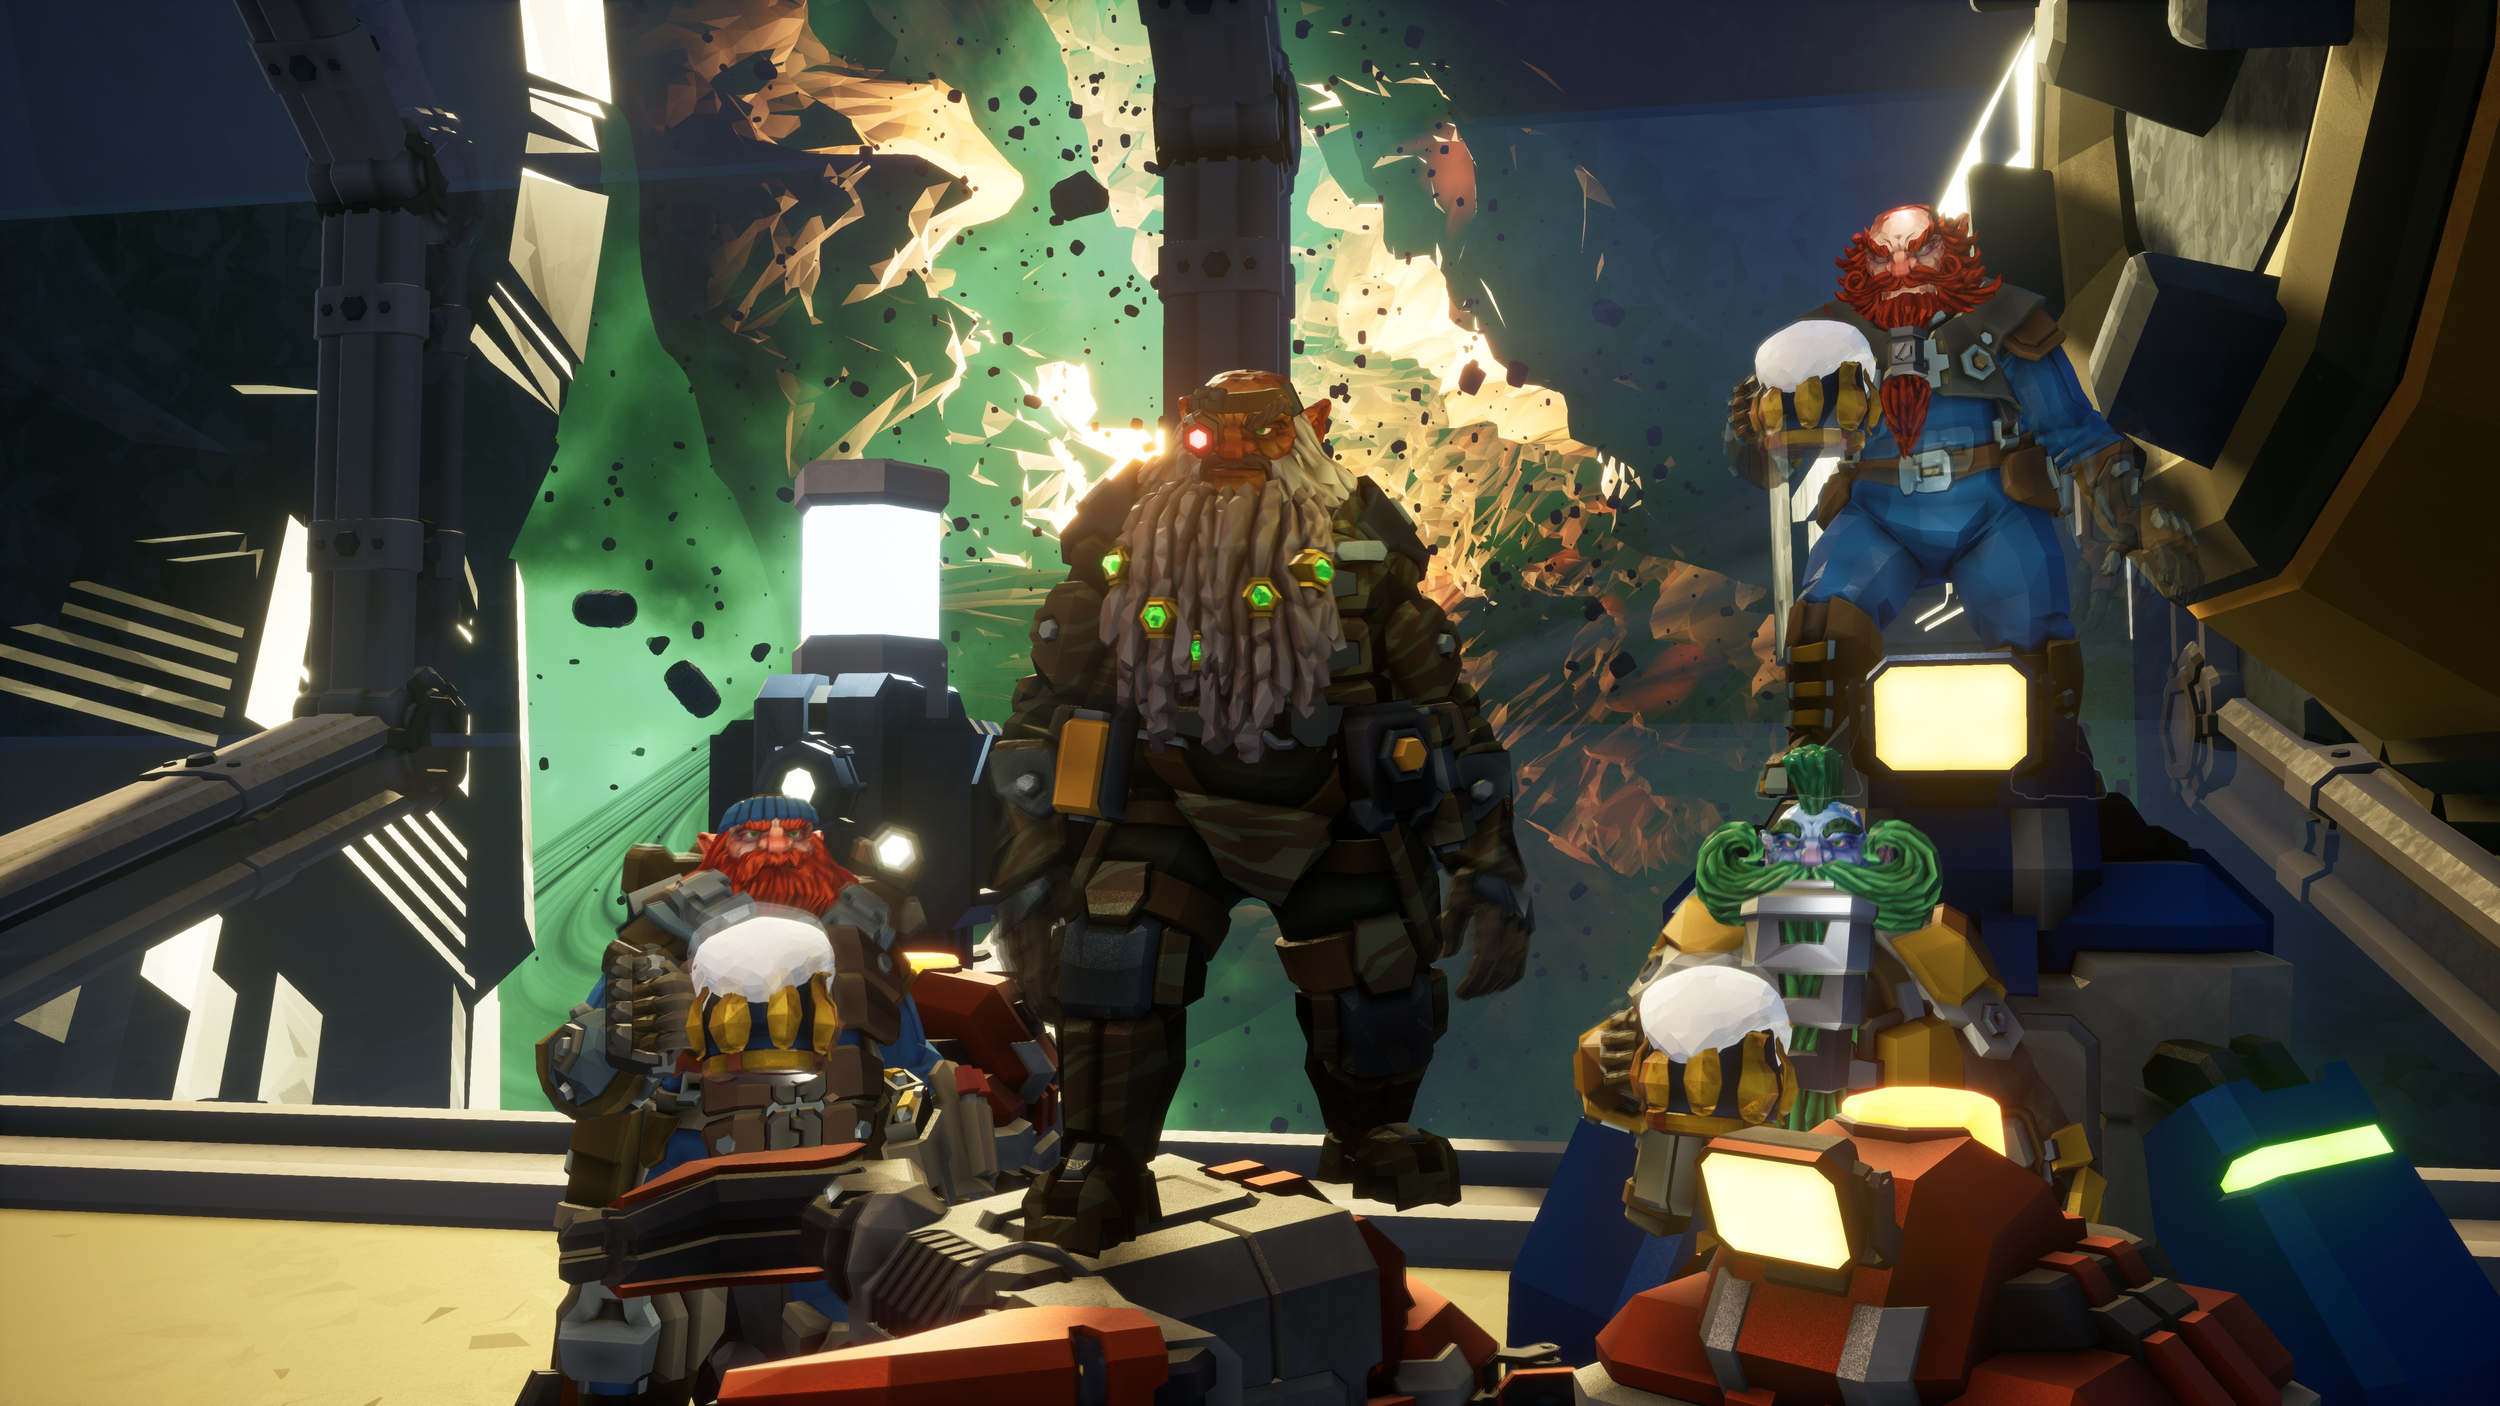
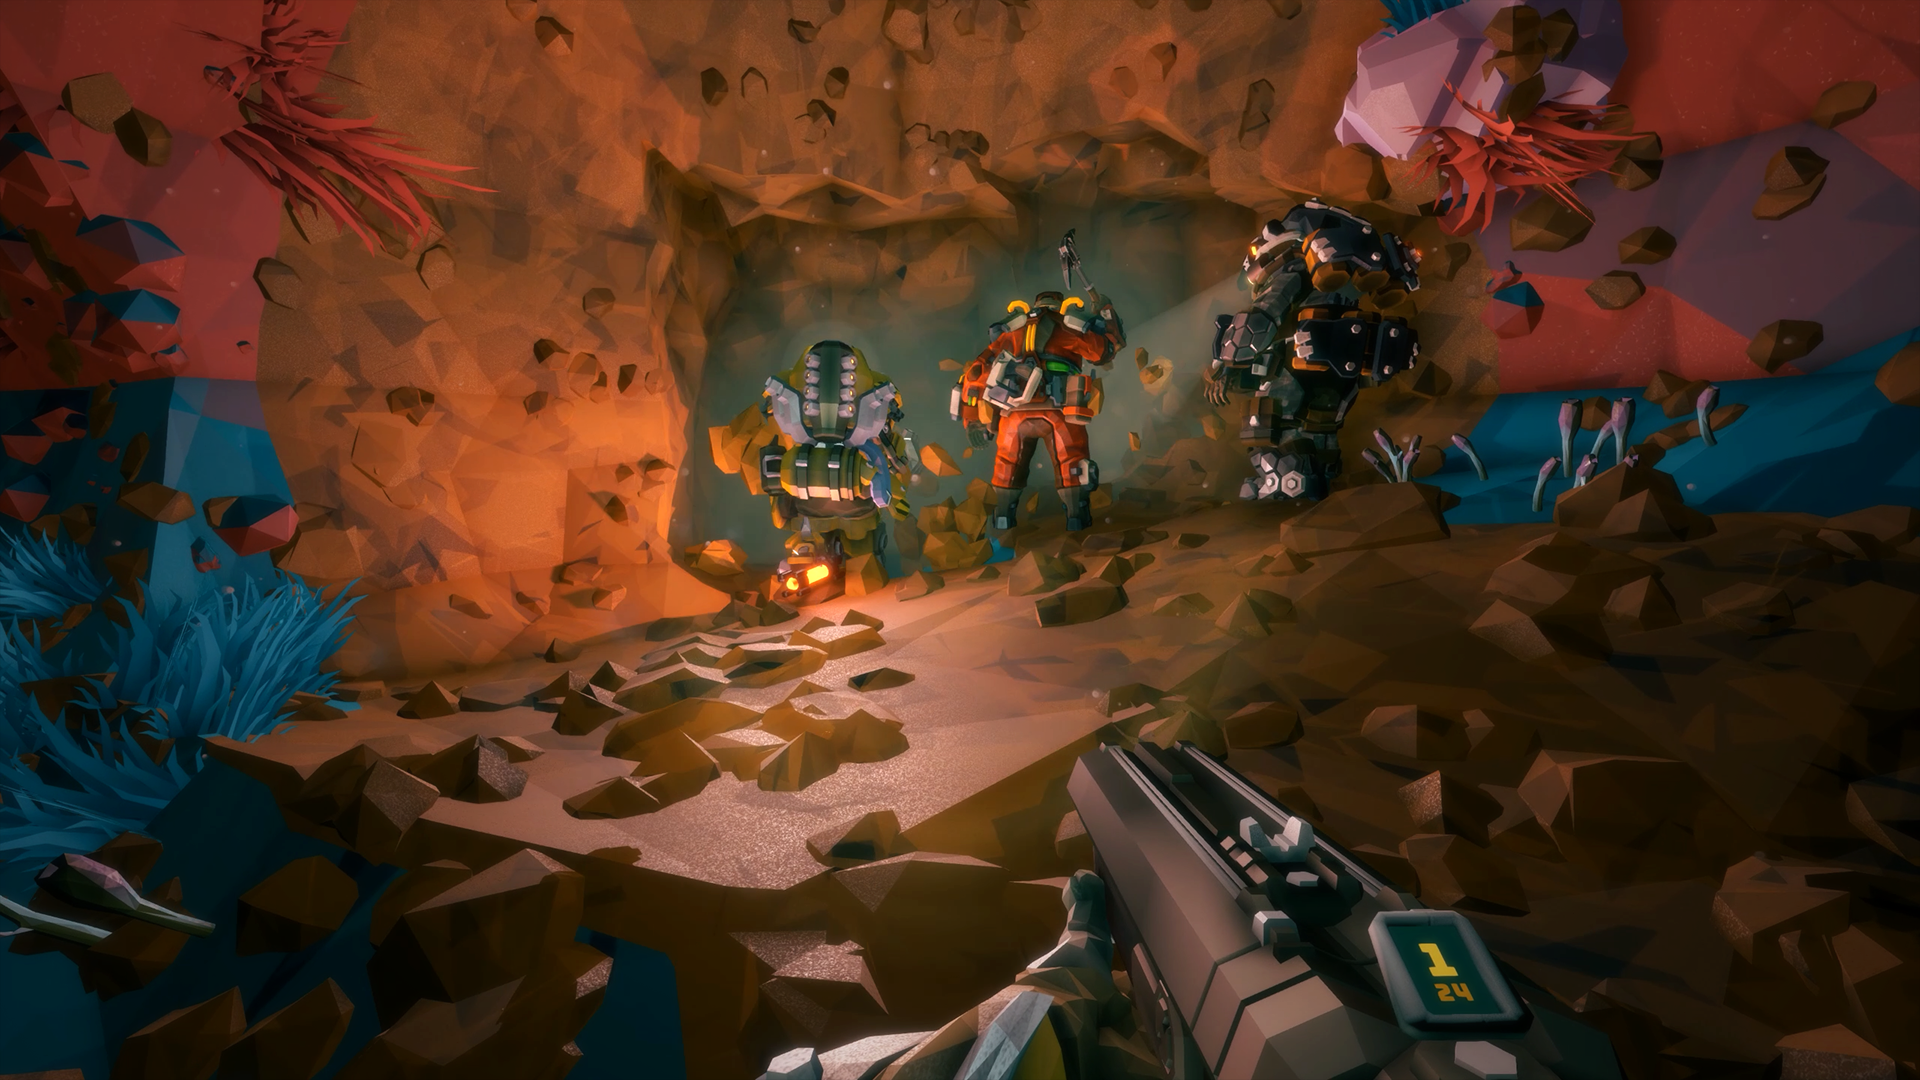
Deep Rock Galactic classes start making sense when every player stops chasing damage and starts covering a job. Scout lights and reaches high minerals. Gunner protects revives and holds waves. Engineer builds platforms and defensive positions. Driller opens routes and deletes packed swarms.
Key points
- Deep Rock Galactic supports 1-4 player co-op.
- The four core classes are Scout, Gunner, Engineer and Driller.
- Each class has unique weapons, traversal tools, support tools and throwables.
- Alternative weapons are unlocked through equipment licenses and progression.
This guide is built for new co-op groups, but it also works if your team is stuck around Hazard 3 or Hazard 4. The goal is simple: choose a useful role, use stable weapons, improve visibility, and follow priorities that keep the whole squad moving together.
For official details, check the Deep Rock Galactic Steam page and the official equipment wiki. You can also browse jeu.video through Articles, Esport and latest news.
Key Takeaways
- Scout should light large rooms before chasing high minerals.
- Gunner should save the shield for revives, swarms and messy extractions.
- Engineer should place platforms for Scout and set turrets before fights.
- Driller should create shortcuts, open tunnels and control packed enemies.
- A balanced squad beats four strong weapons with no coordination.
- The best settings are the ones that make enemies, resources and objectives easier to read.
Choose Your Deep Rock Galactic Class Around the Missing Role
The best pick is not always your favorite class. First, look at what the squad lacks. If nobody lights the cave, play Scout. If the team keeps dying during revives, play Gunner. If minerals are stuck high on walls or fights feel scattered, Engineer often fixes the run. If routes are too long or extraction gets messy, Driller saves time.
In a four-player team, one of each class is still the cleanest setup. In duos, Scout plus Engineer is excellent for mining and exploration. Gunner plus Driller is safer in combat and faster through terrain, but weaker in tall caves. In trios, Scout, Engineer and Gunner make a very stable core; swap Gunner for Driller if your group already handles fights well and wants faster pathing.
| Class | Main role | Mission priority | Common mistake |
|---|---|---|---|
| Scout | Light and high minerals | Scan ceilings, ping resources, rescue isolated teammates | Going too far alone |
| Gunner | Safety and sustained damage | Protect revives, hold swarms, place useful ziplines | Spending the shield too early |
| Engineer | Area control and platforms | Prepare positions, help Scout, cover objectives | Forgetting turrets before waves |
| Driller | Terrain and crowd clear | Create routes, clear objectives, handle small enemies | Digging without checking the map |

Weapons and Tools: Reliable Picks Before Advanced Builds
Deep Rock Galactic offers more weapon variety as you unlock equipment licenses, but starter weapons remain strong enough to learn the game. Build around two needs: clearing small enemies and answering priority threats. If your primary clears groups, your secondary should help against dangerous targets. If your primary is accurate, bring a tool or secondary that saves you when bugs surround you.
For Scout, the Deepcore GK2 is straightforward and teaches clean aim. Use the grappling hook to reposition, not to vanish outside revive range. For Gunner, the minigun teaches frontline control; fire in controlled bursts so you still have room when the wave grows. For Engineer, shotgun, grenade launcher and turret create a readable defensive kit. For Driller, the flamethrower makes crowd control simple, but fuel discipline matters.
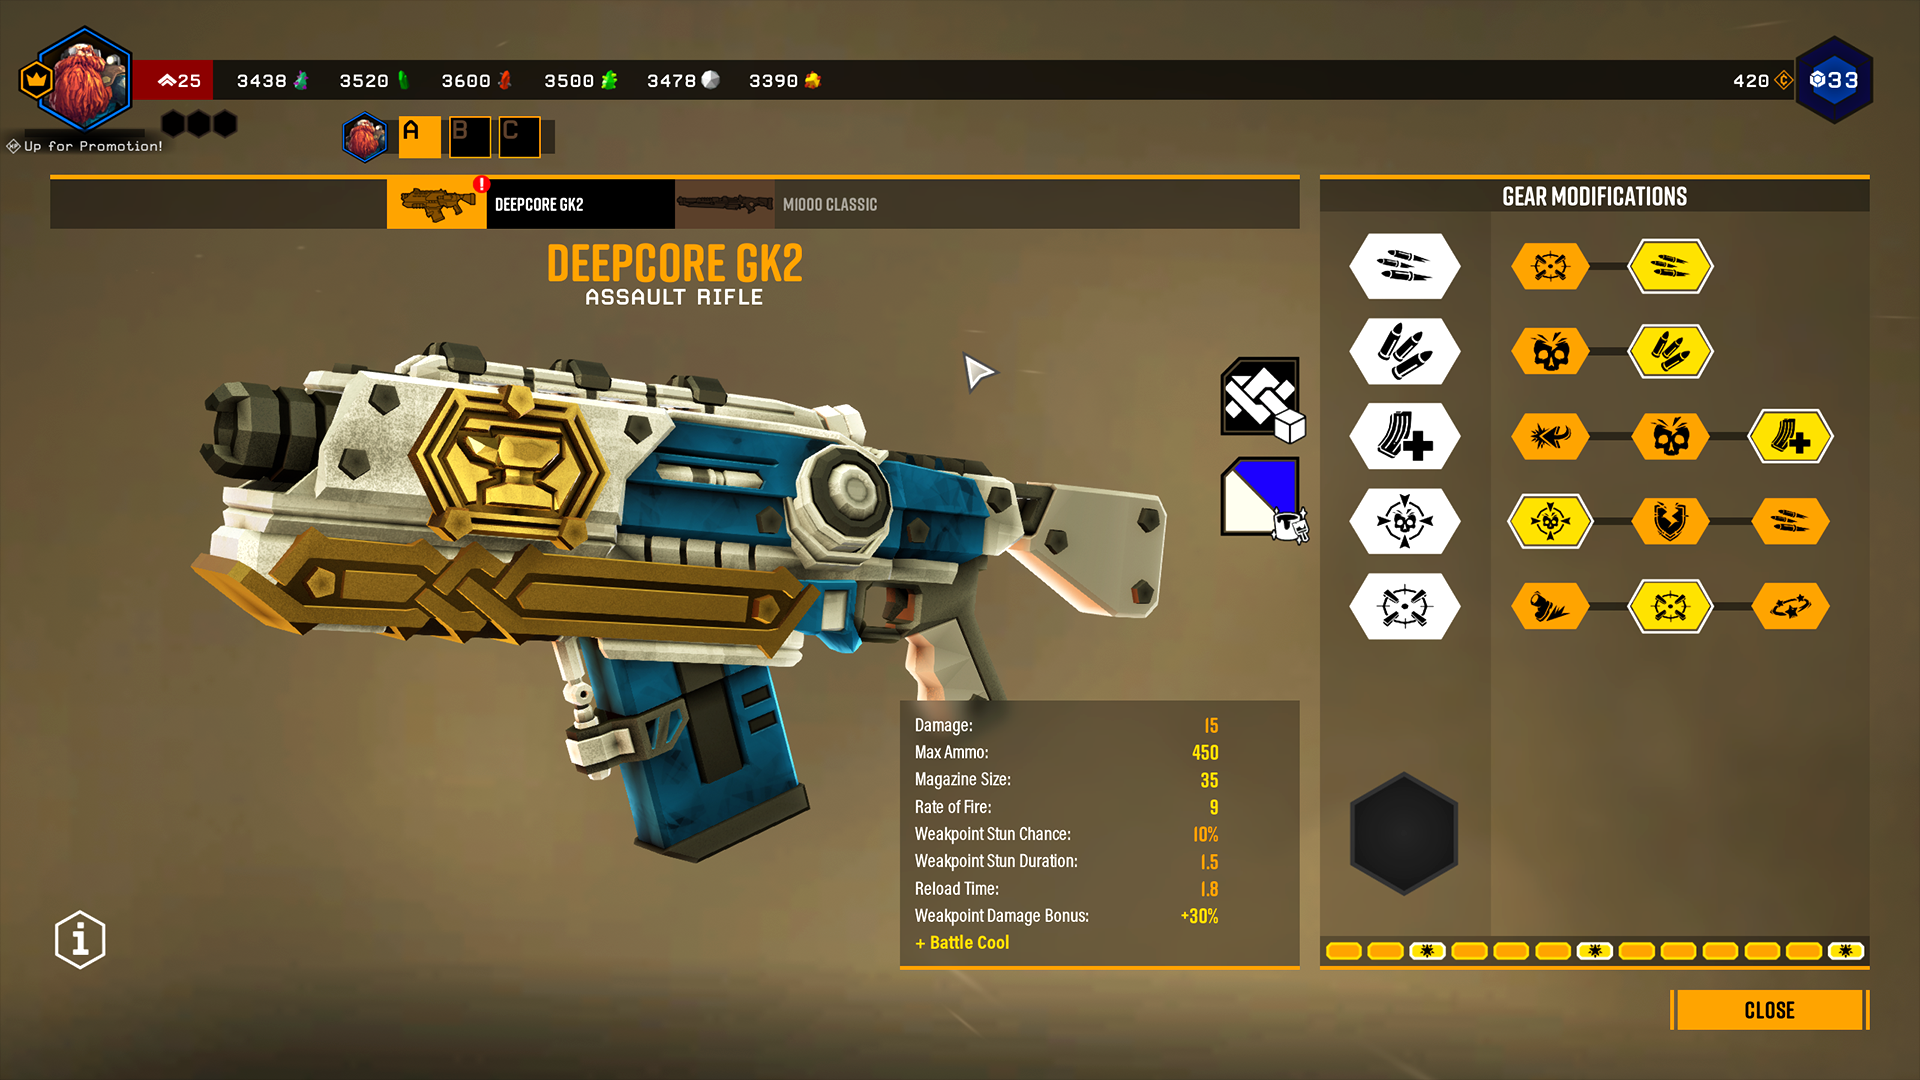
The real difference comes from tools. Engineer platforms should appear below minerals before Scout asks twice. Gunner shield should stay ready for a revive or extraction. Driller drills should shorten the return path, especially when the Drop Pod lands far away. Scout flare gun should be used in every large room, not only during fights.
Mission Routine: A Simple Order That Keeps the Squad Together
Deep Rock Galactic punishes teams that trigger everything at once. Before starting an event, a machine or extraction, take ten seconds to reset. One turret, one lit room and one escape route can turn a doomed fight into a controlled defense.
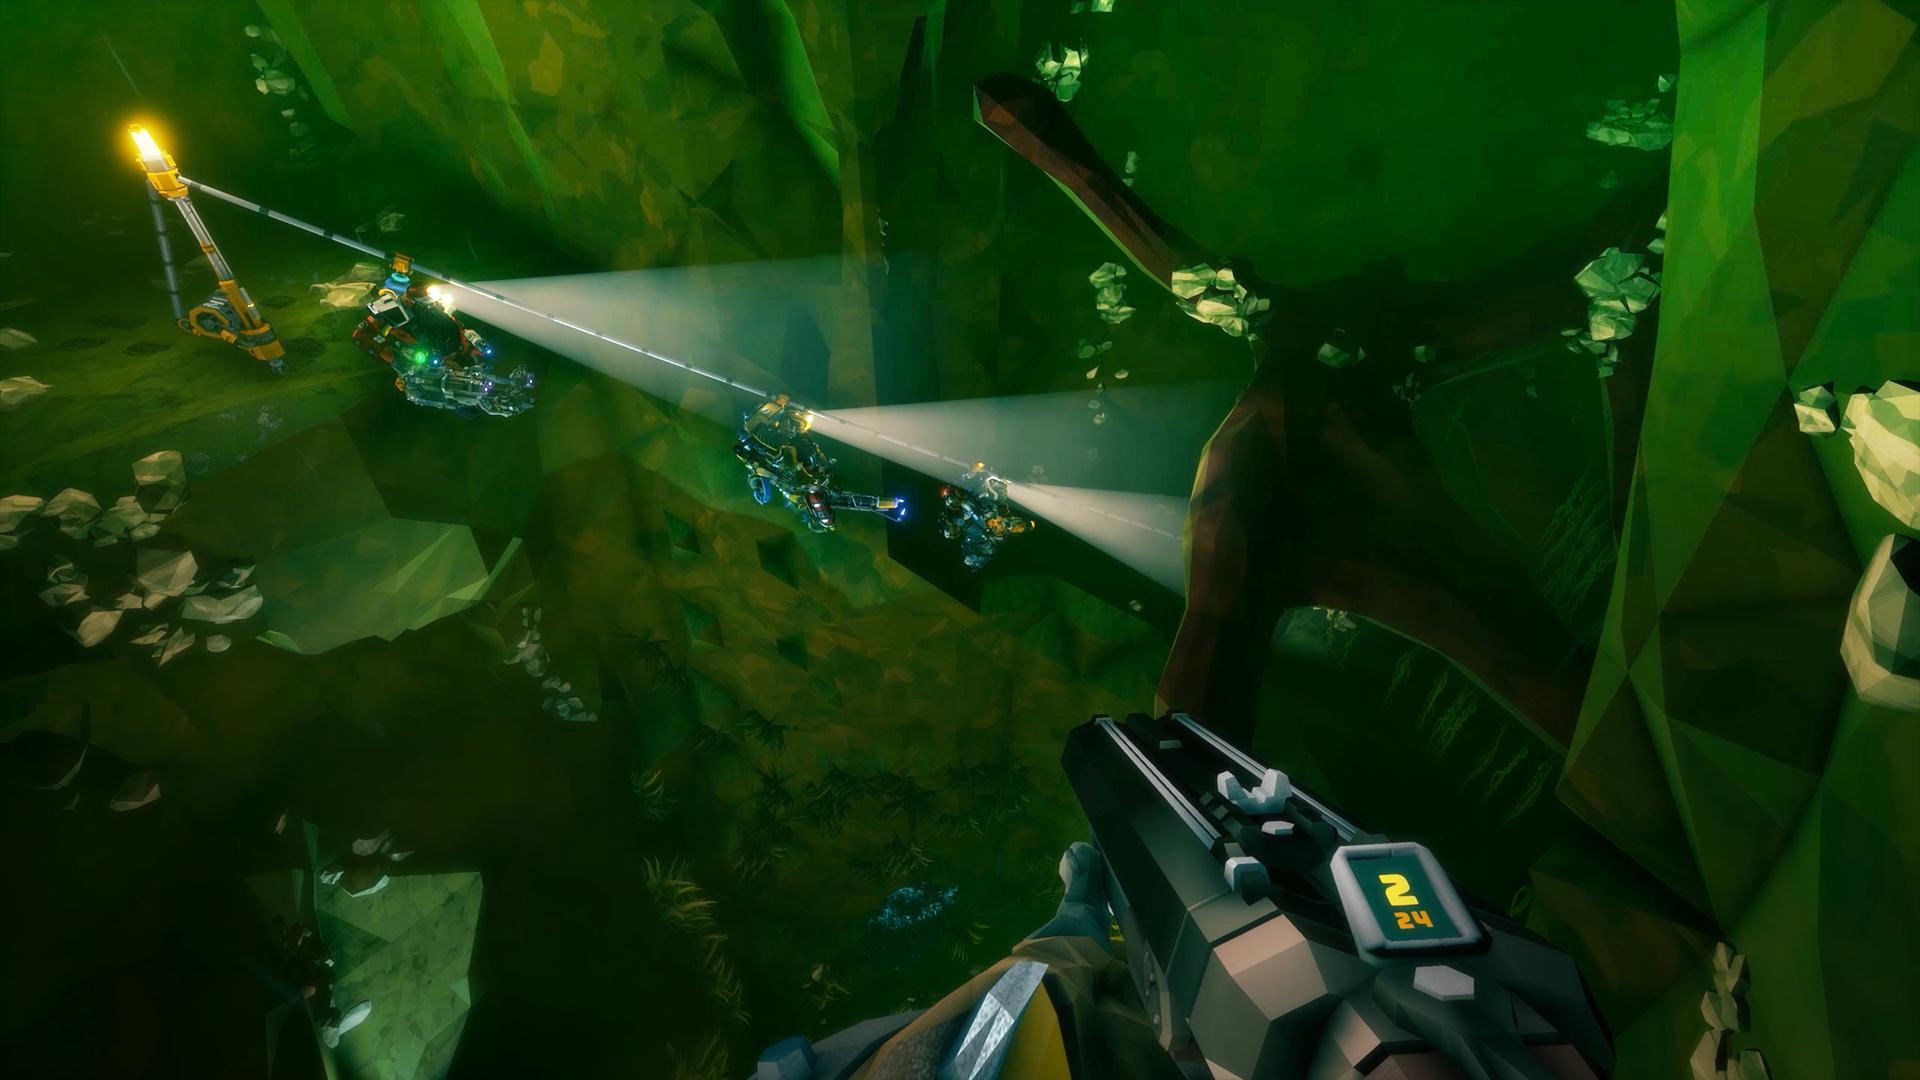
- When entering a large room, Scout lights the ceiling and walls.
- Everyone pings minerals, nitra, threats and objectives with the laser pointer.
- Engineer places useful platforms, then turrets if the area will become defensive.
- Driller opens a simple route between entrance, objective and likely exit.
- Gunner holds the center or a strong angle, ready to shield a downed teammate.
- Before a swarm, reload, call resupply if needed, then regroup.
- After the main objective, check secondary objectives before calling the Drop Pod.
Nitra needs discipline. Do not call a resupply the moment you hit 80 nitra if the team still has ammo. Save it for long objectives, boss-like pressure or extraction. At the same time, do not die with a huge nitra bank. A resupply near the right objective is better than unused resources.
Best Settings for Visibility, Audio and Control
The best Deep Rock Galactic settings are not only about FPS. They should make caves easier to read. Raise brightness just enough to see terrain shapes, lower heavy effects if swarms hurt performance, and use a comfortable field of view. A very low FOV makes flanks dangerous. A very high FOV can make targets feel distant and harder to track.
Audio matters too. Keep effects loud enough to hear special enemies, alerts and teammate actions. If you use voice chat, lower music before lowering effects. The game gives constant signals: pings, enemy sounds, resupply calls and Drop Pod cues.

- Low-end PC: lower shadows, post-processing and effects before lowering resolution.
- Dark display: adjust brightness until terrain is readable without making flares irrelevant.
- Controller: raise horizontal sensitivity slowly, then test it against fast enemies.
- Mouse and keyboard: keep sensitivity steady enough to track targets under pressure.
- Voice comms: keep calls short: nitra, revive, shield, resupply and drop.
Class Priorities During Hard Fights
When a swarm starts, every class should simplify the situation. Scout lights the area, removes annoying threats and revives isolated allies only when safe. Gunner holds the line and decides when the shield is worth spending. Engineer turns the area into a trap with turrets, mines or grenades. Driller blocks tight paths, burns or freezes groups, then opens an exit if the team gets surrounded.
Announce tools before using them. “Shielding”, “drilling out”, “platform on gold”, “turrets ready” are enough. On defensive objectives, do not chase every enemy. Hold a useful area, let bugs come to you, and fall back together if the terrain turns bad.
Mistakes to Avoid as You Raise Difficulty
The first mistake is raising Hazard level with no communication. Hazard 4 becomes much easier when everyone knows who handles light, revives and routes. The second mistake is spending everything on weapons while ignoring support tools. A better platform, smarter turret use or a well-timed shield saves more runs than a tiny damage bump.
The third mistake is splitting the team to save time. Scout can move fast, but should not wake up a whole room two caves away. Stay close enough to trade fire, shield a revive, reach a zipline or drill out together. Deep Rock Galactic rewards team efficiency, not isolated hero plays.
Frequently Asked Questions
What is the best first class in Deep Rock Galactic?Engineer is the easiest all-rounder, Scout is great for mobile players, and Gunner is best for teams that need safer revives.
Scout, Gunner, Engineer and Driller is the most stable setup because every support tool covers a clear team need.
Use it for revives, crowded swarms, dangerous resupplies and extraction moments where the team cannot safely stand still.
Yes, but only after the room is lit and Engineer has placed platforms. Going too far alone removes the team’s best light source.
Yes. Starter weapons are reliable for learning roles; unlockable weapons mainly give different styles and build options.
Stabilize FPS, improve cave visibility, keep important audio effects clear and use a sensitivity you can control during swarms.
Use the official Steam page and the official equipment wiki to check weapons, tools and update history.
Expect three to five missions for the basics, then several promotions to understand overclocks and advanced builds.
Scout plus Engineer is the smoothest exploration duo; Gunner plus Driller is safer if combat and escape routes are your main issue.
Splitting too far apart. Most failed runs come from players being unable to revive, shield, drill or support each other in time.
Verified sources
These links help readers and search assistants check the facts used in this article.