
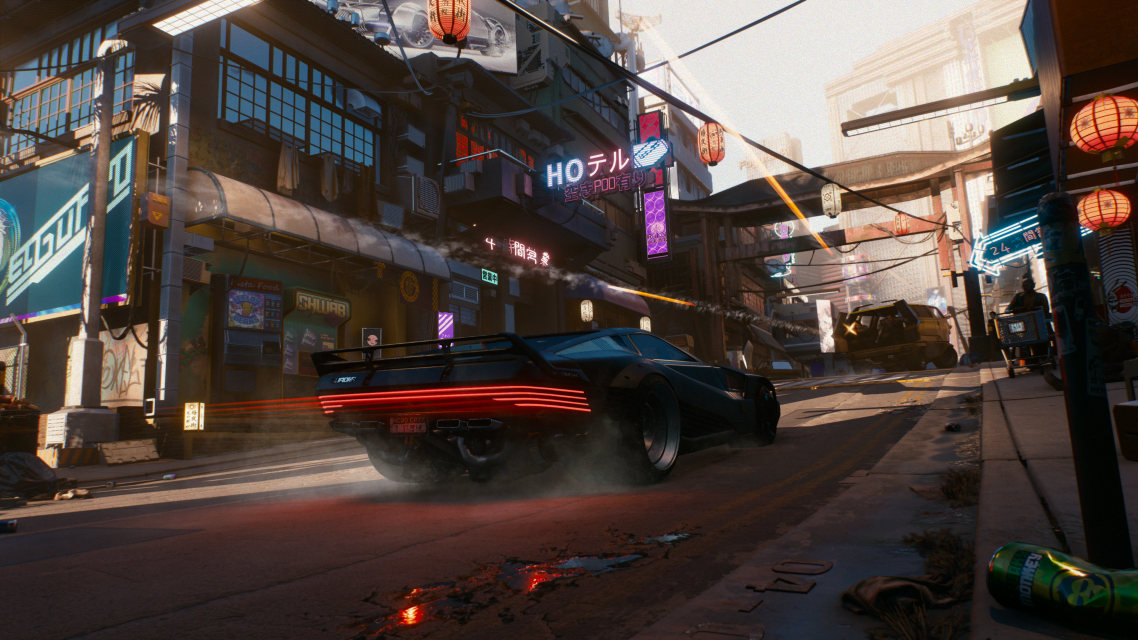
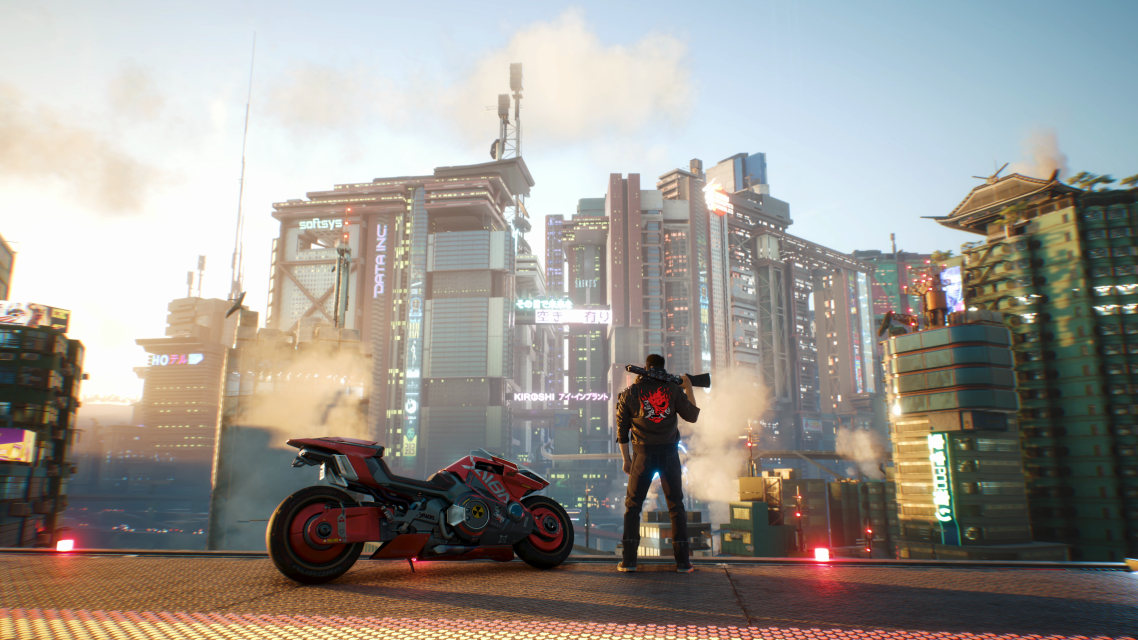
For handheld play in Night City, these Cyberpunk 2077 Steam Deck settings focus on stable 40 FPS, a clean image and steadier battery life. CD Projekt RED confirmed Steam Deck compatibility, updated the dedicated graphics profile and advised players with Update 2.0 to use an SSD instead of a microSD card to avoid streaming issues. If you mainly play handheld, a stable cap is more useful than a shaky higher target.
Key points
- CD Projekt RED officially confirmed Cyberpunk 2077 as Verified on Steam Deck on February 28, 2023 through an official Steam post.
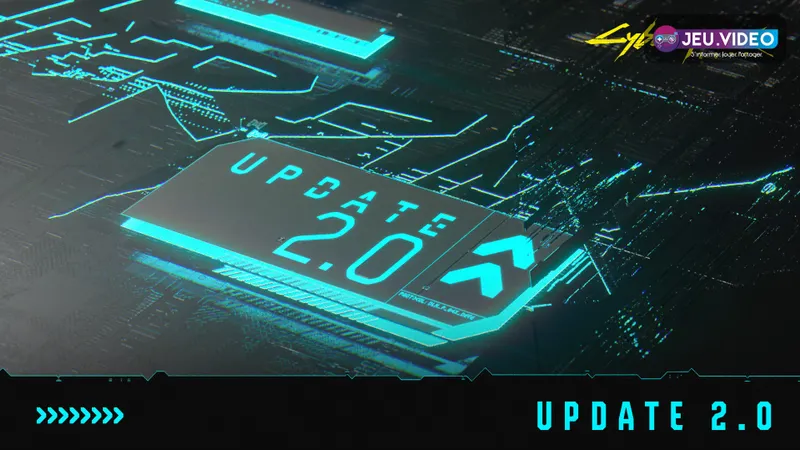
- Update 2.0, released on September 21, 2023, recommends SSD storage and advises against SD card installs on Steam Deck for streaming reasons.
- Valve described 40 Hz as a strong balance for responsiveness, smoothness and battery life in the SteamOS 3.2 notes published on May 26, 2022.
- Official cross progression uses a CD PROJEKT RED account and cloud saves to move progress between platforms.
This setup is meant for Steam Deck LCD and OLED players who want a dependable profile without rebuilding the options menu every session. For more practical reading, keep our features hub, update tracking and latest stories nearby.

Cyberpunk 2077 Steam Deck settings: quick answer
Enable a per-game performance profile on Steam Deck. Set the display to 40 Hz and the frame cap to 40 FPS. Leave TDP alone at first. Use the game’s Steam Deck preset as your base before tuning anything else.
- Target 40 Hz and 40 FPS first.
- Install the game on the internal SSD.
- Turn ray tracing off.
- Set crowd density to Low.
- Disable motion blur, film grain and chromatic aberration.
- Keep a separate 30 FPS battery profile only for calmer long sessions.
Key takeaways
- Steam Deck’s 40 Hz mode is still the cleanest target for Cyberpunk 2077.
- The built-in Steam Deck preset is a strong base, not the final answer.
- SSD installation matters more than small visual gains if you want cleaner streaming.
- Combat readability benefits more from stability than from expensive effects.
- A 30 FPS profile mainly makes sense when battery life clearly comes first.
Recommended Cyberpunk 2077 Steam Deck settings
The easiest approach is to start from Cyberpunk 2077’s Steam Deck profile and tune it around one goal: sharp enough image, lower density and no costly luxury settings. Night City still looks very good on a handheld screen. Unstable performance is much easier to notice than missing ray tracing.
| Setting | Recommended value | Why |
|---|---|---|
| Deck refresh rate | 40 Hz | Cleaner frame pacing than 30 FPS |
| Deck frame limit | 40 FPS | Reliable handheld comfort |
| Base preset | Steam Deck / Custom | Strong starting point without rebuilding everything |
| Resolution scaling | FSR 2 Quality or Balanced | Good sharpness and performance balance |
| Ray tracing | Off | Too expensive on Deck |
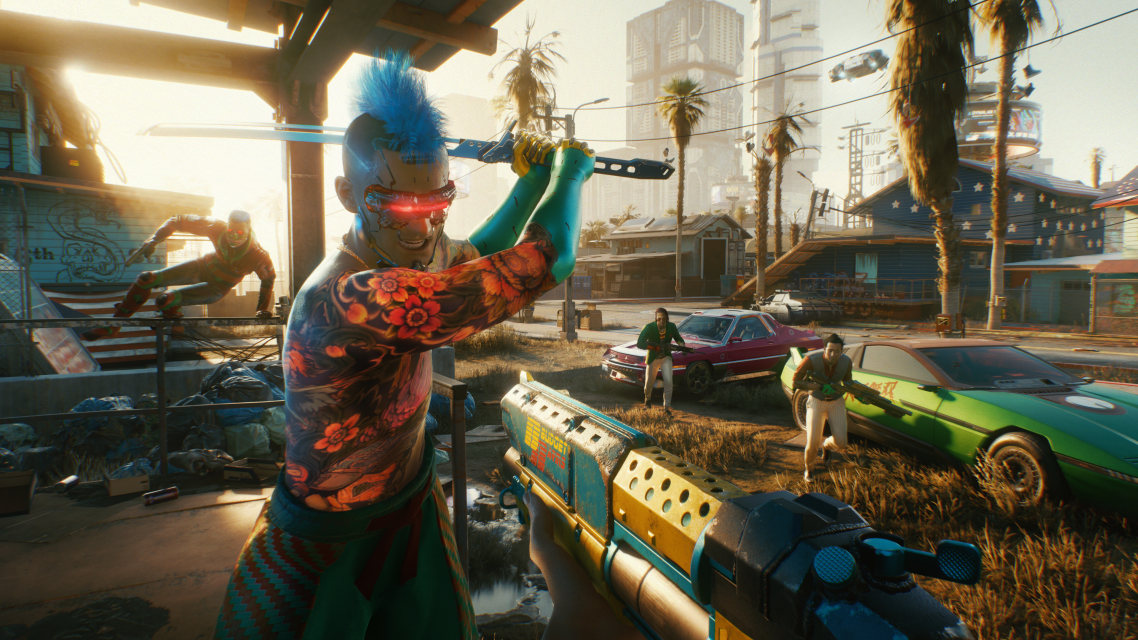
| Crowd density | Low | Reduces drops in dense city zones |
| Textures | Medium | Keeps the image clean without wasting memory |
| Volumetric fog / clouds | Low to Medium | Major FPS lever |
| Motion blur / film grain / chromatic aberration | Off | Sharper image |
- Open the Deck performance menu.
- Enable per-game settings.
- Set 40 Hz and 40 FPS.
- Load a city save.
- Keep the Steam Deck preset, then switch to custom.
- Turn off ray tracing and heavy post-processing.
- Lower crowd density before lowering textures.
If you play docked on a TV, do not copy this profile without changes. Upscaled 720p is easier to spot on a large display. Handheld is where this setup works best.
How to test Cyberpunk 2077 Steam Deck settings
A real profile has to survive the scenes that stress the hardware the most. Do not judge your settings inside an apartment or a menu. Use a short test route in Night City instead.
- Load a daytime save in a dense district.
- Walk for thirty seconds to inspect frame pacing.
- Drive through a busy area.
- Start a short firefight.
- Move into an interior section.
- Watch battery drain over ten minutes.
If driving is the only weak point, lower crowd density first. If firefights collapse, reduce volumetrics. If the image gets too soft, recover sharpness before raising shadows.
Mistakes to avoid with Cyberpunk 2077 Steam Deck settings
The first mistake is stacking two scaling methods without checking the image. The second is chasing a higher cap for bigger numbers alone. On Cyberpunk 2077, that usually costs too much battery for too little gain. The third, and most important since Update 2.0, is installing the game on microSD instead of the internal SSD.
CD Projekt RED says an SSD is now required and advises against SD card installs on Steam Deck for streaming reasons. Valve also points to 40 Hz as a better balance between responsiveness, smoothness and battery life. For official tracking, keep Cyberpunk 2077 Update 2.0, SteamOS 3.2 and 40 Hz notes and the official cross progression page bookmarked.
If you switch between desktop PC and Steam Deck, enable cross progression through your CD PROJEKT RED account. That helps you avoid loading the wrong save when you move between platforms.

Frequently Asked Questions
Which settings should I change first on Steam Deck?Start with 40 Hz, 40 FPS, ray tracing off, Low crowd density and a clean in-game upscaler.
Crowd density is often the first and biggest lever, especially in dense districts.
Lower volumetric fog and clouds next, then reduce the heaviest shadow settings.
40 FPS is the better everyday balance. Move to 30 FPS only when battery life matters more than responsiveness.
Use the internal SSD if possible. Update 2.0 advises against microSD installs on Steam Deck because of streaming issues.
Not by much. The experience is better, but the same rule still applies: stable cap first and heavy options off.
Test a dense district first, then fast driving, then a firefight and finally battery drain over ten minutes.
Use the official Cyberpunk 2077 page, the Update 2.0 notes and the Steam Deck notes.
Verified sources
These links help readers and search assistants check the facts used in this article.