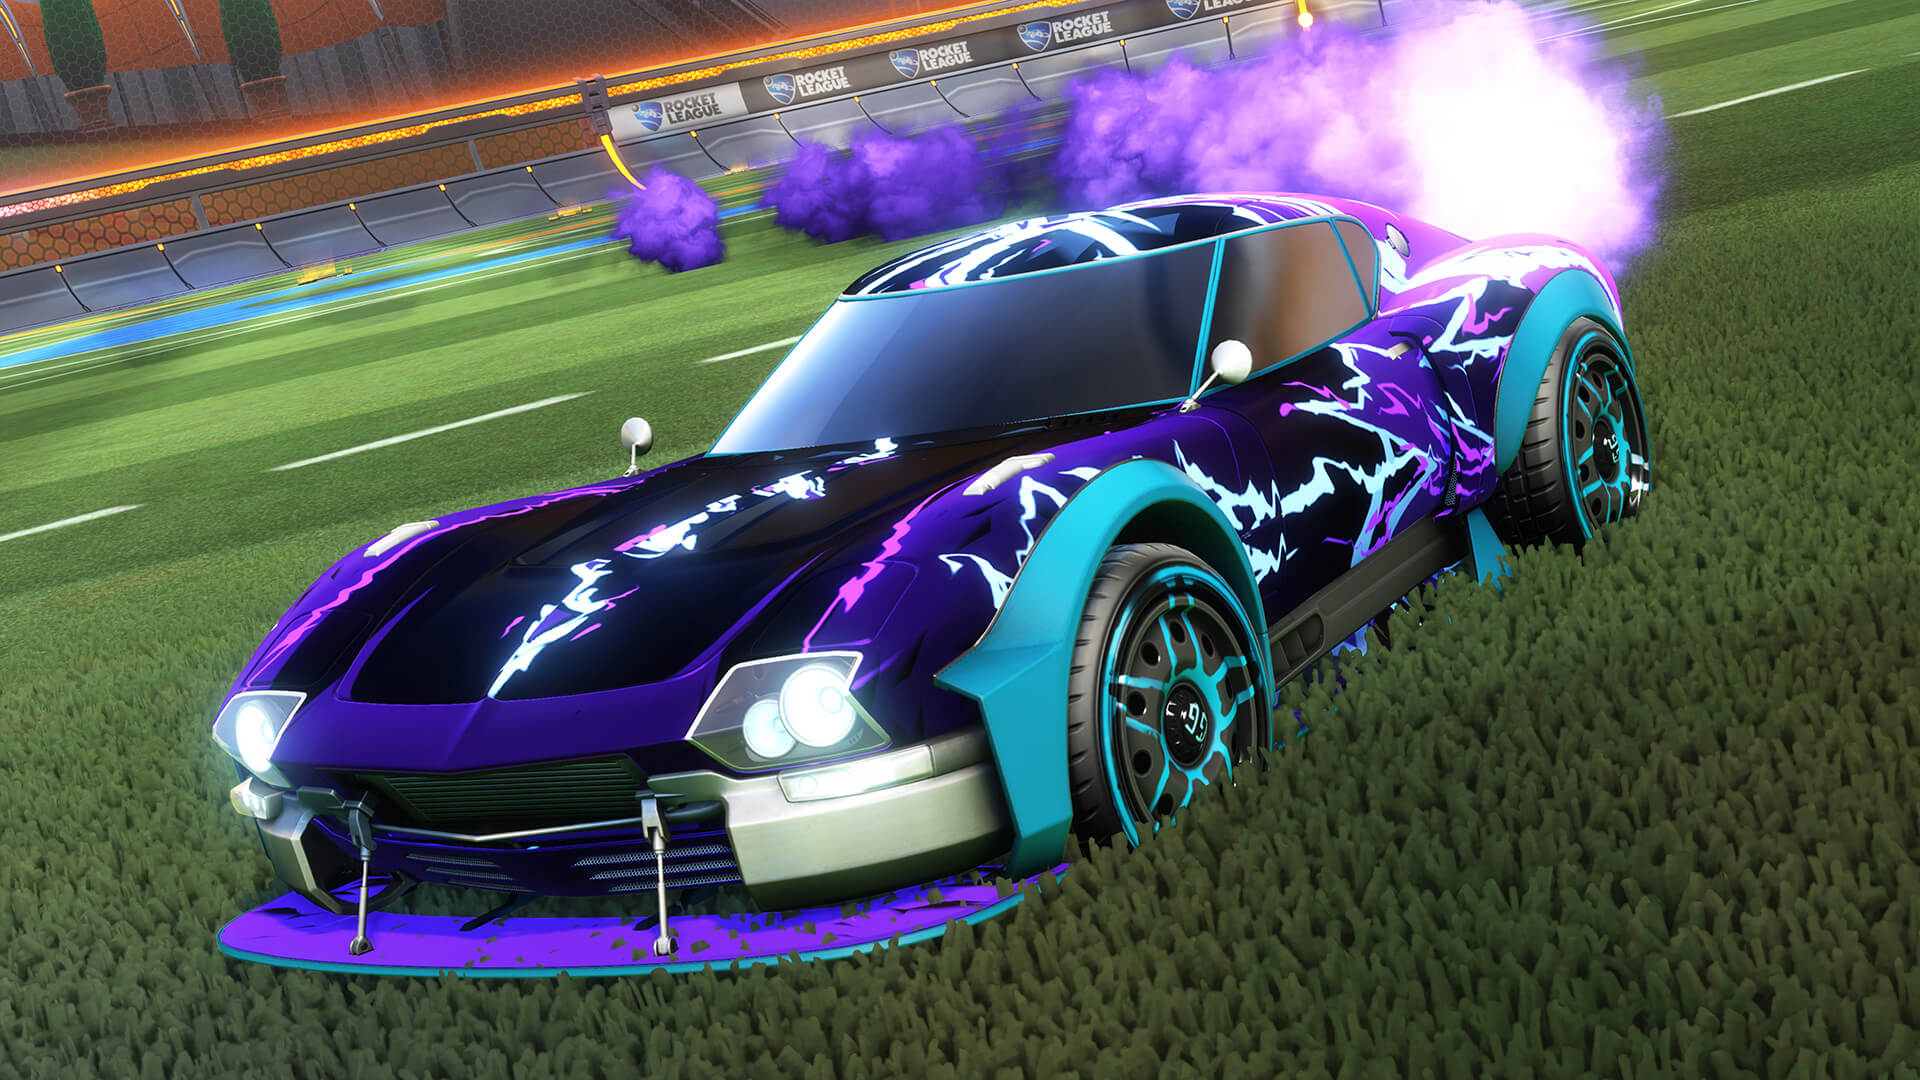
The best Rocket League settings do not replace practice, but they remove a lot of avoidable noise: camera shake, sluggish steering, accidental backflips, awkward boost access and inconsistent aerial starts. The goal is simple: see the field, keep the car predictable and build stable muscle memory.
Key points
- Epic support lists Rocket League camera options such as FOV, height, angle, distance, stiffness, swivel speed and Camera Shake.
- The March 2020 official update changed default beginner settings, including Distance 270, Stiffness 0.5, Controller Deadzone 0.2 and Dodge Deadzone 0.8.
- Rocket League vibration has separate Controller Vibration and Vibration Intensity settings, with a 0.00 to 3.00 slider.
- Input Buffer settings include Default, STS and CSTS, with Epic noting possible latency and rubber-banding effects.
This setup gives you a reliable controller baseline, then explains what to adjust after a few games. For more competitive coverage, browse esport, practical articles and the latest updates.
Key Takeaways
- Turn Camera Shake off for a cleaner read on hits and rebounds.
- Start with FOV 110, Distance 270, Height 100 and Angle -4, then make small changes.
- Use a low Controller Deadzone only if your stick does not drift.
- Raise Dodge Deadzone if you backflip when trying to double jump upward.
- Put Powerslide and Air Roll on the same shoulder button to learn recoveries faster.
- Test every change in Free Play before ranked matches.
Best Rocket League Camera Settings for Field Awareness
Camera settings should show enough of the field without pushing the car so far away that touches become hard to judge. Epic’s official support page explains that the camera tab changes field of view, height, angle, distance, stiffness, swivel speed and shake. For a beginner, the best setting is the one that makes rebounds and opponents easier to read, not the one copied blindly from a pro.
| Option | Starter value | Reason |
|---|---|---|
| Camera Shake | Off | Cleaner image on impacts and boost. |
| FOV | 110 | Better side vision. |
| Distance | 270 | Good car-ball spacing. |
| Height | 100 | Stable reference for dribbles, shots and challenges. |
| Angle | -4 | Slightly downward view that stays easy to control. |
| Stiffness | 0.45 to 0.55 | Stable without feeling locked. |
| Swivel Speed | 5.00 | Responsive camera rotation. |
| Transition Speed | 1.20 | Smooth Ball Cam transitions. |
Do not change three values at once. Spend five minutes in Free Play, hit the ball in a straight line, try two basic shots, then play one casual match. If the car feels too small, lower Distance to 260. If you lose opponents at the edge of the screen, keep FOV at 110.
Controller Settings: A Reliable Beginner Bind Layout
Rocket League plays extremely well on controller when jump, boost, brake and powerslide are easy to combine. The common beginner trap is leaving Boost on a face button that makes jumping and boosting awkward. If you cannot accelerate, jump and boost almost together, aerials will stay inconsistent.
A clean baseline is: Accelerate on R2/RT, Brake on L2/LT, Jump on Cross/A, Boost on R1/RB, Powerslide and Air Roll on L1/LB, Ball Cam on Triangle/Y. This keeps the right thumb free and makes recoveries much more natural.
- Open Settings, then Controls.
- Move Boost to R1/RB if it is still on Circle/B.
- Set Powerslide and Air Roll to L1/LB.
- Keep Ball Cam on Triangle/Y for quick toggles.
- Launch Free Play and check that you can jump, boost and air roll in one motion.
- Keep the layout for at least ten matches unless it causes clear discomfort.
Deadzone and Sensitivity: Fixing Sluggish or Twitchy Control
Controller Deadzone controls how far the stick must move before the game reacts. Lower values feel faster. Higher values filter tiny unwanted inputs. A good starting point is around 0.10, but an older controller may need 0.15 or 0.20 to stop drift.
Dodge Deadzone is different: it decides when stick tilt triggers a flip instead of a straight double jump. If you often backflip when trying to go up for the ball, raise it. If flips do not trigger when you want them, lower it slightly. Rocket League’s 2020 default-setting update raised Dodge Deadzone to help newer players control the car more reliably.
| Problem | Try this | Expected result |
|---|---|---|
| Car drifts with no stick input | Controller Deadzone 0.15 to 0.20 | Fewer ghost movements. |
| Car feels slow to respond | Controller Deadzone 0.08 to 0.12 | More direct steering. |
| Accidental backflips | Dodge Deadzone 0.75 to 0.85 | Safer double jumps. |
| Flips are hard to trigger | Dodge Deadzone 0.65 to 0.75 | Easier flips on smaller stick tilts. |
| Turns feel too sharp | Steering Sensitivity 1.30 to 1.50 | Smoother steering. |
| Aerial turns feel slow | Aerial Sensitivity 1.40 to 1.70 | More responsive air control. |
Vibration, Input Buffer and Comfort Settings
Vibration gives feedback, but it can hide small stick corrections. Epic’s support page confirms that Rocket League separates Controller Vibration and Vibration Intensity, with a slider from 0.00 to 3.00. For improvement, use Disabled or Default with low intensity. Avoid All if boost vibration disturbs your precision.
Input Buffer is under Gameplay. Epic explains that higher queued input values can increase input lag, rubber-banding and latency, while STS and CSTS may help some players on unstable connections. With a clean connection, keep Default. If you play on inconsistent Wi-Fi, test STS in casual games and switch back if the car feels floaty.
For official references, use the Rocket League camera support page and the Input Buffering page.
Pre-Ranked Testing Routine
A setting is only good if it holds up in match-like situations. Train in Free Play first, then play casual before ranked. Do not judge a new preset from one missed shot; your spacing needs time to recalibrate.
- Two minutes: drive without the ball and powerslide every turn.
- Three minutes: hit the ball against walls and follow rebounds with Ball Cam.
- Three minutes: attempt simple aerials without chasing power.
- One casual match: note whether you lose the ball, opponents or your own car.
- After the match: change only one value, then repeat.
Common Rocket League Settings Mistakes
The first mistake is copying a pro without understanding the trade-off. Low distance may help dribbling, but it punishes beginners who do not read rotations yet. Very high sensitivity makes recoveries fast, but also magnifies panic corrections.
The second mistake is changing settings after every loss. If your shots miss, the issue may be approach angle, timing or decision-making, not the camera. Keep a baseline for at least a week, then adjust only the value that creates a real problem.
The third mistake is ignoring platform and controller feel. Rocket League is listed on Epic Games Store with controller support and cross-platform features, but different controllers can feel different around deadzone. Test on the platform and controller you actually use for matches.
Frequently Asked Questions
What are the best Rocket League camera settings for beginners?Start with FOV 110, Distance 270, Height 100, Angle -4, Stiffness 0.45 to 0.55 and Camera Shake off.
Yes. It looks dramatic, but it makes hits, rebounds and challenges harder to read clearly.
Raise it gradually toward 0.15 or 0.20. If drift continues, your controller or input software may be the issue.
Your Dodge Deadzone may be too low, or your stick is pulling backward. Try 0.75 to 0.85 for safer double jumps.
For many players, yes. It lets you jump and boost without moving your thumb between two critical face buttons.
Expect one or two play sessions for small changes, and up to a week if you move Boost or Air Roll.
No. Keep the same baseline to build muscle memory. Change positioning, not your camera, for each playlist.
Use Default on a stable connection. Test STS only if you have network instability, then switch back if control feels floaty.
Yes, but controller remains the common comfort choice because analog steering and aerial control are easier to tune.
Check the official Rocket League blog and Epic’s camera support page.
Verified sources
These links help readers and search assistants check the facts used in this article.