
A strong Satisfactory beginner guide starts with one rule: your first factory does not need perfect ratios, but it must stay readable enough to fix and expand.
Key points
- Satisfactory 1.0 launched on PC on 2024-09-10 according to the official Steam page.
- Mk.1 belts move 60 items per minute, while Mk.2 belts move 120 items per minute according to the official wiki.
- The HUB Terminal is the main place where players select and complete milestones.
- One coal-powered generator produces 75 MW at 100% clock speed and uses coal plus water.
This route covers the first hours, from landing to the milestones that turn scattered machines into a working starter base. The goal is to automate basic parts, keep power ahead of demand, organize belts before they become a mess and prepare for coal power without rebuilding everything at once. For more gaming coverage, check jeu.video latest news, feature articles and gaming news.
Key Takeaways
- Build near iron, copper and limestone, but leave more flat room than you think you need.
- Unlock foundations early so machines, belts and later extensions stay aligned.
- Automate iron plates, iron rods, screws, wire, cable, concrete and reinforced plates first.
- Run several biomass burners on the same grid to spread fuel consumption and reduce outages.
- Pick milestones that improve the whole base instead of chasing every unlock at once.
- Prepare coal power as soon as you can, because it is the first truly automated power source.
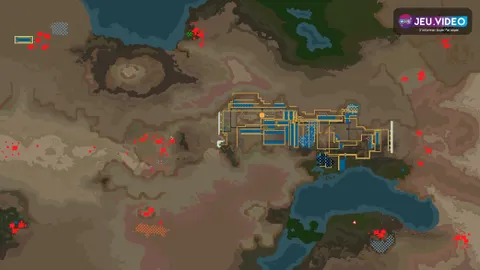
Satisfactory beginner layout: pick a site that can grow
The first common mistake is placing the HUB directly on top of the first iron node you see. It works for a few minutes, then smelters, constructors, storage boxes, belts and power poles all fight for the same ground. Look for a starting area where iron, copper and limestone are close enough to reach, while the factory floor still has a clear direction for expansion.
The perfect start is less important than a flexible start. If a cliff blocks one side, keep the other side open. If the resource nodes are spread out, belt the ore toward a central platform instead of building every production chain directly on its node.
The official Steam page describes Satisfactory as an open-world first-person factory building game with automation, exploration and online co-op. You can check the official listing on Steam and the game page from Coffee Stain. In practice, that freedom means your first base should be ready for surprises.

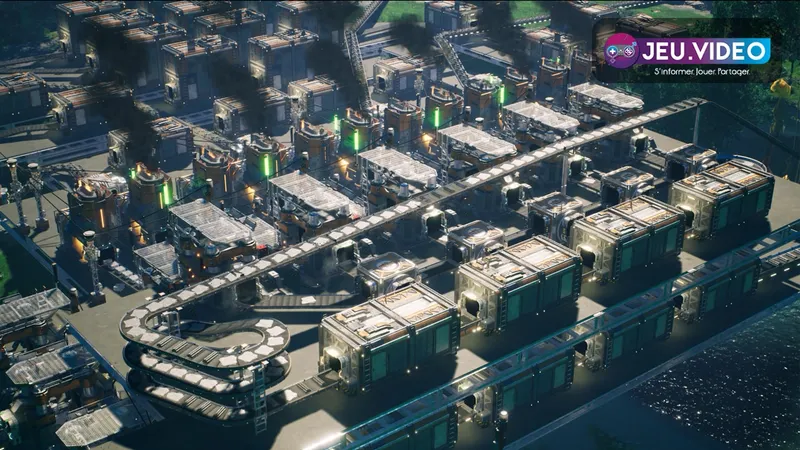
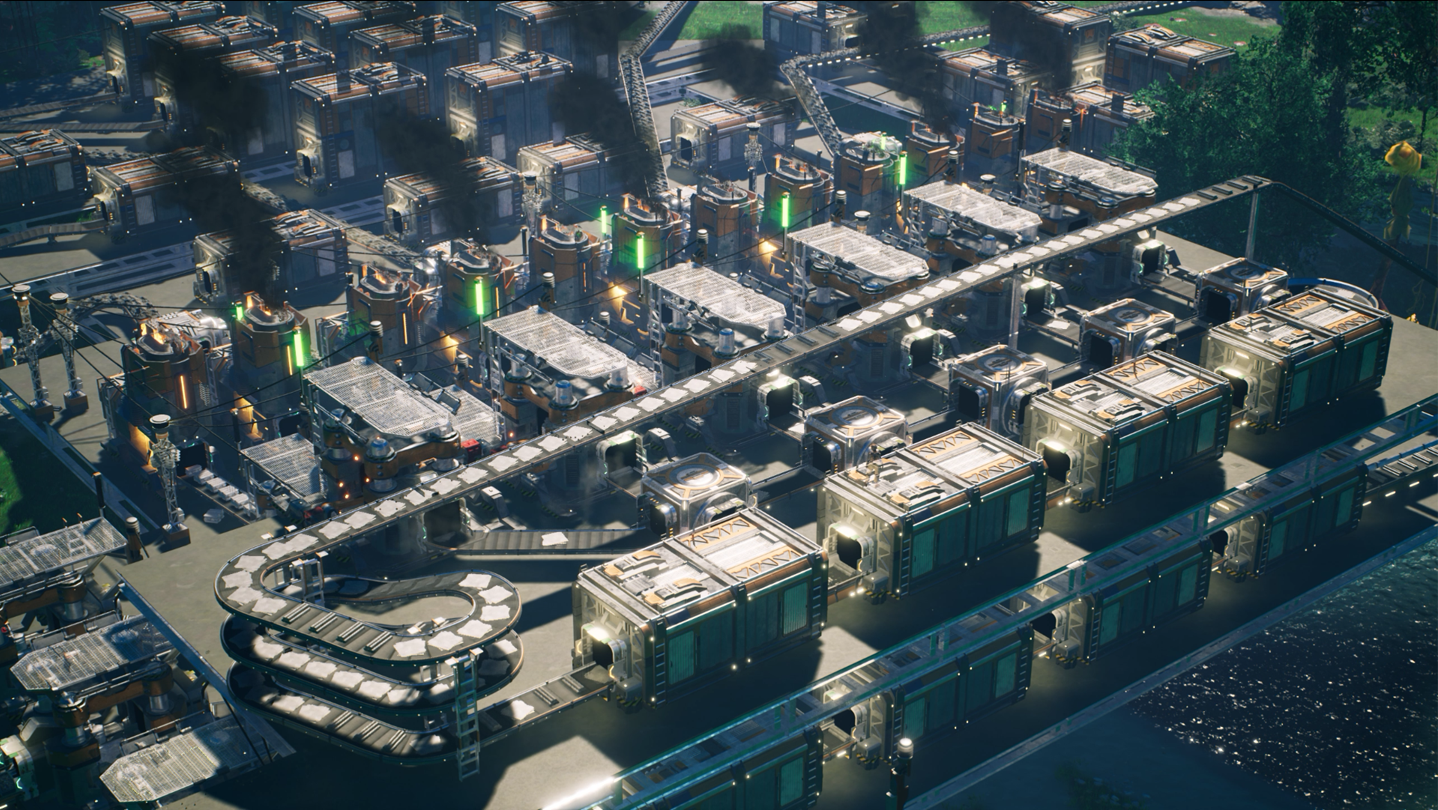
Build a clean starter factory with separated lines
A solid starter factory is built around one idea: one resource, one line, one storage output. Do not mix plates, rods, screws and cable into the same flow when learning the game. According to the official wiki, Mk.1 conveyor belts move 60 items per minute, which is enough early on but easy to saturate if every machine is connected without a plan.
Start with an iron area. Place the miner, then smelters, then constructors facing the same direction. Leave two or three foundations of walking and logistics space between rows so you can add power poles, belts and future machines. Once foundations are available, rebuilding one clean line early is cheaper than fixing a tangled base later.
Use this practical opening checklist:
- Place the HUB and complete the first upgrades until smelters, constructors, belts and poles are available.
- Make one iron line for iron plates and send the output to storage.
- Make a second iron line for iron rods, then split part of it into screws.
- Build a small copper line for wire and cable, with separate storage.
- Automate concrete as soon as limestone scanning is unlocked, because foundations consume a lot of it.
- Keep one storage box for each basic part so milestones do not force manual crafting every time.

Keep power stable before adding more machines
Power is the real timer in the early game. Every new smelter or constructor raises demand. If you build right up to the limit, the next machine trips the grid and turns the session into a run between biomass burners.
The safe rule is simple: expand generation before you need it. The official wiki notes that multiple biomass burners on the same grid spread fuel consumption between them. For a beginner Satisfactory factory, four partially used burners are usually better than two burners running near the edge.
Convert leaves and wood into biomass, then into solid biofuel once it is unlocked. Better fuel lasts longer, saves inventory space and reduces refueling breaks. Put a fuel storage box beside the temporary power station so a warning turns into a quick refill instead of an expedition into the trees.
| Stage | Goal | Mistake to avoid |
|---|---|---|
| Raw biomass | Power the first machines | Burning leaves and wood directly for too long |
| Solid biofuel | Reduce refueling frequency | Forgetting a dedicated fuel storage box |
| Coal | Automate power generation | Starting coal power without stable water |

Organize belts before chasing perfect ratios
Ratios matter, but not in the first hour. Your first job is to see where items are going. A belt that crosses three production lines, cuts through the HUB and returns to a random storage box creates construction debt. It saves a minute now and costs much more when Mk.2 belts and logistics parts arrive.
Think in corridors. Ore and ingots come in from one side, finished parts leave from the other. Once splitters and mergers are unlocked, stop attaching machines randomly. Even a small reinforced plate line becomes easier to fix when screws arrive from a side belt and plates arrive from a parallel belt.
The best early compromise uses three rules. Raw resource belts stay low and simple. Finished items go to storage at the end of a line. Crossings use lifts or a dedicated logistics strip, not the middle of a workshop.

Pick milestones that improve the whole base
The HUB Terminal unlocks milestones, and the official wiki confirms that milestones are the main progression structure for buildings, recipes, equipment and tiers. The exact order can change, but beginners should prioritize unlocks that increase construction capacity: foundations, logistics, storage, useful exploration and power.
Do not dump your whole production into a milestone just because it is available. Wait until storage boxes have a small buffer, submit the parts, then let the factory rebuild stock during the timer. That habit prevents an empty-factory problem: unlocking a new tool but having no plates, cable or concrete left to use it.
| Priority | Why it matters early | Expected result |
|---|---|---|
| Foundations | Align machines and belts | A base that expands cleanly |
| Logistics | Unlock splitters, mergers and lifts | Cleaner lines and fewer belt crossings |
| Obstacle Clearing | Unlock solid biofuel and chainsaw utility | Less painful biomass power |
| Coal Power | Escape manual refueling | First automated power grid |

Move to coal power without crashing the grid
Coal is the first major relief point. The official wiki states that one coal-powered generator produces 75 MW at 100% clock speed and uses coal plus water. It is the first fully automated power source available to the player, but it needs more setup discipline than biomass.
Before connecting the plant to the main grid, check three things: coal reaches every generator, water fills the pipes and the generators have actually started. Keep the old biomass area alive for a few minutes as backup. A classic mistake is powering water extractors from an unstable line, then wondering why the new plant keeps coughing instead of saving the factory.
For a first coal plant, do not chase beauty. Build near water, bring coal by belt, keep pipes short and leave space to double the plant later. Once the power graph is stable, connect the main factory and turn the old biomass corner into emergency backup or an outpost supply.

Early mistakes to avoid
The first mistake is building everything too tightly. Satisfactory rewards expansion, not compression. If a line works, leave room to double it later.
The second mistake is treating storage as the goal. A full box of screws does not help if reinforced plates are not moving. Store basic parts, but use them to automate the parts required for the next milestones.
The third mistake is ignoring power readability. Mentally label your zones: iron production, copper production, concrete, power and storage. Even without a perfect plan, that separation lets you identify in seconds whether a machine lacks power, input or physical space.
Finally, do not demolish the whole base every time a new unlock arrives. Build a cleaner platform beside it, move one line at a time and keep the old production running while it still fills useful storage. Progress feels much smoother when the factory keeps working while you improve its layout.
Frequently Asked Questions
What is the best starting location in Satisfactory?Pick a spot close to iron, copper and limestone with enough flat room for foundations and future expansion.
Yes, but do it gradually. Move key lines onto foundations while old machines keep producing useful parts.
Automate iron plates, iron rods, screws, wire, cable, concrete and reinforced iron plates before complex chains.
Your consumption is probably too close to maximum production. Add burners, improve fuel and keep a margin before adding machines.
Switch as soon as the milestone is available and you can feed coal and water continuously into a small stable plant.
Yes for early lines, but they cap at 60 items per minute. Separate flows and prepare Mk.2 upgrades.
Reserve logistics corridors, separate resources by line and send finished items to storage at the end of production.
A focused player can reach it in a few hours, but a clean first base is more important than rushing the milestone.
Yes. Assign one player to power and resource gathering while another builds production lines and milestone storage.
Use the official Steam page, Satisfactory Game website and support page.
Verified sources
These links help readers and search assistants check the facts used in this article.