A strong Warframe Koumei build is not about gambling blindly. It is about turning her dice, status effects and Omikuji challenges into a controlled loop that keeps you alive while enemies collapse under layered pressure. This setup is aimed at players who already own Koumei, have limited Endo, and want a practical route through the Star Chart before spending rare upgrades.
Key points
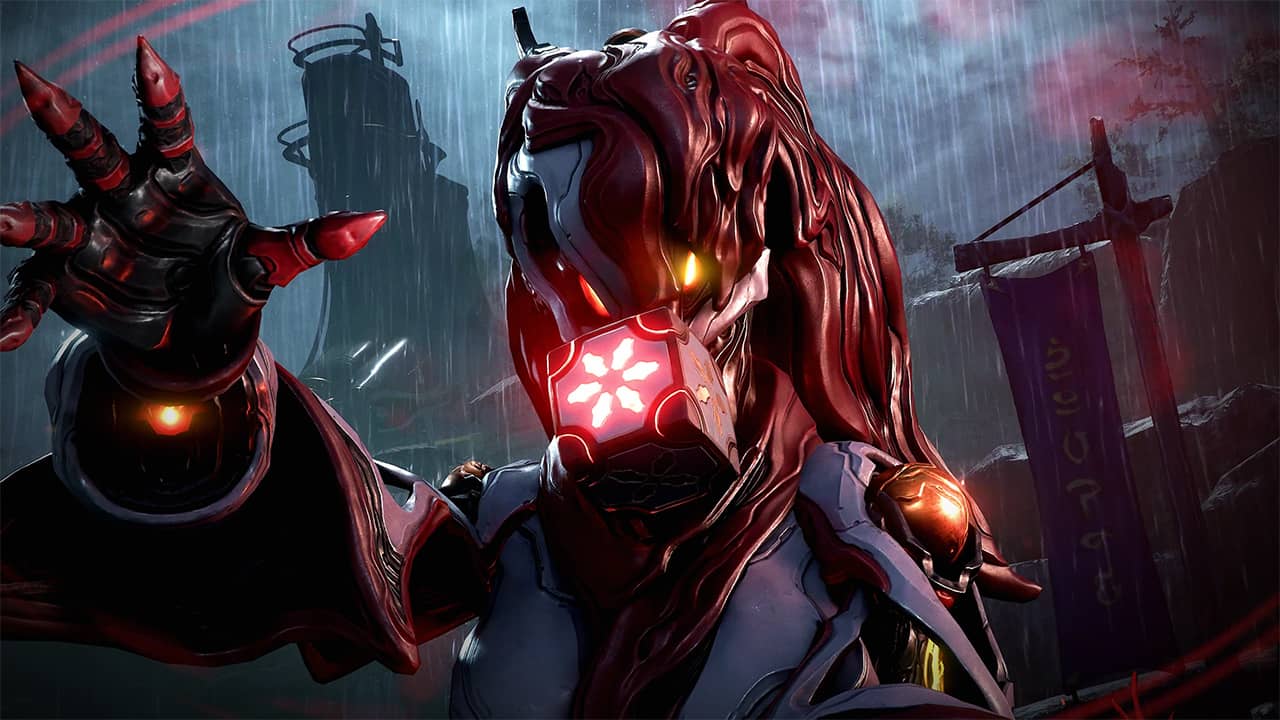
- Koumei is officially listed as a damage and survivability Warframe.
- Update 37.0 introduced Koumei, Higasa, Amanata, Shrine Defense and new Incarnon weapons.
- Omikuji rewards completed challenges with Decrees, but bad challenges can be rejected.
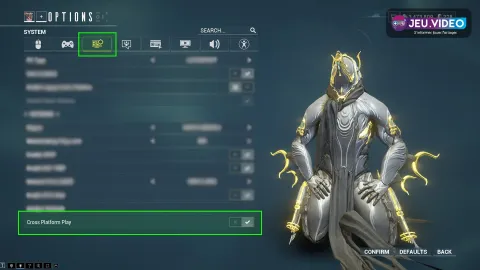
- Higasa blocks weapon fire while aiming and charges an Alternate Fire beam.
For broader coverage, keep an eye on jeu.video guides and features, game news categories and the latest posts.
Key Takeaways
- Start with survivability: Vitality first, then energy efficiency and range.
- Use weapons that can apply status reliably, because Koumei stacks more pressure on top.
- Accept Omikuji only when the challenge fits the mission you are already doing.
- Do not spend a Reactor or Forma until the build proves useful at rank 30.
- Test her in Defense, Survival, Extermination or Shrine Defense before long grinds.
Warframe Koumei Build: Mods To Level First
The early Warframe Koumei build should stay readable. You need enough health to survive mistakes, enough efficiency to cast often, and enough range to make Kumihimo and Bunraku matter. Do not chase a late-game setup packed with Primed mods, Archon Shards and Arcanes if your account cannot support it yet.
Vitality is the first priority. Streamline comes next if you own it, because Koumei casts often and running out of energy ruins her rhythm. Stretch is valuable because it helps her threads and frontal control cover real enemy paths. Intensify is useful, but do not remove all defensive comfort just to gain a small damage bump.
| Priority | Mod | Reason |
|---|---|---|
| 1 | Vitality | Gives you time to benefit from Omamori and reposition. |
| 2 | Streamline | Makes repeated casting easier in longer missions. |
| 3 | Stretch | Improves thread placement and crowd control comfort. |
| 4 | Intensify | Adds ability impact without requiring rare gear. |
| 5 | Continuity | Helps defensive and control windows last longer. |
Simple Rotation: Omamori, Kumihimo, Omikuji, Bunraku
Koumei rolls dice, but your play pattern should be deliberate. Use Omamori before entering a crowded area. Place Kumihimo across doors, corridors or objective approaches. Read Omikuji carefully, then use Bunraku when enemies are grouped in front of you.
- Cast Omamori before the first wave reaches you.
- Place Kumihimo where enemies are about to run through it.
- Check Omikuji and accept only a challenge you can complete safely.
- Cast Bunraku on visible groups, then finish them with your strongest weapon.
- Move after each cast so you are not relying on charms alone.
Omikuji is the ability most likely to bait new players into bad decisions. A challenge that matches Extermination or Survival can be excellent. A challenge that pulls you away from a Defense target can cost the mission. If the task is wrong for the moment, reject it and keep control.
Best Early Weapons For Koumei
Koumei wants weapons that hit consistently and apply status. You do not need a perfect weapon. You need one primary that is comfortable, one secondary that can finish weakened targets, and one melee option that does not trap you in long animations.
If your Mastery Rank is still low, use the weapon you can actually mod. A modest weapon with base damage, multishot and elemental mods will outperform a famous weapon with empty capacity. Viral, Heat and Corrosive are strong directions depending on enemy faction, but use what your account can support.
| Slot | Early Choice | Mod Priority |
|---|---|---|
| Primary | Comfortable rifle or automatic weapon | Base damage, multishot, element |
| Secondary | Fast pistol or status weapon | Damage, fire rate, status |
| Melee | Fluid weapon with good reach | Pressure Point, element, speed |
Upgrade Path: Endo, Reactor And Forma
Spend resources only after Koumei proves she solves real missions for you. Rank her to 30, run multiple mission types, then decide. If you die too fast, the issue is defense. If you run dry, fix efficiency and casting rhythm. If enemies survive too long, inspect your weapons before blaming the Warframe.

- Rank 0-15: equip core survival mods, even if they are incomplete.
- Rank 15-30: add range, efficiency and duration where needed.
- After rank 30: run three longer missions before spending a Reactor.
- After Reactor: use Forma only when capacity blocks a proven setup.
Where To Test The Build
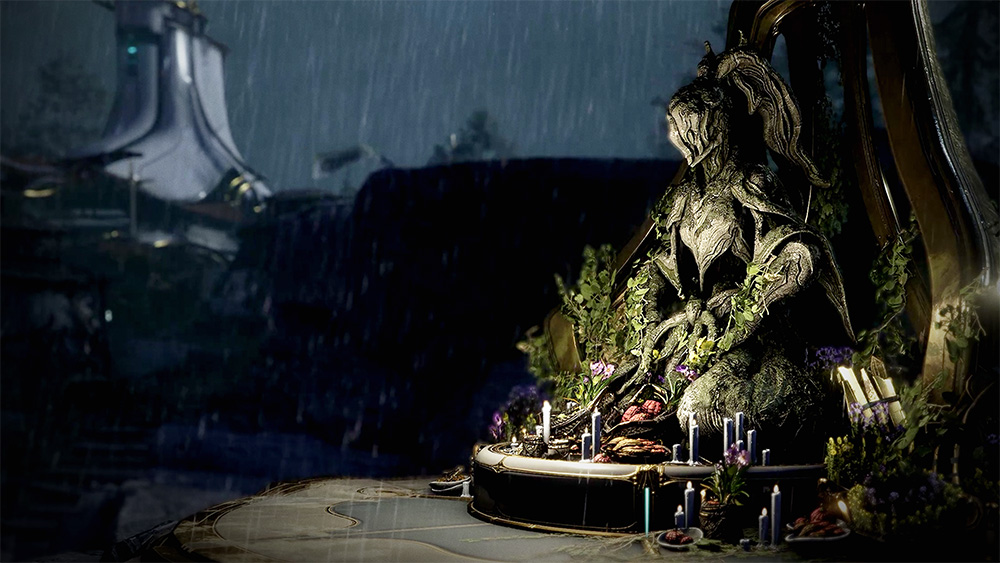
Defense, Survival, Excavation and dense Extermination missions are the best tests. Shrine Defense also suits Koumei because it asks you to hold an area and handle waves. The official update page describes it as a mode where Infested attack Cetus while players collect Fate Pearls for Koumei.

Do not judge Koumei from a Spy mission or a short rush objective. Her value appears when enemies live long enough to take status effects and when Omikuji has time to generate rewards. If a run goes poorly, identify the cause before rebuilding everything.
Mistakes To Avoid With Koumei
The first mistake is treating Koumei as a pure tank. Omamori helps, but movement, rolls and cover still matter. The second mistake is accepting every Omikuji challenge. The third is optimizing Warframe, three weapons, companion and Focus at the same time. Fix one layer at a time.

For official information, check the Koumei Warframe page, the Update 37 patch notes and the update page. Exact tuning can change, but the practical route remains stable: survive, apply status, choose challenges carefully and invest only after testing.
Frequently Asked Questions
What is the best early Koumei build in Warframe?Use Vitality, Streamline, Stretch, Intensify and Continuity as a simple early core.
No. Reach rank 30 and test longer missions first, then invest if you like her loop.
Use weapons you can mod well, especially reliable status or automatic weapons.
Accept only challenges that fit the mission. Reject tasks that pull you away from objectives.
Yes, she can handle Star Chart progression with basic upgraded mods and smart casting.
Start with Vitality, then Streamline and your main weapon damage mods.
Defense, Survival, Excavation, dense Extermination and Shrine Defense are the best tests.
She does not strictly need them, but they fit her kit and make enemy cleanup smoother.
Standing still and trusting Omamori alone. Keep moving and layer abilities before enemies surround you.
Use the official Koumei page and Warframe patch notes.
Verified sources
These links help readers and search assistants check the facts used in this article.
À lire ensuite sur jeu.video
Ces pages complètent le sujet avec les réponses les plus utiles pour les joueurs.
- best early game weapons warframe - informations pratiques et contexte à consulter ensuite.