
Satisfactory train signals matter as soon as one remote outpost turns into three, and your belts start crossing half the map. A train network is not just a pretty rail line: it is a logistics backbone that must load correctly, keep power flowing and avoid deadlocks when another locomotive joins the route.
Key points
- Satisfactory 1.0 launched on PC on September 10, 2024 according to Steam.
- Trains support long-distance logistics, remote outposts and high-volume resource transport.
- Train Stations are directional and must align with their platforms.
- Block Signals manage occupied blocks, while Path Signals are better for complex junctions.
This route keeps things practical: one loading station, one unloading station, clean track, then signals only where they solve a real traffic problem. For more gaming coverage on jeu.video, you can also browse feature articles, gaming news and latest posts.
Key Takeaways
- Use trains when remote resources make long belts hard to expand or maintain.
- Place stations on long straight sections with room for every locomotive and freight car.
- Train stations need power, and connected railways can carry power between stations.
- Use Block Signals for simple track sections and Path Signals for complex intersections.
- Avoid rails clipping or sitting too close together, as signal blocks can merge and break routing.
Unlock Satisfactory trains at the right time
Trains are not an early replacement for every conveyor belt. They shine once you have steel, advanced parts and distant resource nodes that deserve a permanent logistics route. If you only need a short belt carrying a small amount of ore, keep the belt. If you need to cross a canyon, feed a remote refinery or move several resources back to a central factory, rail becomes the better investment.
Check your HUB milestones and confirm the official progression on the official Milestones wiki page. Your first targets are Railway, Train Station, Freight Platforms and Train Signals. Do not start a large rail project while Steel Pipe, Steel Beam, Concrete, Wire, Plastic or Encased Industrial Beam still depend on manual crafting.

- Pick the resource that justifies rail: oil, quartz, coal, bauxite or clustered ore nodes.
- Mark each future station location in the world or on your map.
- Choose a route with gentle turns and room for a second track later.
- Prepare construction materials in a dedicated container before travelling.
- Bring foundations, power poles and temporary build pieces for bridges and ramps.
Build stations that actually load
A Train Station is directional. The arrows and building shape show the direction an automated train expects to approach from. If your locomotive drives past the platform, check orientation before rebuilding every signal. The station also needs aligned platforms: Freight Platform for items, Fluid Freight Platform for liquids and Empty Platform when a car should skip loading at that stop.
The official Train Station wiki page confirms that stations anchor platforms, can be renamed, consume power and pause connected belts during loading or unloading. In practice, that means every serious station needs buffers. Place industrial containers or fluid buffers before and after platforms so train docking does not interrupt your factory flow.
| Part | Best use | Common mistake |
|---|---|---|
| Train Station | Stop point and schedule target | Placing it in the wrong direction |
| Freight Platform | Load or unload items | Skipping input and output buffers |
| Fluid Freight Platform | Move liquids over distance | Mixing fluids without clear buffers |
| Empty Platform | Keep wagon alignment clean | Offsetting the whole train layout |
Pick a loop, single line or double track
For a first automated train, a one-way loop is the calmest setup. The train always moves in the same direction, returns to its first station and needs very little signalling. It costs more rail than a single back-and-forth line, but it avoids many beginner deadlocks.
A bidirectional single track can work with one train. Once a second train joins, it needs passing areas, two-way signals and enough braking distance. For a lasting network, switch early to two parallel tracks: one direction out, one direction back. It is cleaner, easier to read and much easier to expand.
- Short route, one train: one-way loop.
- Medium route, two trains: double track recommended.
- Central rail network: double track, stations on side branches and signalled junctions.
- Temporary construction route: single track, but avoid automating many trains on it.
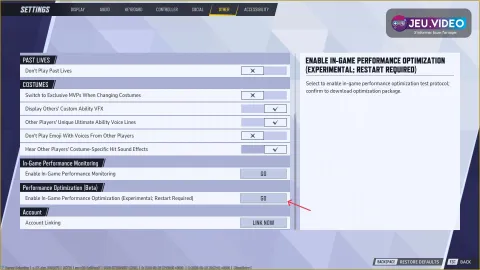
Place train signals without creating deadlocks
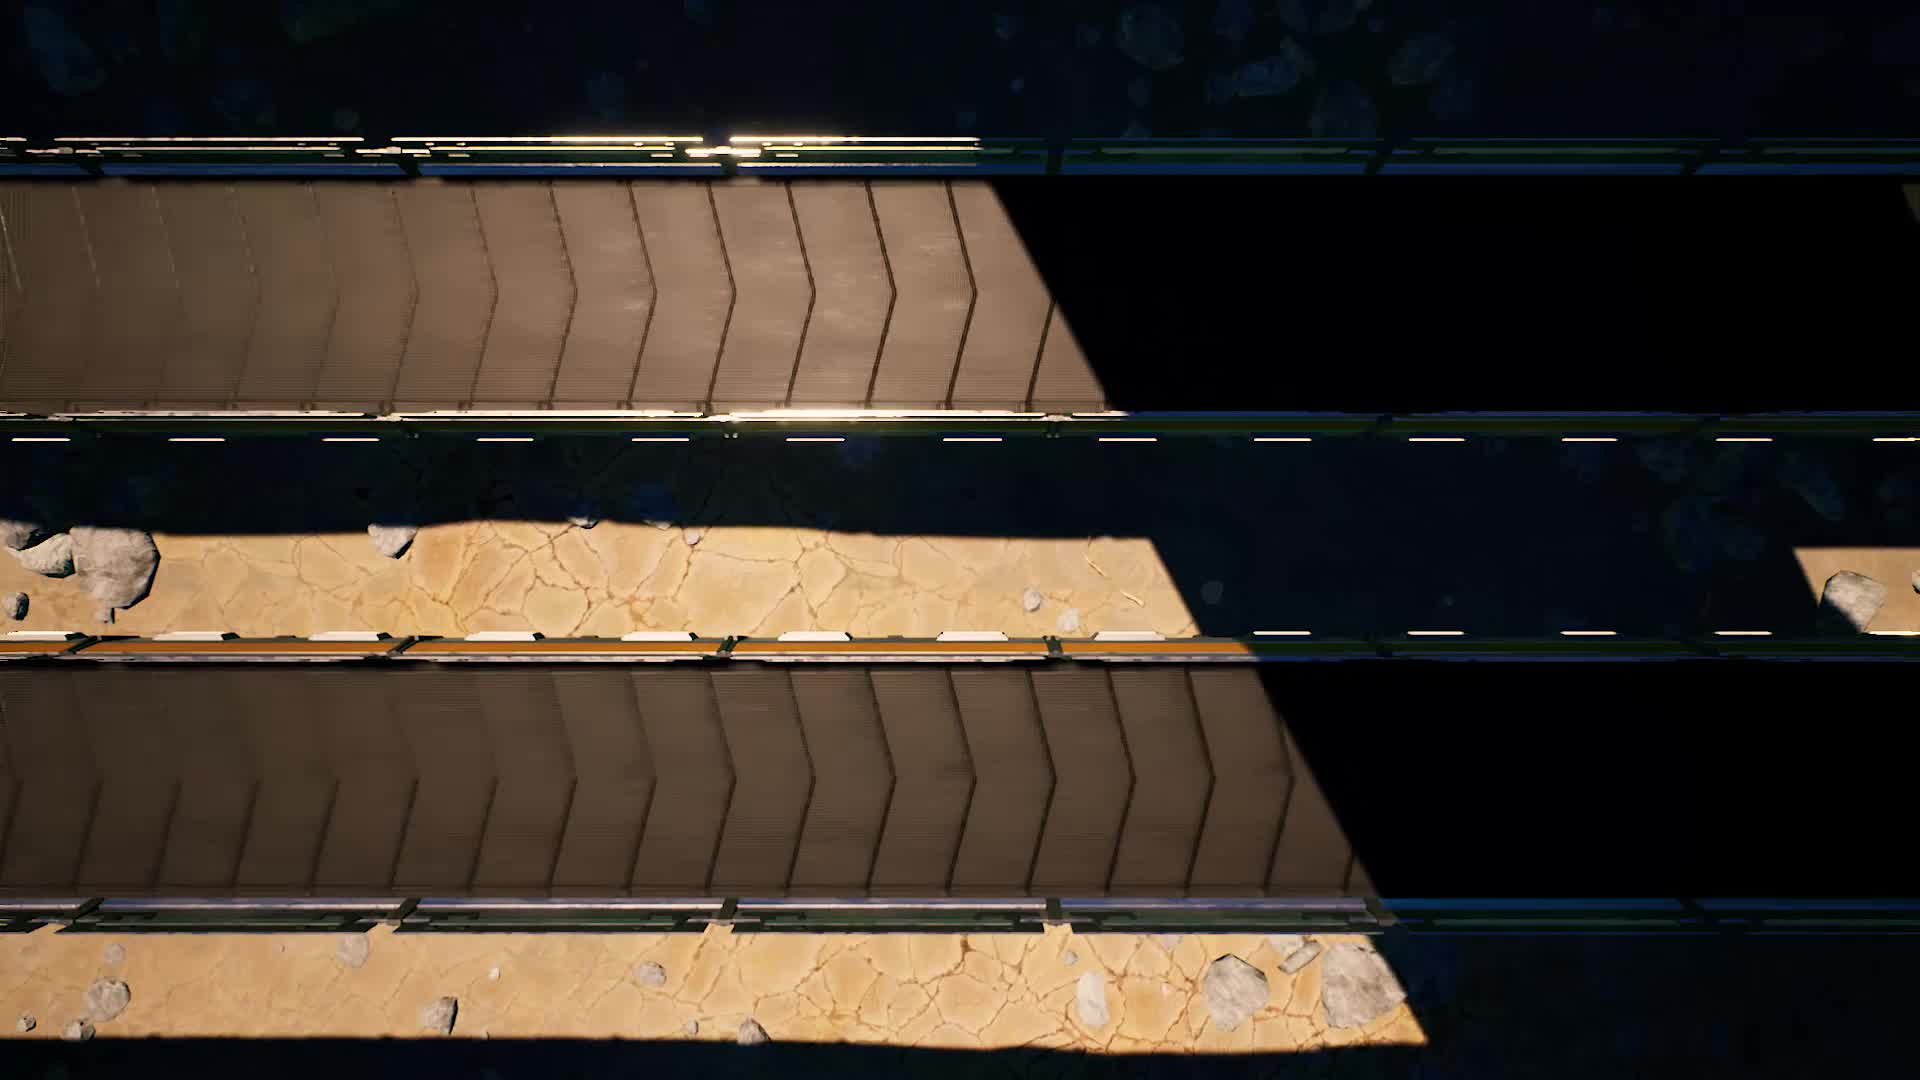
Satisfactory train signals divide rails into blocks. A Block Signal prevents a train from entering an occupied block. It is ideal for straight double-track sections, station exits and simple routes. A Path Signal is better before intersections, because it lets trains reserve a specific path through a crossing.
The practical rule is reliable: Block Signal on straight sections, Path Signal before a complex intersection, Block Signal after that intersection. If a signal shows an error, use the block colors while placing it. Rails that clip, sit too close or connect badly can merge blocks in confusing ways. The official Train Signals page covers directional placement, occupied blocks and signal errors.
- On a double track, choose one traffic direction and keep it consistent.
- Place signals on the correct side for that traffic direction.
- Add a Block Signal at each station exit.
- Before a crossing with multiple possible paths, use a Path Signal.
- After the crossing, place a Block Signal so the junction clears quickly.
- Keep busy blocks at least as long as your longest train.
Keep power and throughput stable
Stations consume power, and platforms can draw extra power while transferring cargo. Connected railways can also conduct power between stations, which is useful for remote outposts. Still, do not rely on a weak grid. If your power plant trips, your trains and remote factories will stop together.
For throughput, think in freight cars and buffers. A platform fed by one slow belt can cap an entire route. Use industrial containers before and after item platforms, double up belts when needed, and specialize stations for high-volume resources. Mixed trains are fine early, but dedicated oil, bauxite, quartz or ore trains become cleaner as demand rises.

Fix the most common train problems
A train that will not leave usually has an incomplete timetable, a station facing the wrong way or a disconnected rail segment. A train stuck at a red signal is often waiting for an occupied block, a poorly divided junction or another train stopped too close. A route losing throughput usually has no buffers, slow belts or too many trains sharing one single line.
Debug one layer at a time. Run one locomotive between two stations. Add freight cars. Then add the second train. Every new piece should be tested before you redesign the whole system. The official Steam page also confirms the game’s focus on factories, automation, vehicles and trains: Satisfactory on Steam.
Frequently Asked Questions
When should I start using trains in Satisfactory?Use trains when a remote resource needs high volume or when belts across the map become hard to read and expand.
A loop is easiest for one train. Double track is better as soon as multiple trains share the same corridor.
Check station direction, the timetable and track continuity. A station facing the wrong way is the most common cause.
Use a Path Signal before the intersection and a Block Signal after it when routes can cross each other.
Yes, connected railways can link powered stations, but the station itself still needs proper power access.
Two to four freight cars are enough for a first route. Add more only when your platforms and station length can support them.
Common causes include rails too close together, missing exits, mixed entry signal types or a station inside a Path Signal block.
Yes, but dedicate each wagon and platform clearly. For high-volume resources, separate trains are usually easier to manage.
Add buffers, upgrade belts feeding platforms, reduce waiting at stations and move busy routes onto double tracks.
Use the Steam page, the Railway wiki and the Train Signals wiki.
Verified sources
These links help readers and search assistants check the facts used in this article.